
The Pattern
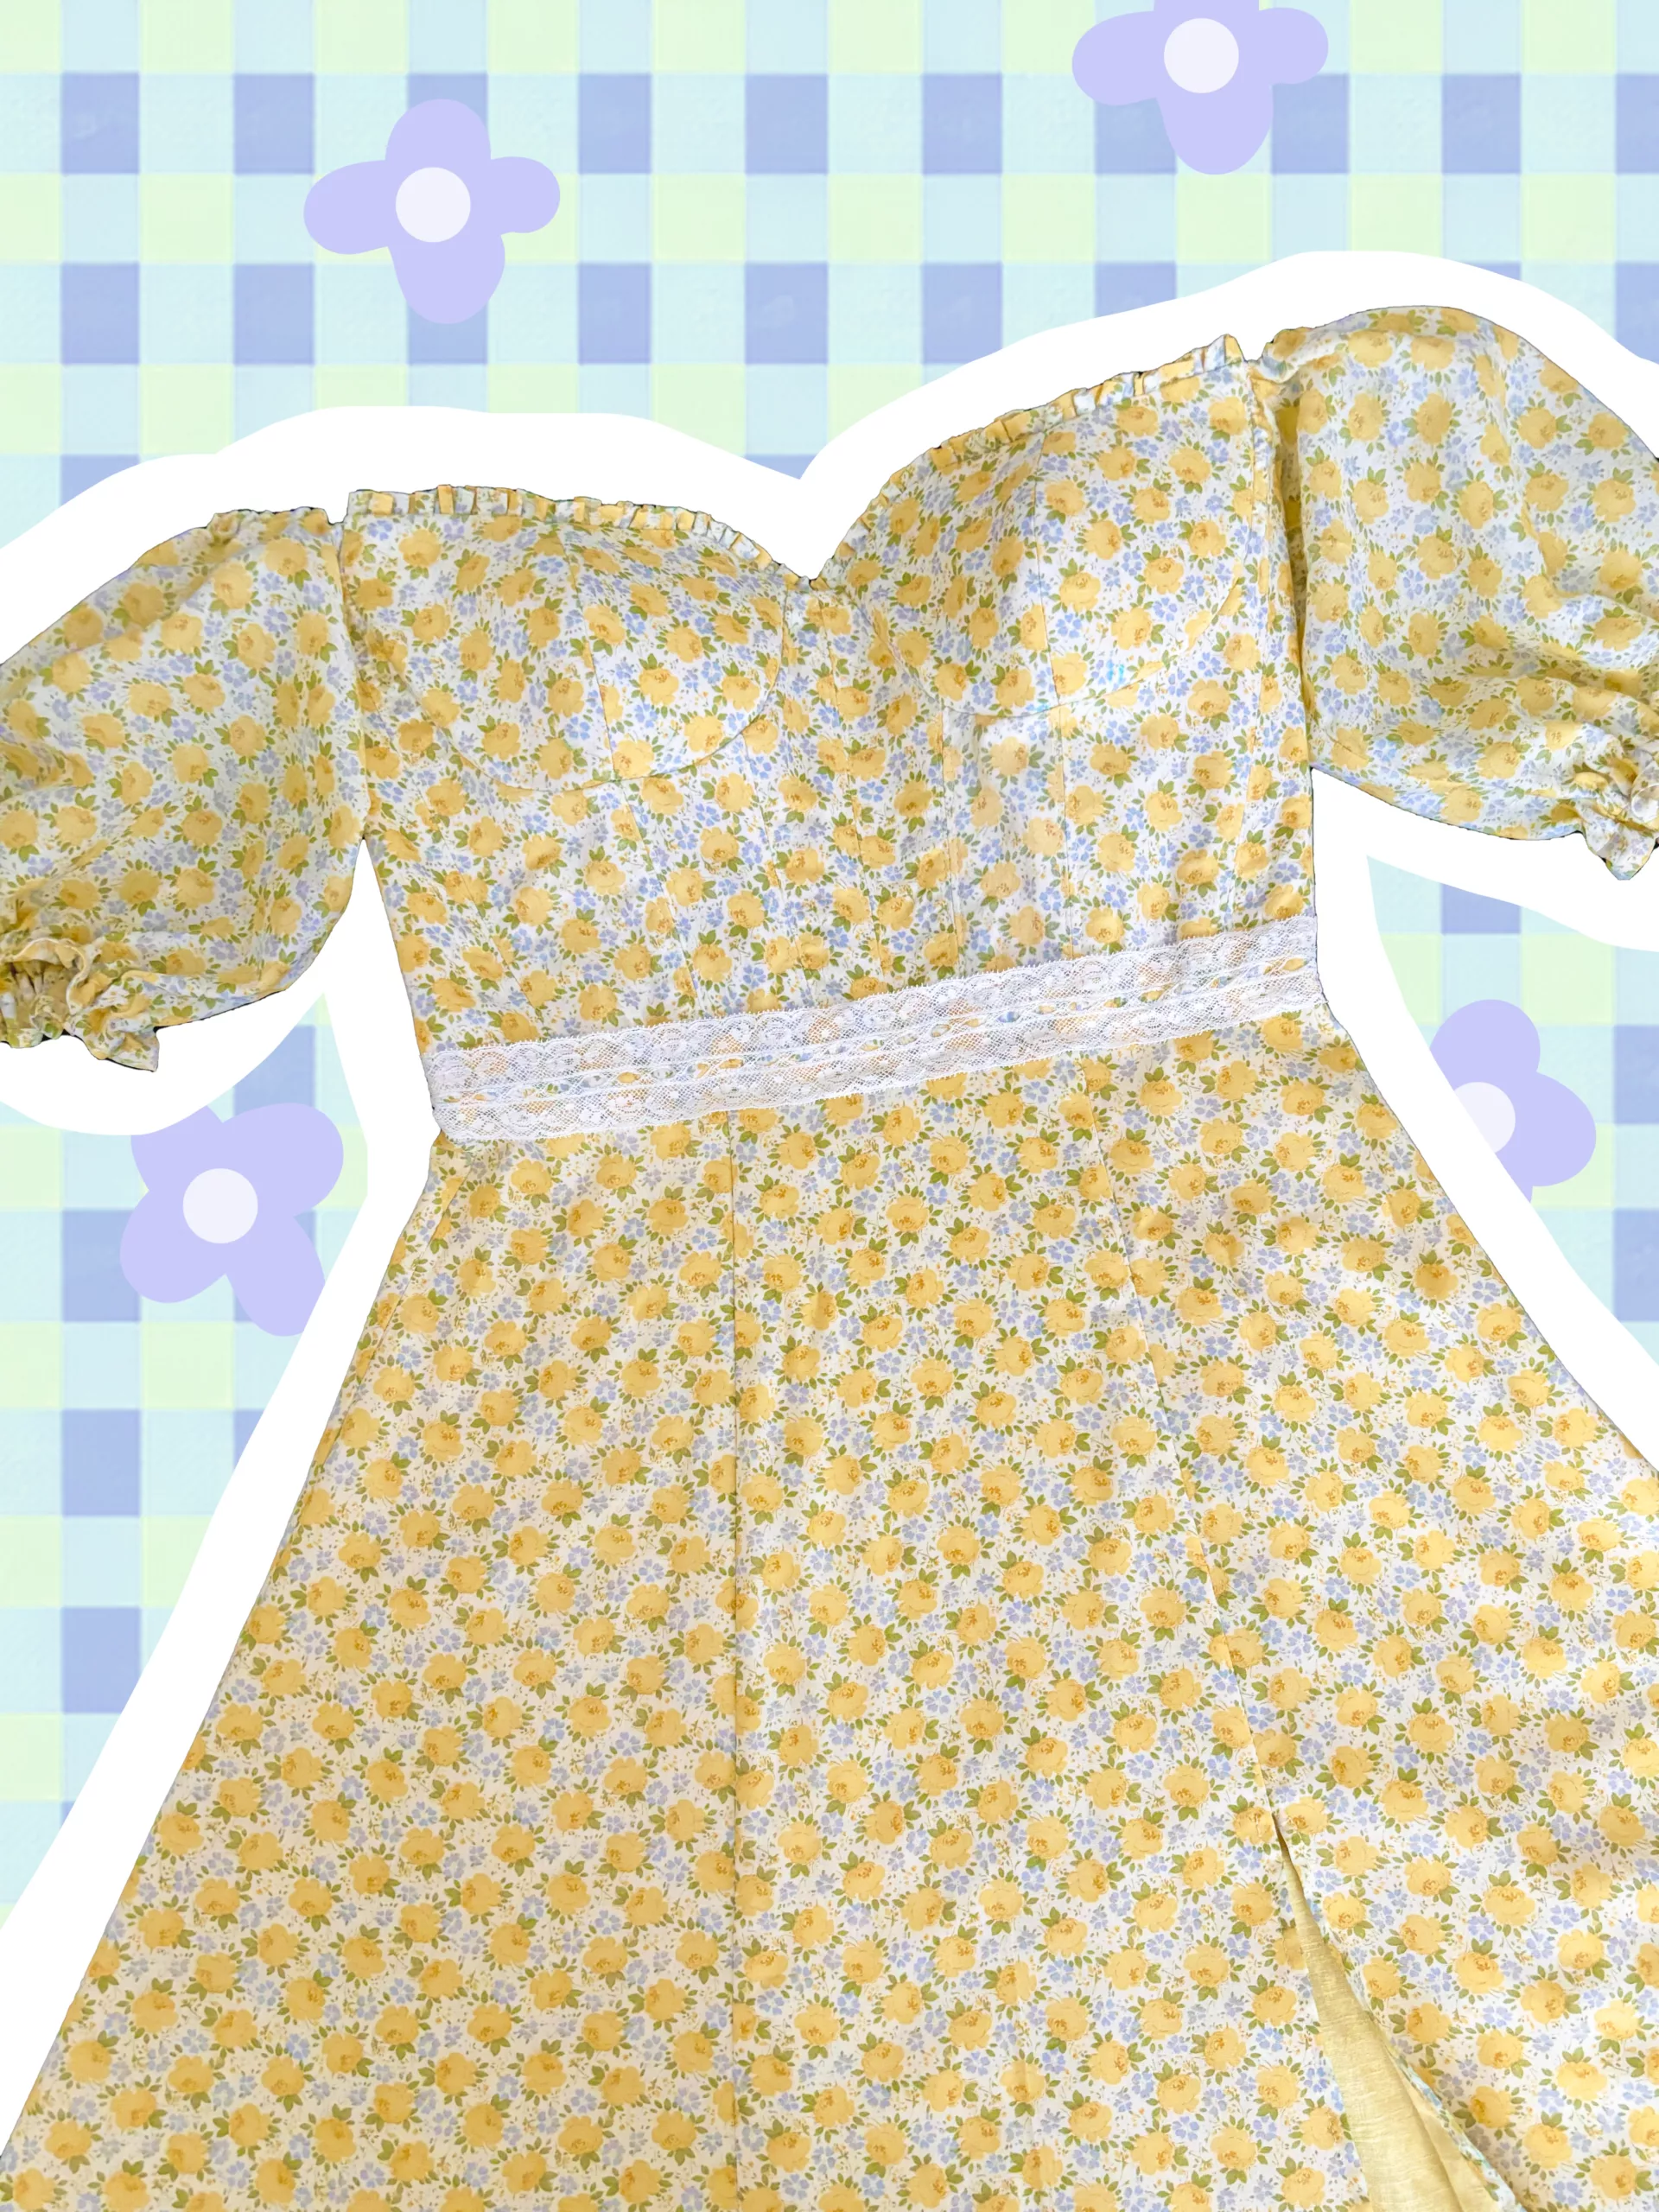
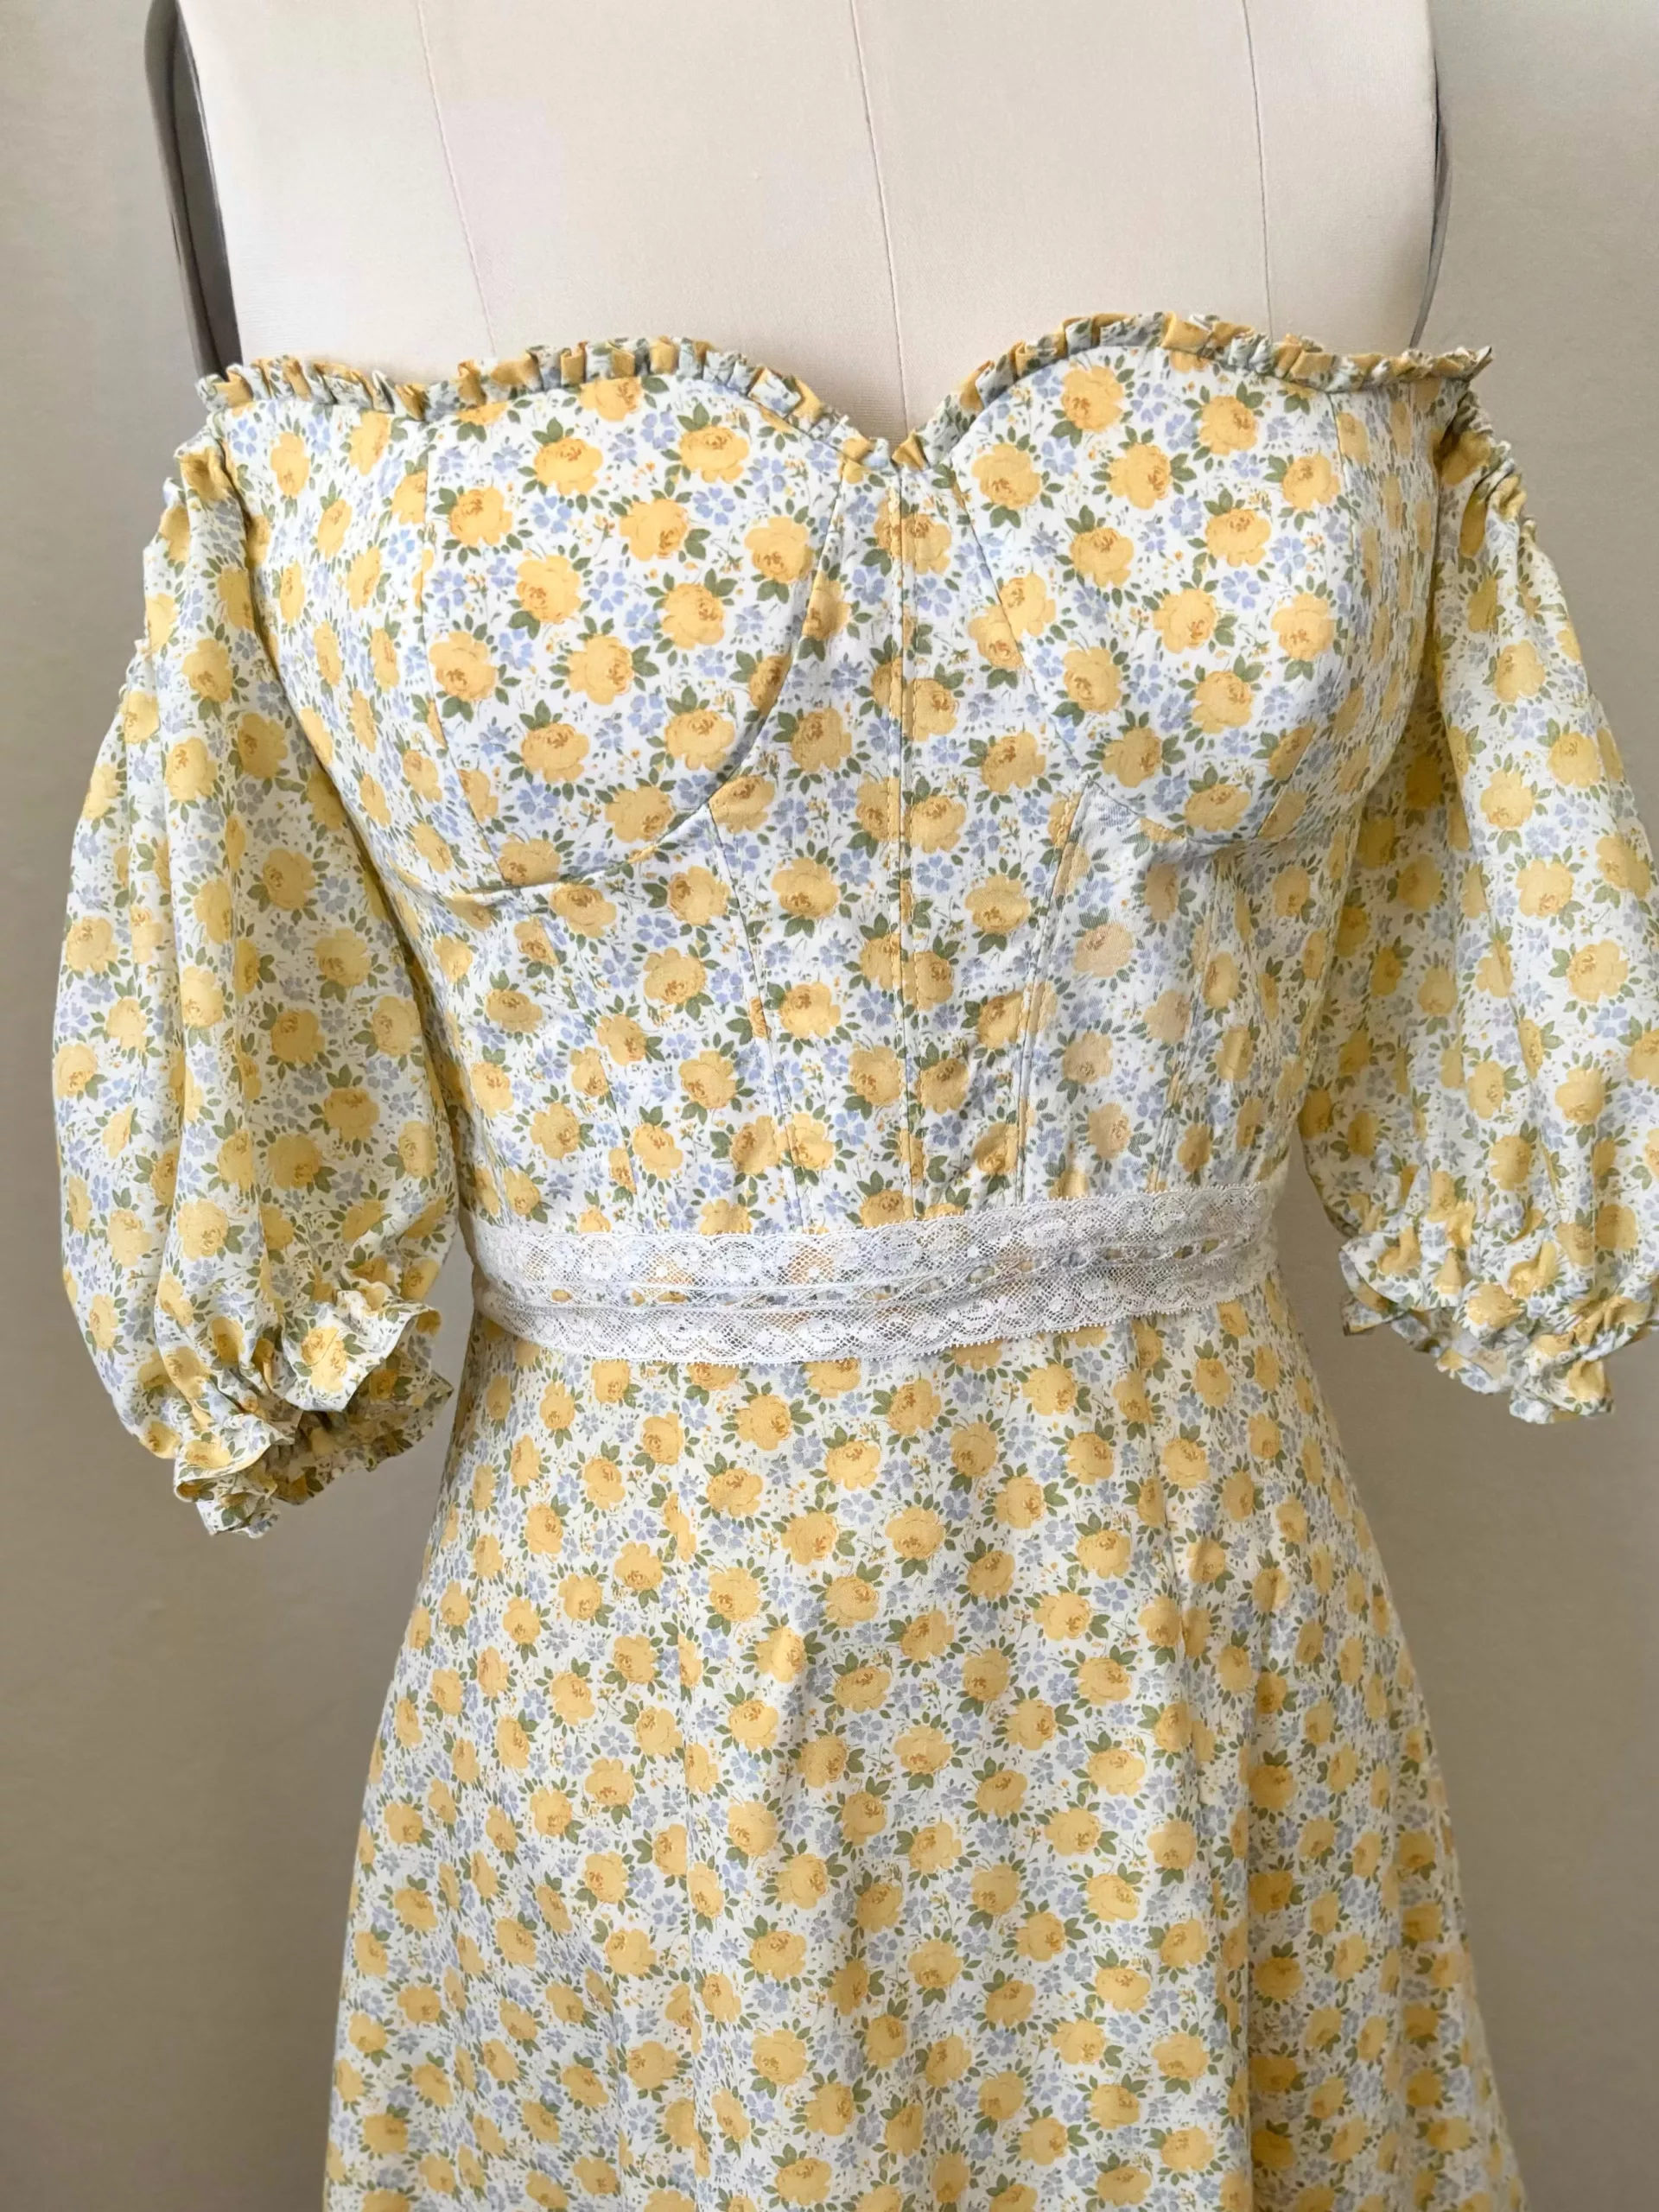
In my quest for more summer dress patterns, I stumbled upon the “Summer Dress Charley” by This is Kachi. The pattern immediately caught my eye with its flattering neckline, structured bodice, puffy sleeves, and gathered skirt. I also have the perfect yellow floral fabric for this, thrifted at my local creative reuse store.
The dress is not only my style but also challenges my sewing skills. I’ve never sewn bust cups and bonings before. I didn’t realize this until I finished sewing the garment, but the pattern is labeled for advanced sewers. I’m pretty stoked that I managed to make it look decent! Does this mean I’ve leveled up from confident beginner to intermediate? Hehe..
Disclaimer: This post contains affiliate links, which means that while I am not paid to promote certain items, I may earn a small commission should you purchase items through these links at no cost to you.
The Pattern Modification
I love the bodice from this pattern but want to combine it with the maxi panel skirt from The Anthea Milkmaid Dress (free sewing pattern by Mood Fabrics) because I love the fit of it on me. To make the puffy sleeves, I took the lazy route: I gathered a large rectangle with elastics at the top and near the bottom!
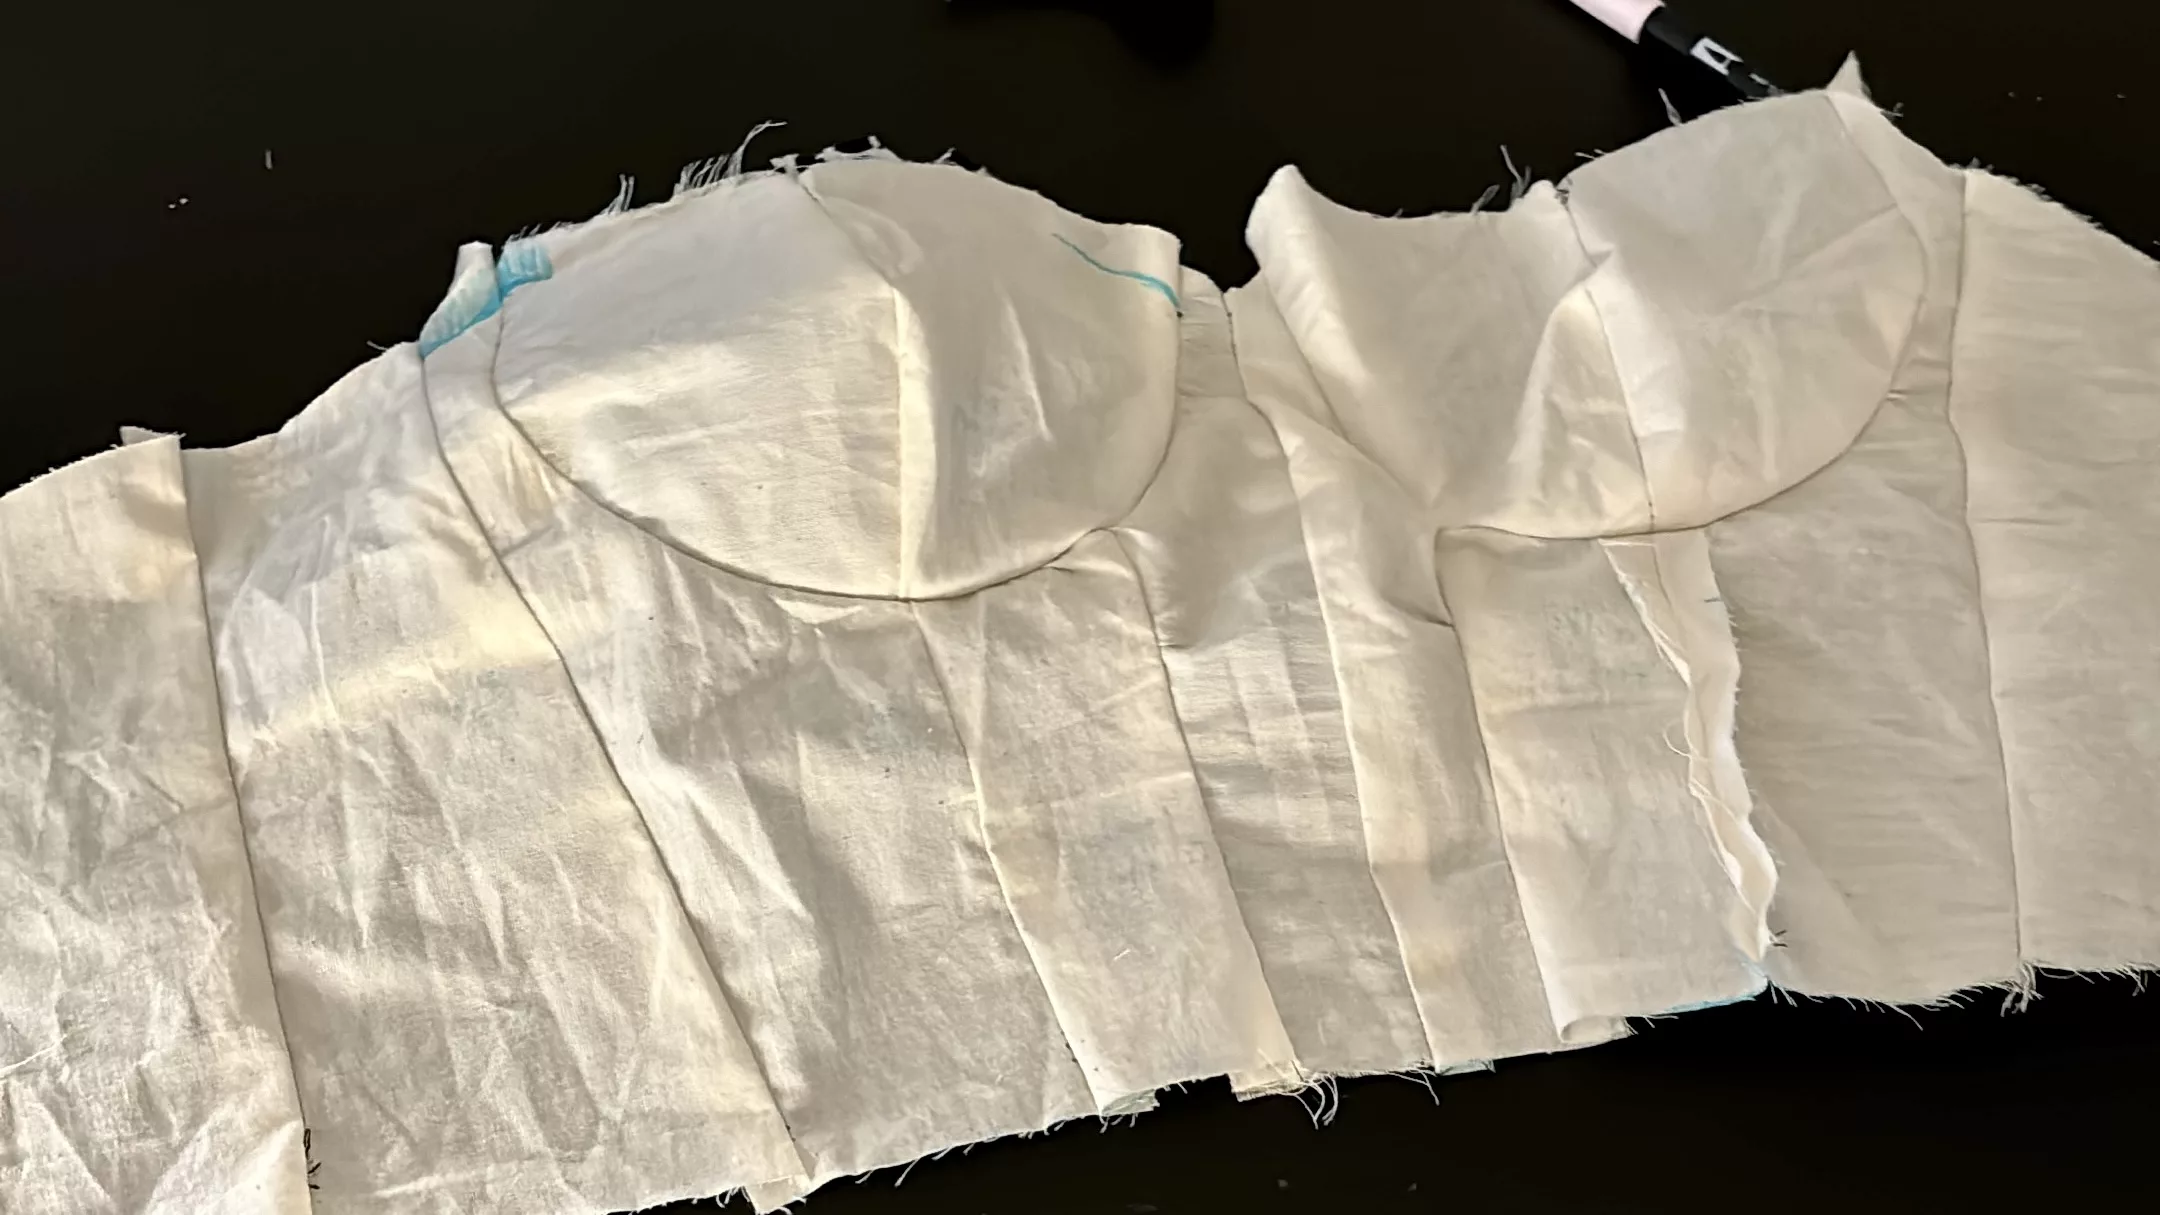
I initially made a toile for the bodice (thankfully) and discovered it wasn’t providing enough coverage for my bust. The fabric around the bust area also wants to flop forward (wardrobe malfunction alert haha). This is why making a mockup is important! I had to increase the height of the neckline and decrease the width of some front panels to accommodate my bust and hug me better at the waist.
The Materials
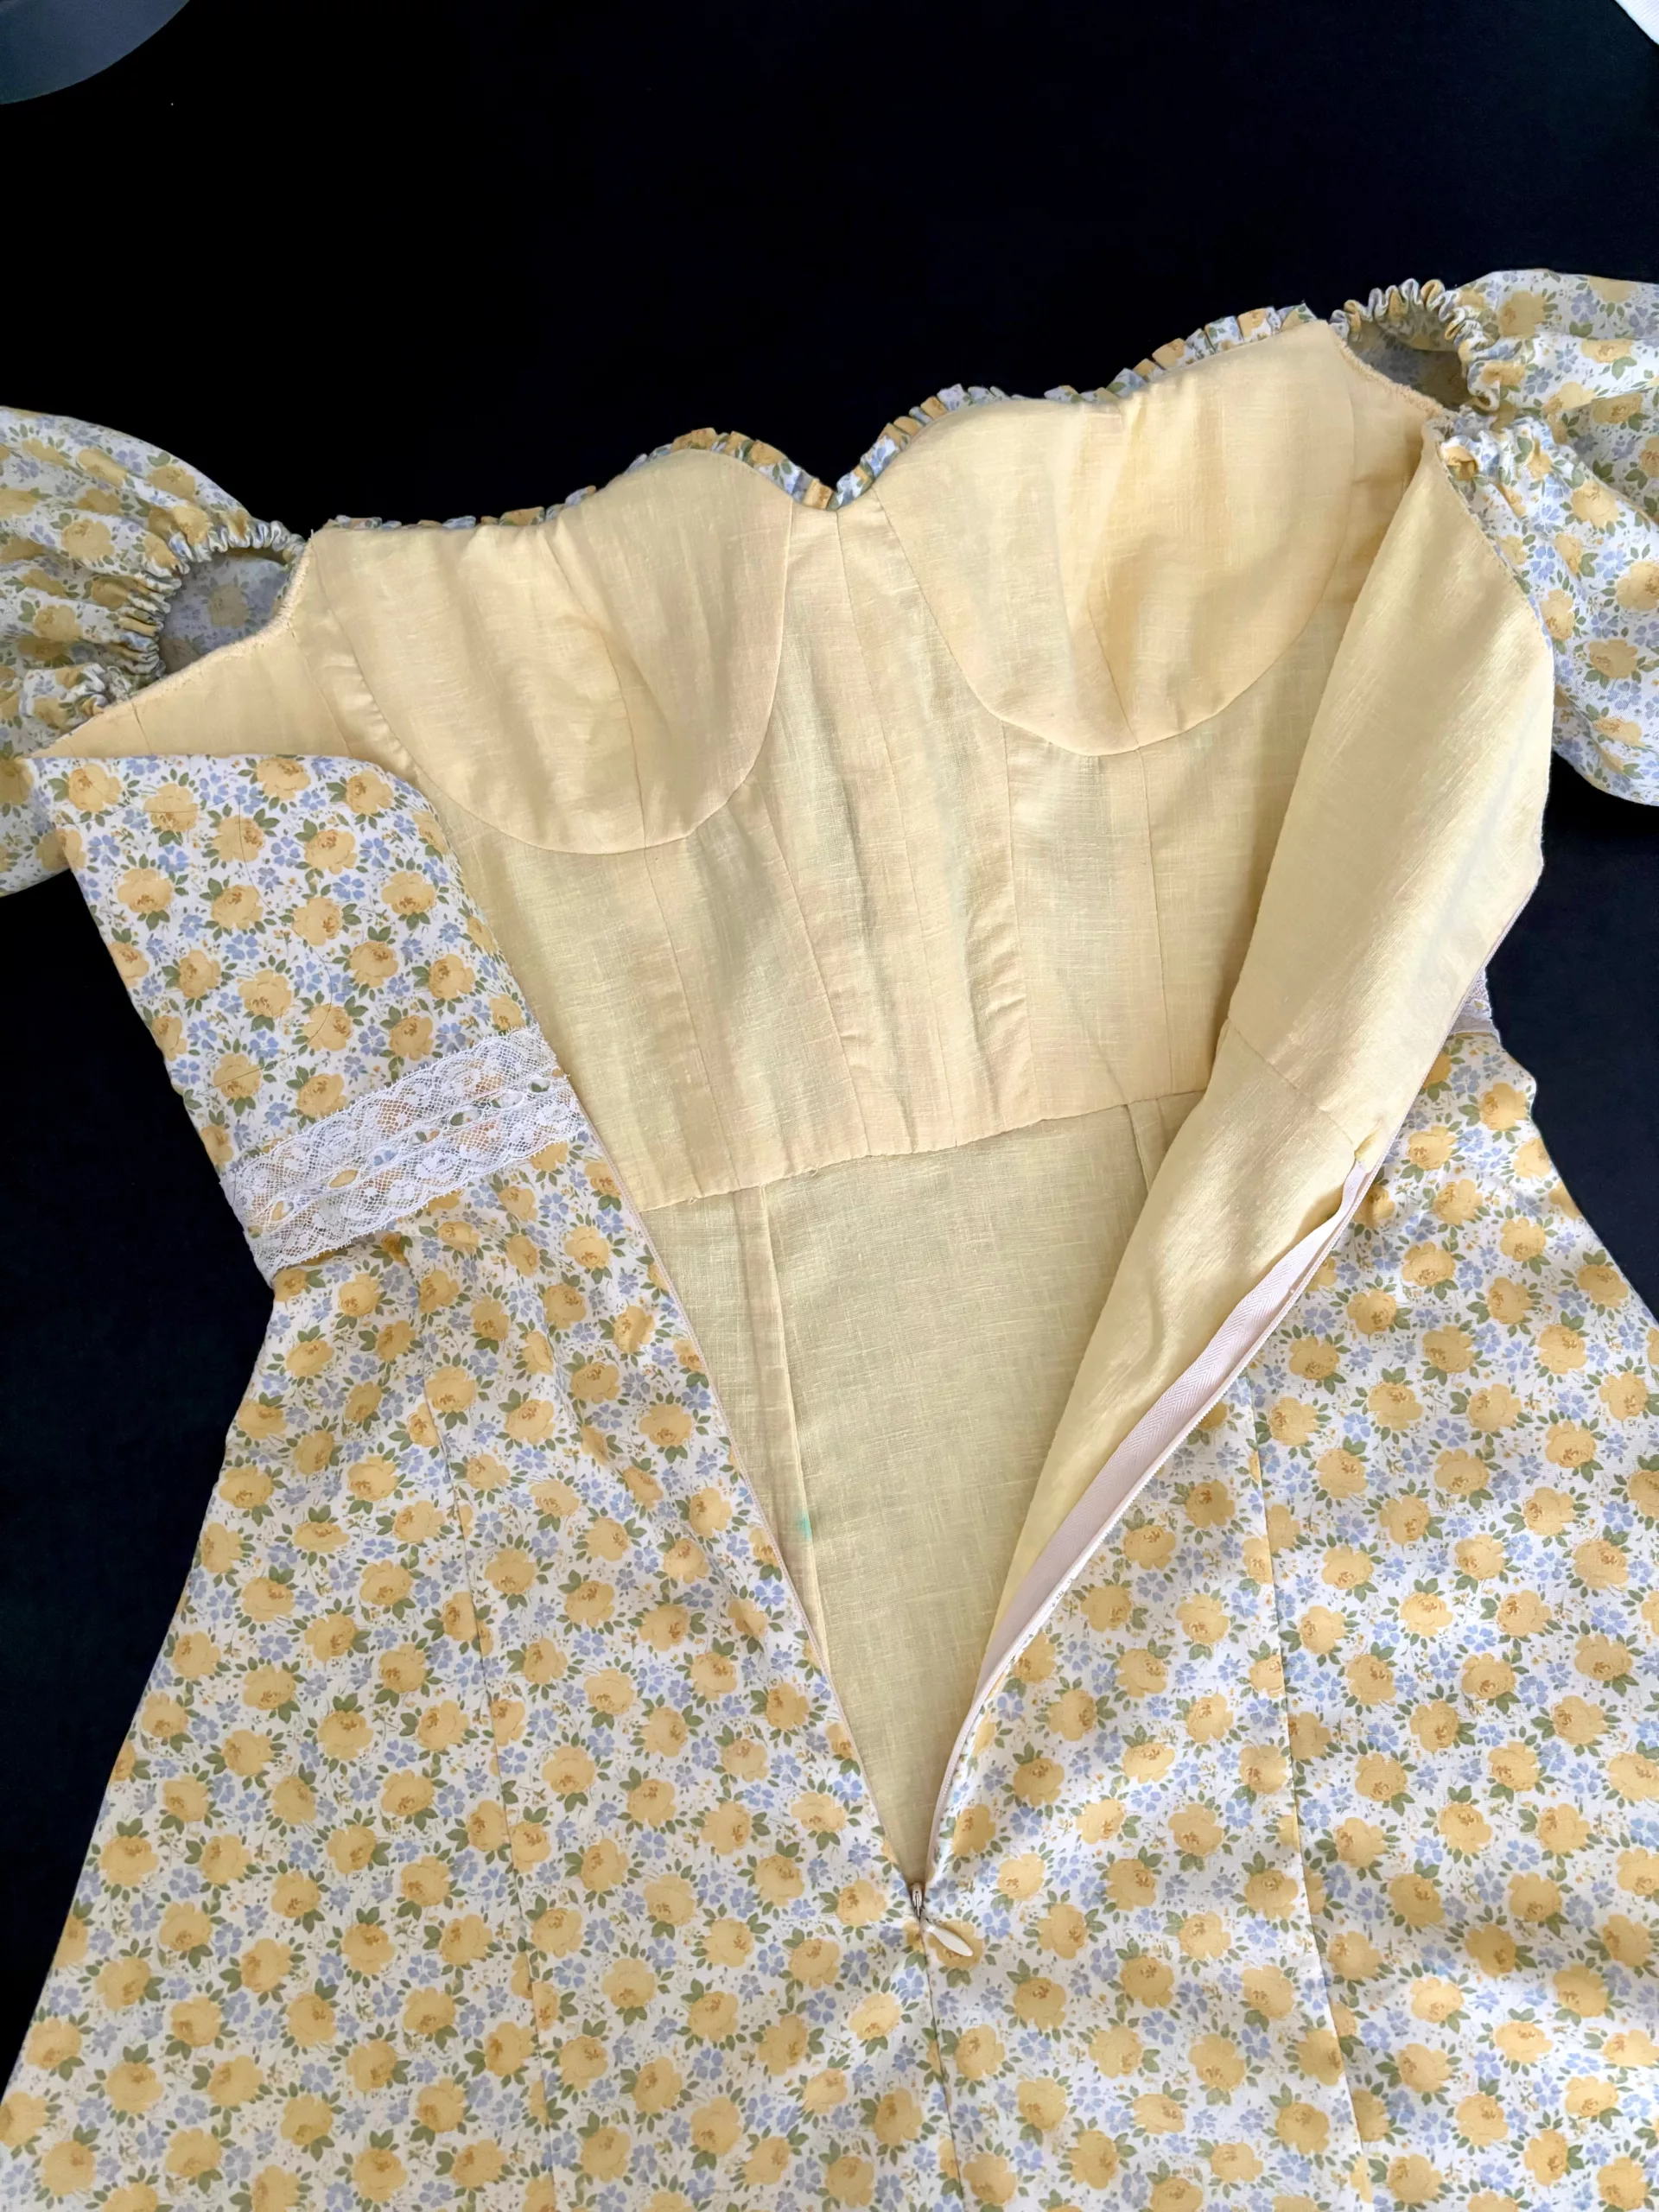
For this project, I had to purchase Rigilene boning (you can sew right through it), foam for the bust cups, and fusible interfacing (to make my lightweight floral fabric a bit stiffer). I thrifted the fabrics and notions.
The Sewing Process
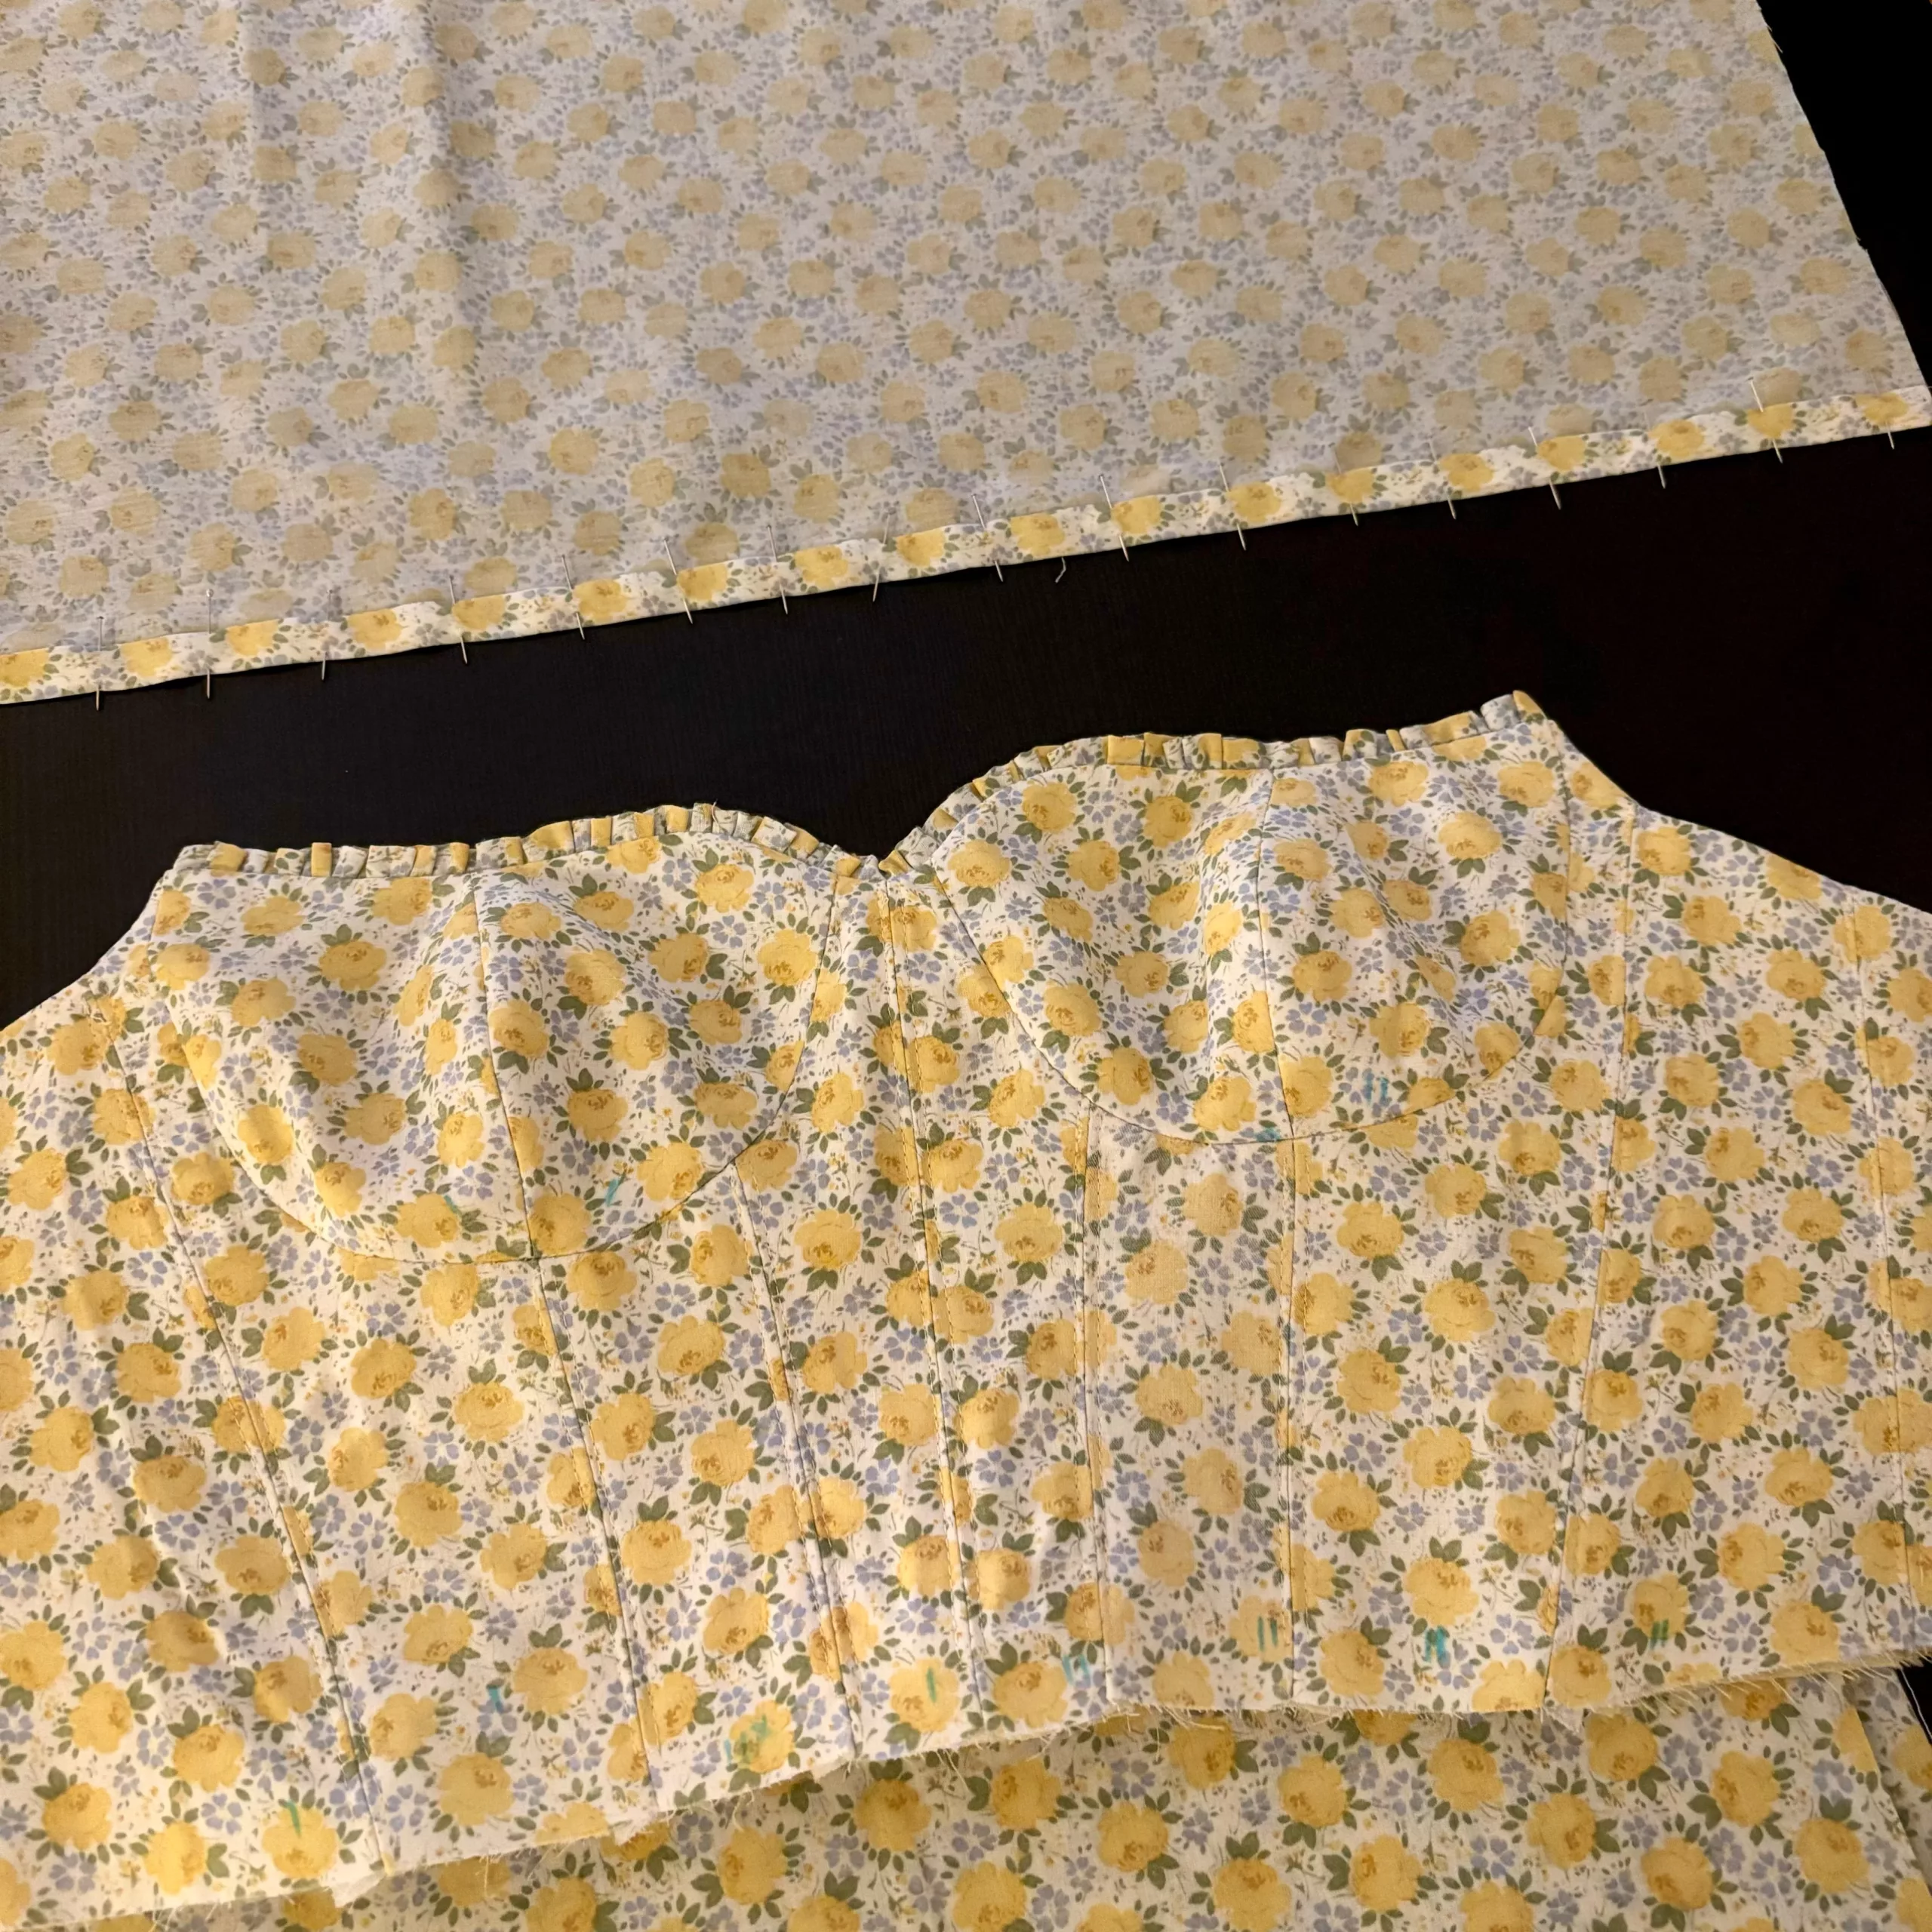
After cutting the front and back panels for the main fabric and lining, I labeled the pieces with a fabric marker and arranged them in order so I wouldn’t mix them up.

When sewing the bust foam cups, I had to push the outer and inner pieces towards the center tightly to avoid stitching through parts of the foam cross-sections. Securing the foam cups to the fabric was the trickiest part for me and I ended up sewing them by hand.
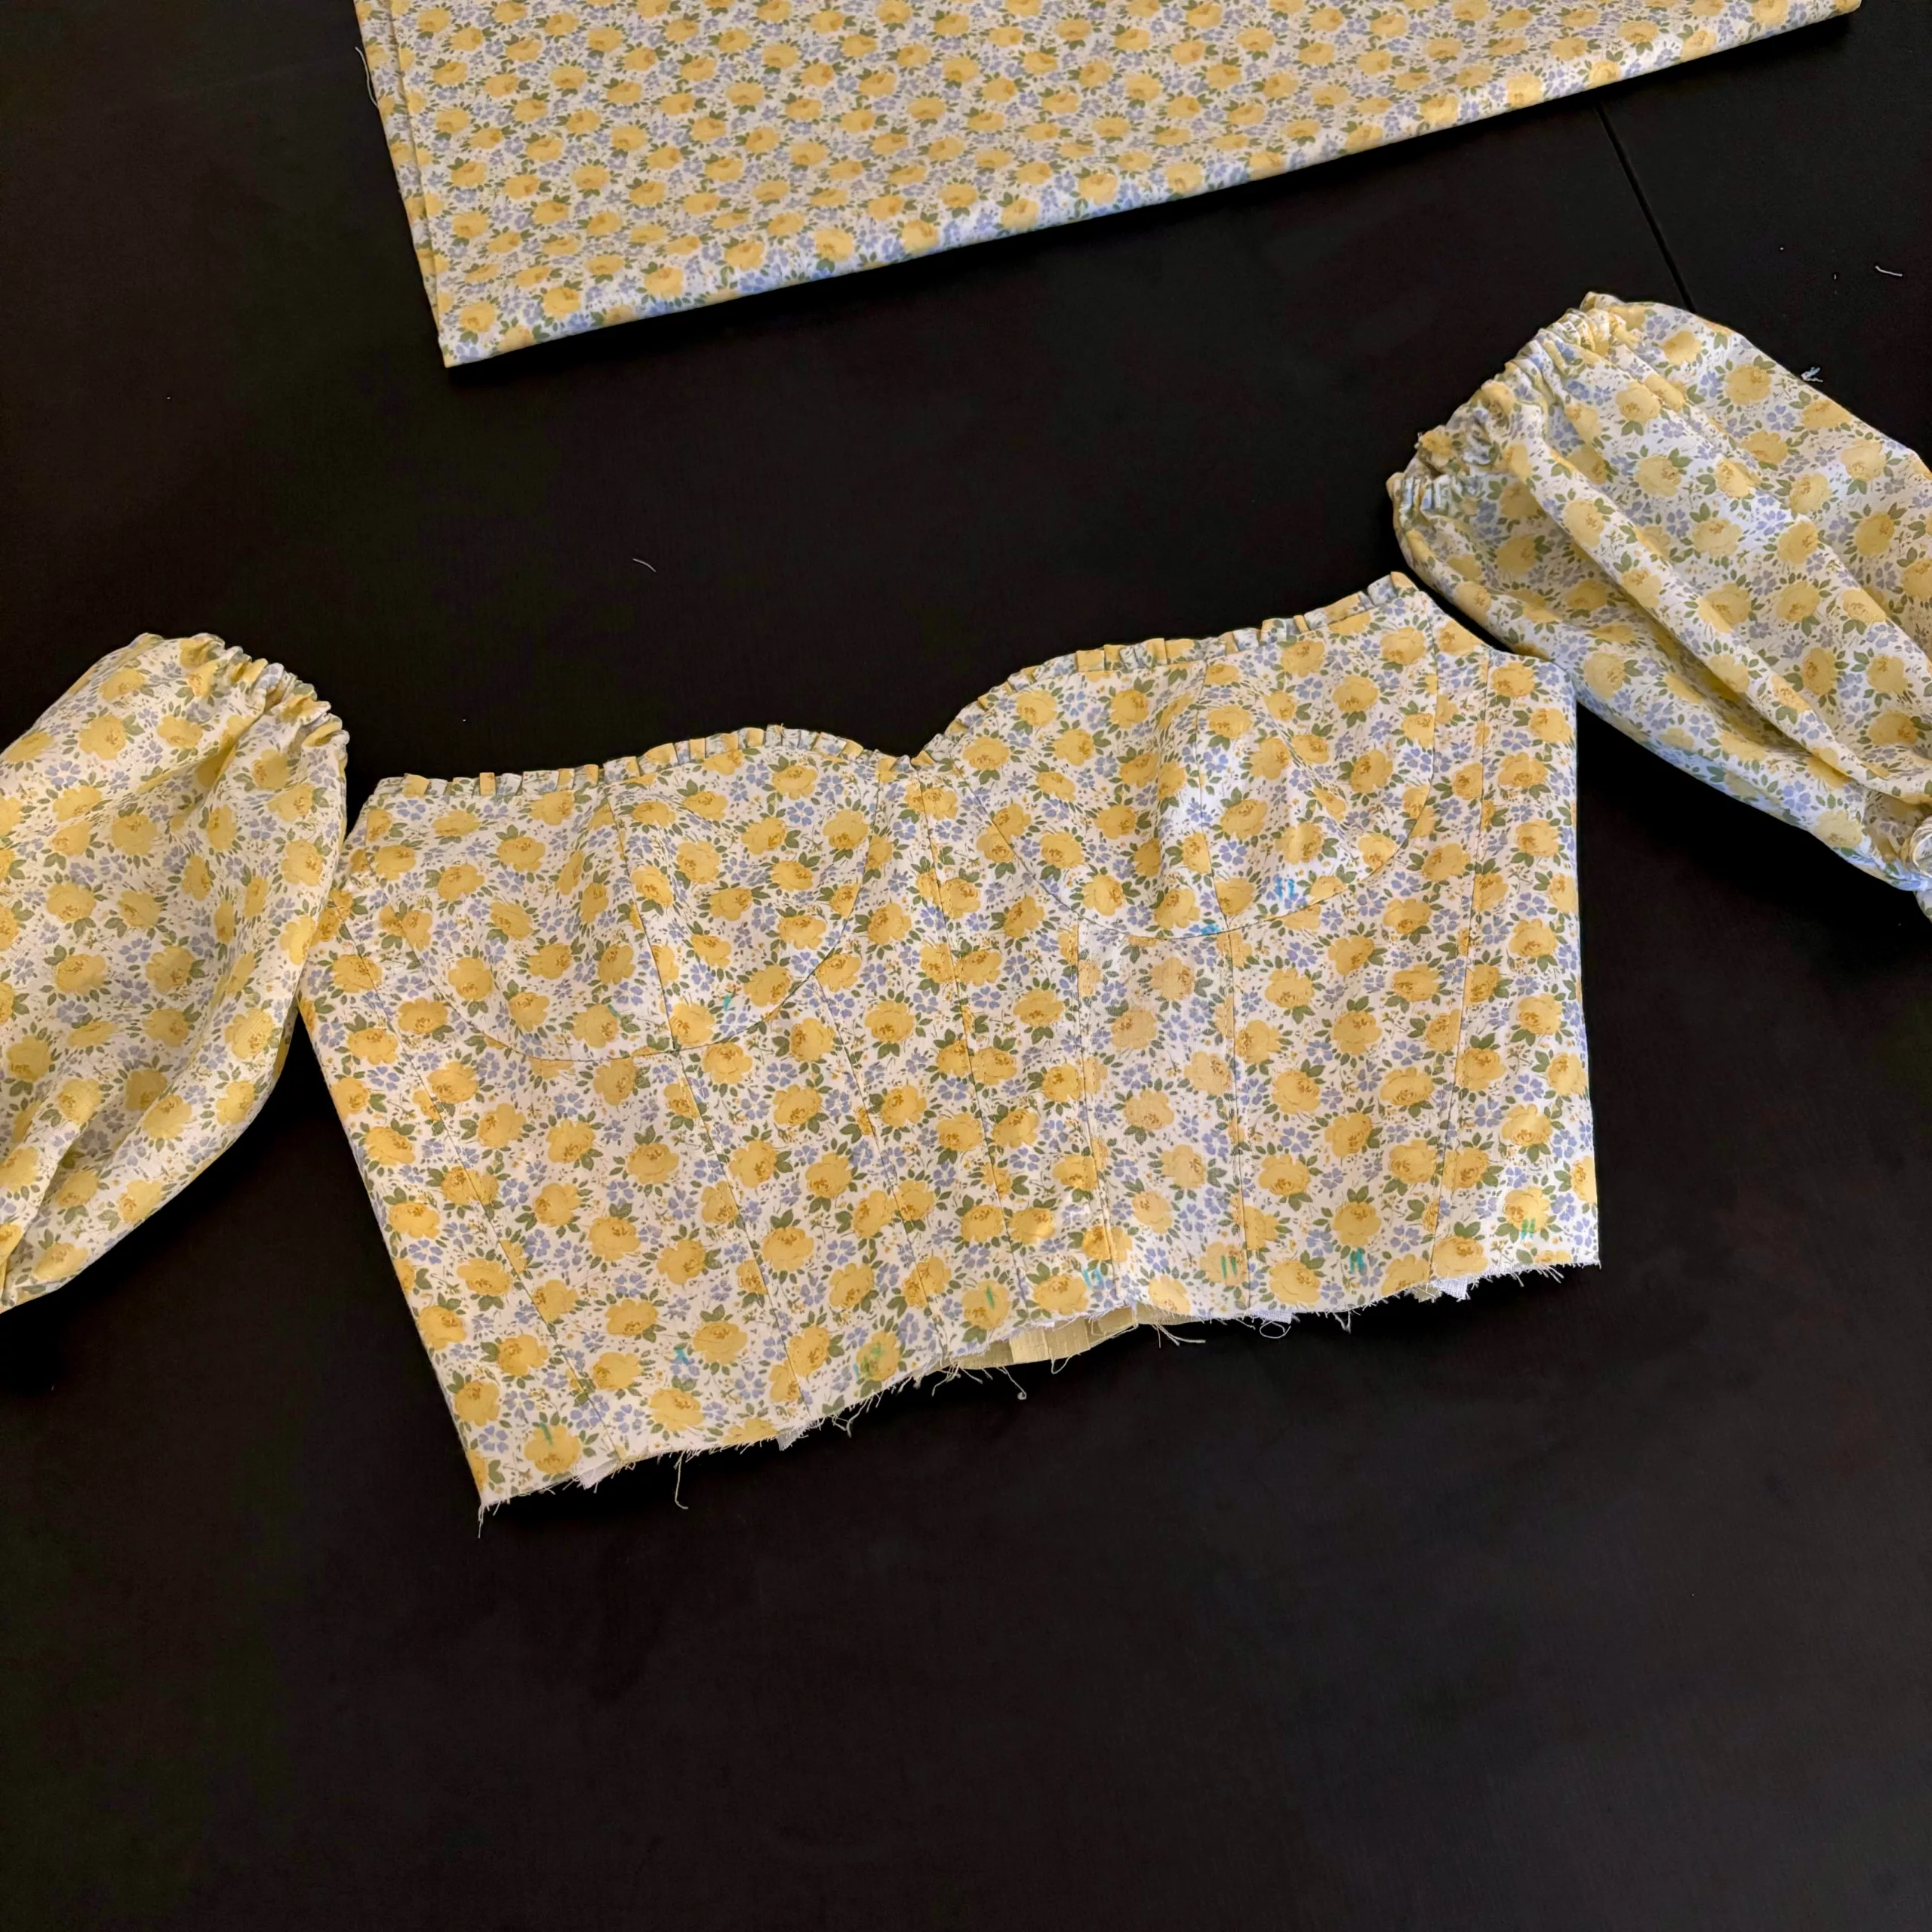
Sewing the boning directly onto the fabric was surprisingly easy, but intimidating as I always worry about sewing through the plastic part.
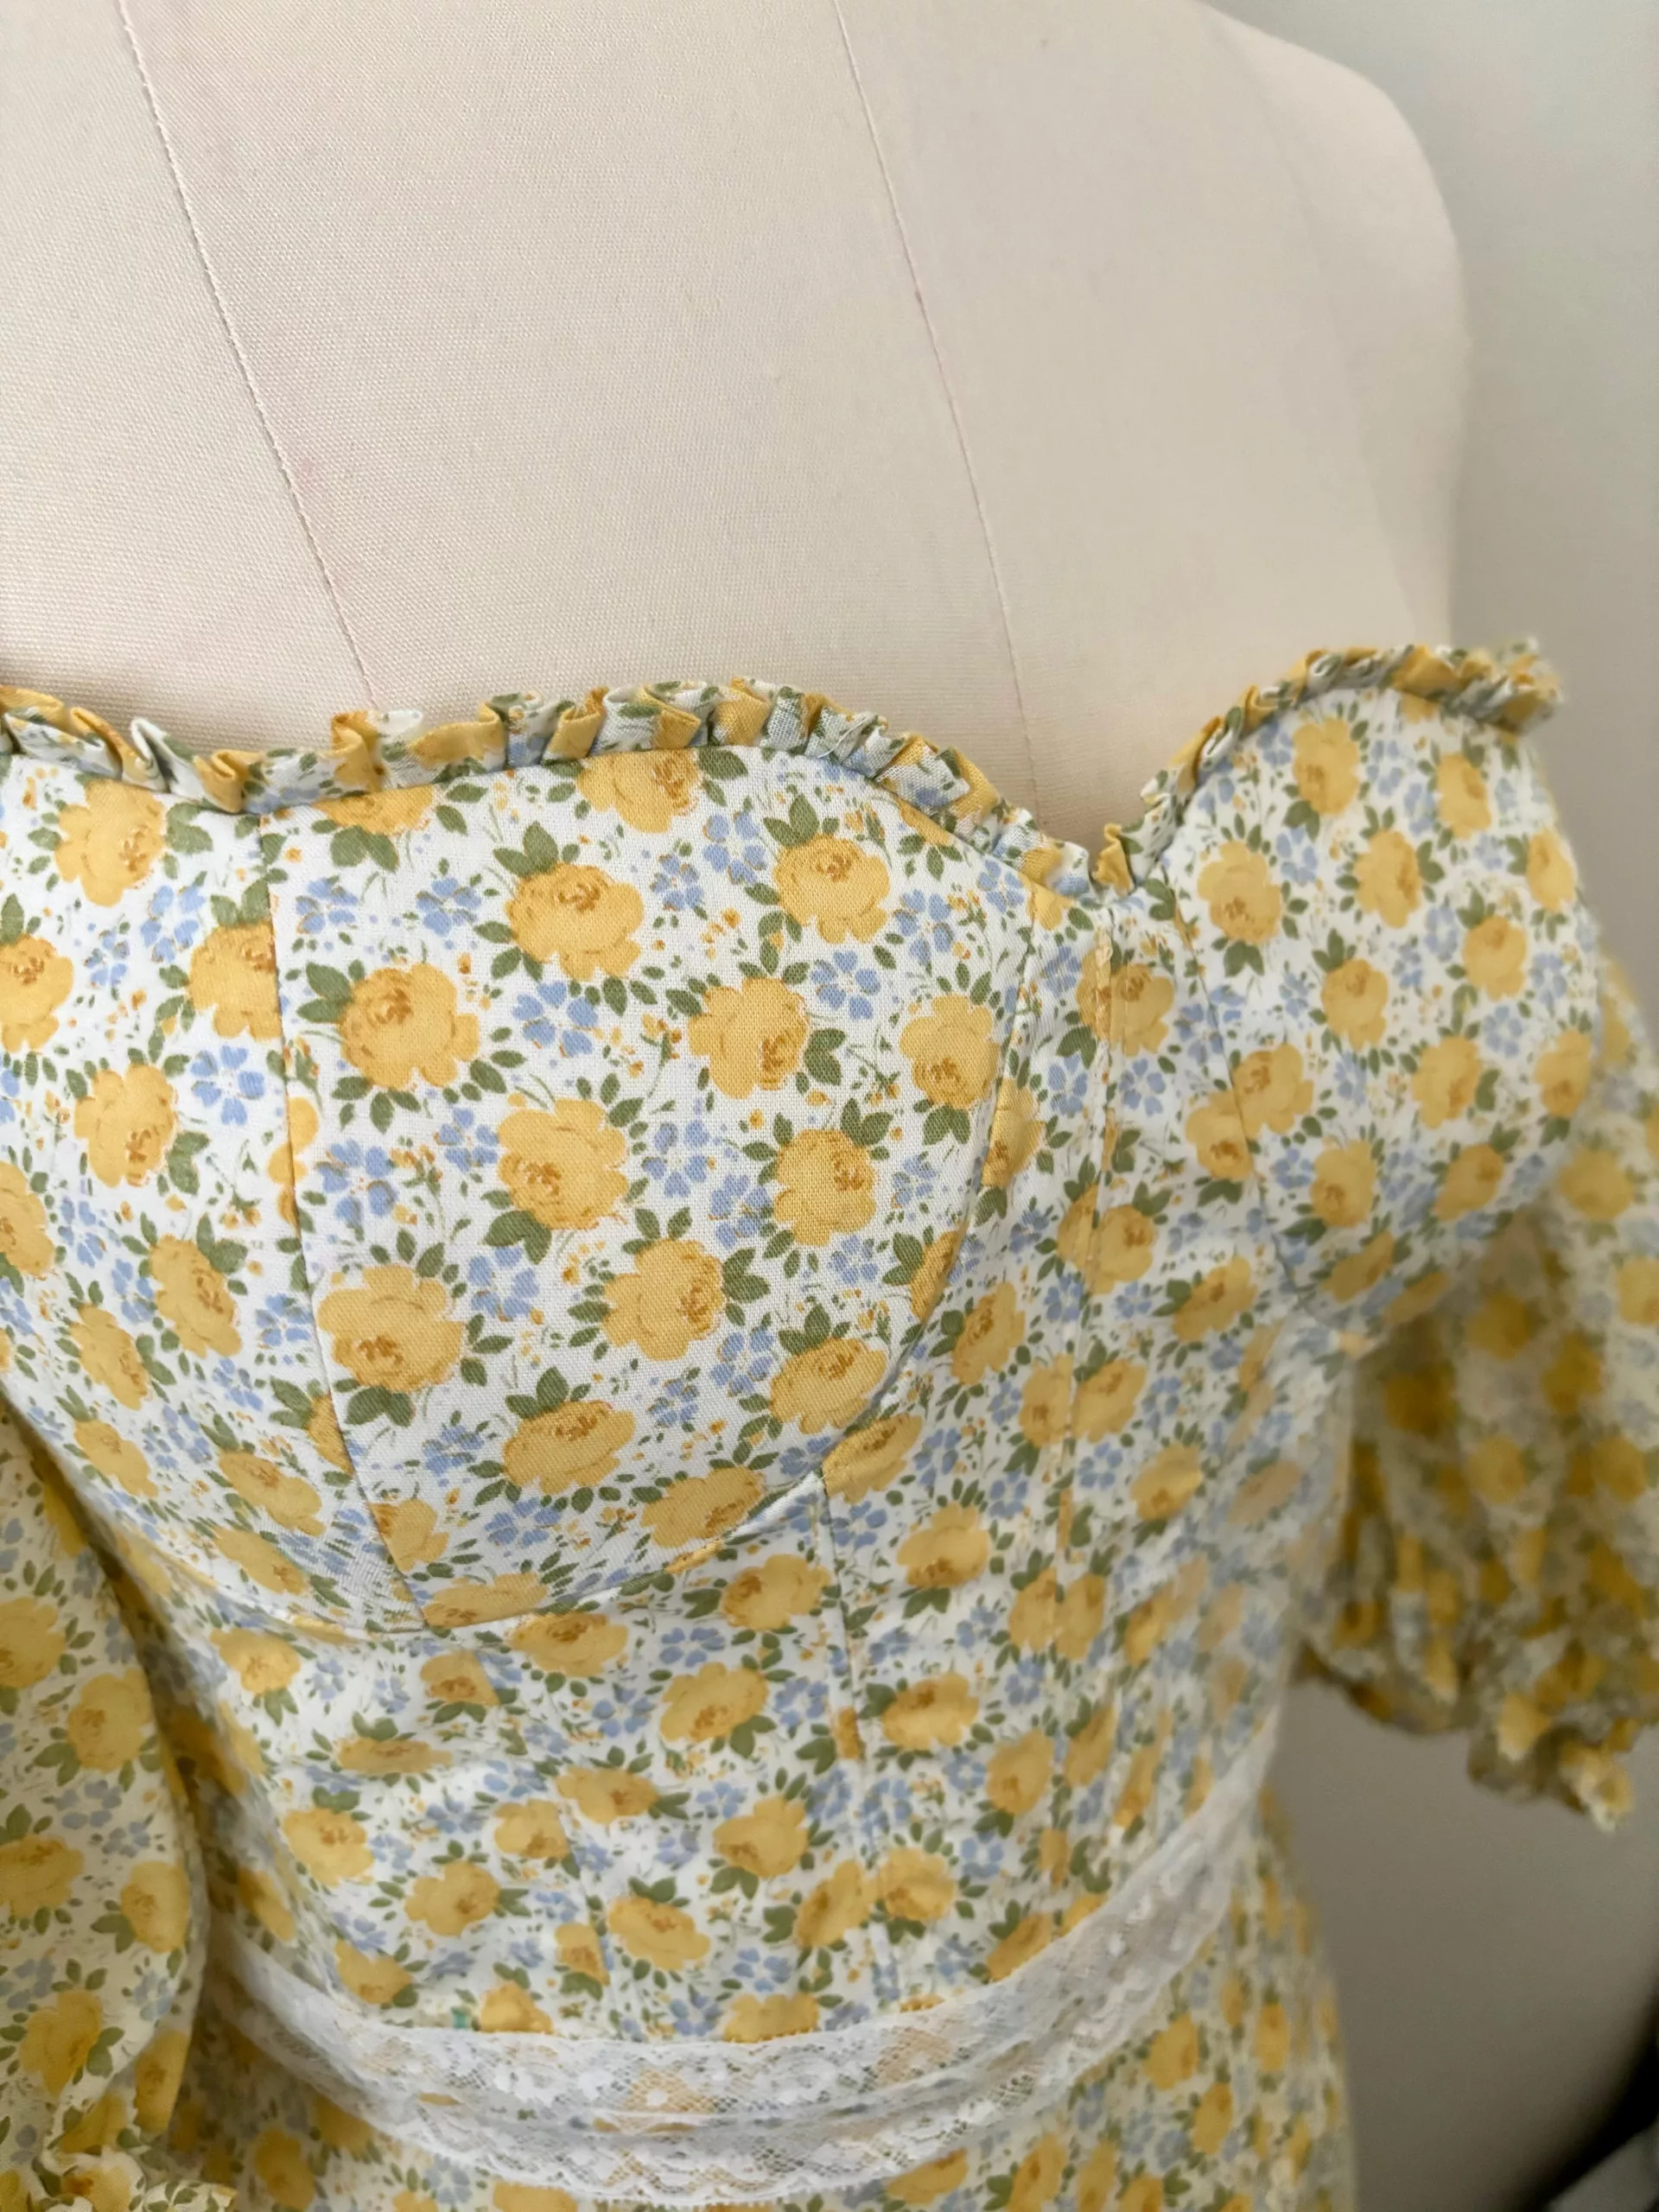
I also decided to sew a long narrow ruffle strip to attach to the neckline just like what Katrin (This is Kachi) did for her dress.
After finishing the bodice (yay!), I moved on to the skirt and tried to align most of the seams of the skirt panel and the bodice panels. I then installed the invisible zipper and puffy sleeves. I hand-sewed the bodice lining at the waist to hide any raw edges.
The Final Touches
When I tried it on, I noticed the bottom of the bodice kind of sagged down because of the bonings so I hand-sewed a lace trim at the waist to hide it. Maybe I had to sew the boning on the lining fabric next time? A lace-up corset style at the back might help as you can do a tighter fit.
The Dress Reveal
I got so many compliments for wearing this dress! It is a very dressy garden/picnic dress that I enjoy twirling in haha. I would love to make other versions of this dress or top (lace-up corset!) using this pattern soon.

Leave a Reply