During one of my treasure hunts at the local thrift store, I came across this stunning floral fabric with a seersucker texture. It sparked an adorable and super easy DIY project in my imagination. The fabric measured approximately 60 x 45 inches, providing ample length to cover the height of the dress and wrap around me about 1.5 times. This dress was created with minimal waste and without the need for a pattern.
Disclaimer: This post contains affiliate links, which means that while I am not paid to promote certain items, I may earn a small commission should you purchase items through these links at no cost to you.
Marking the shirring lines
I measured the desired length for my skirt, adding 3.5 inches for ease and seam allowances. The extra allowance ensures I avoid any unexpected shortness in the finished skirt! Afterward, I began marking shirring lines parallel to the selvage across the entire fabric. I alternated between lines 1 inch and 1/4 inch apart to create texture. Make sure to mark these lines on the right side of the fabric! The shirring elastic will be placed in the bobbin and sewn on the wrong side, facing away from you. Please learn from my mistake and don’t waste your precious sewing time!
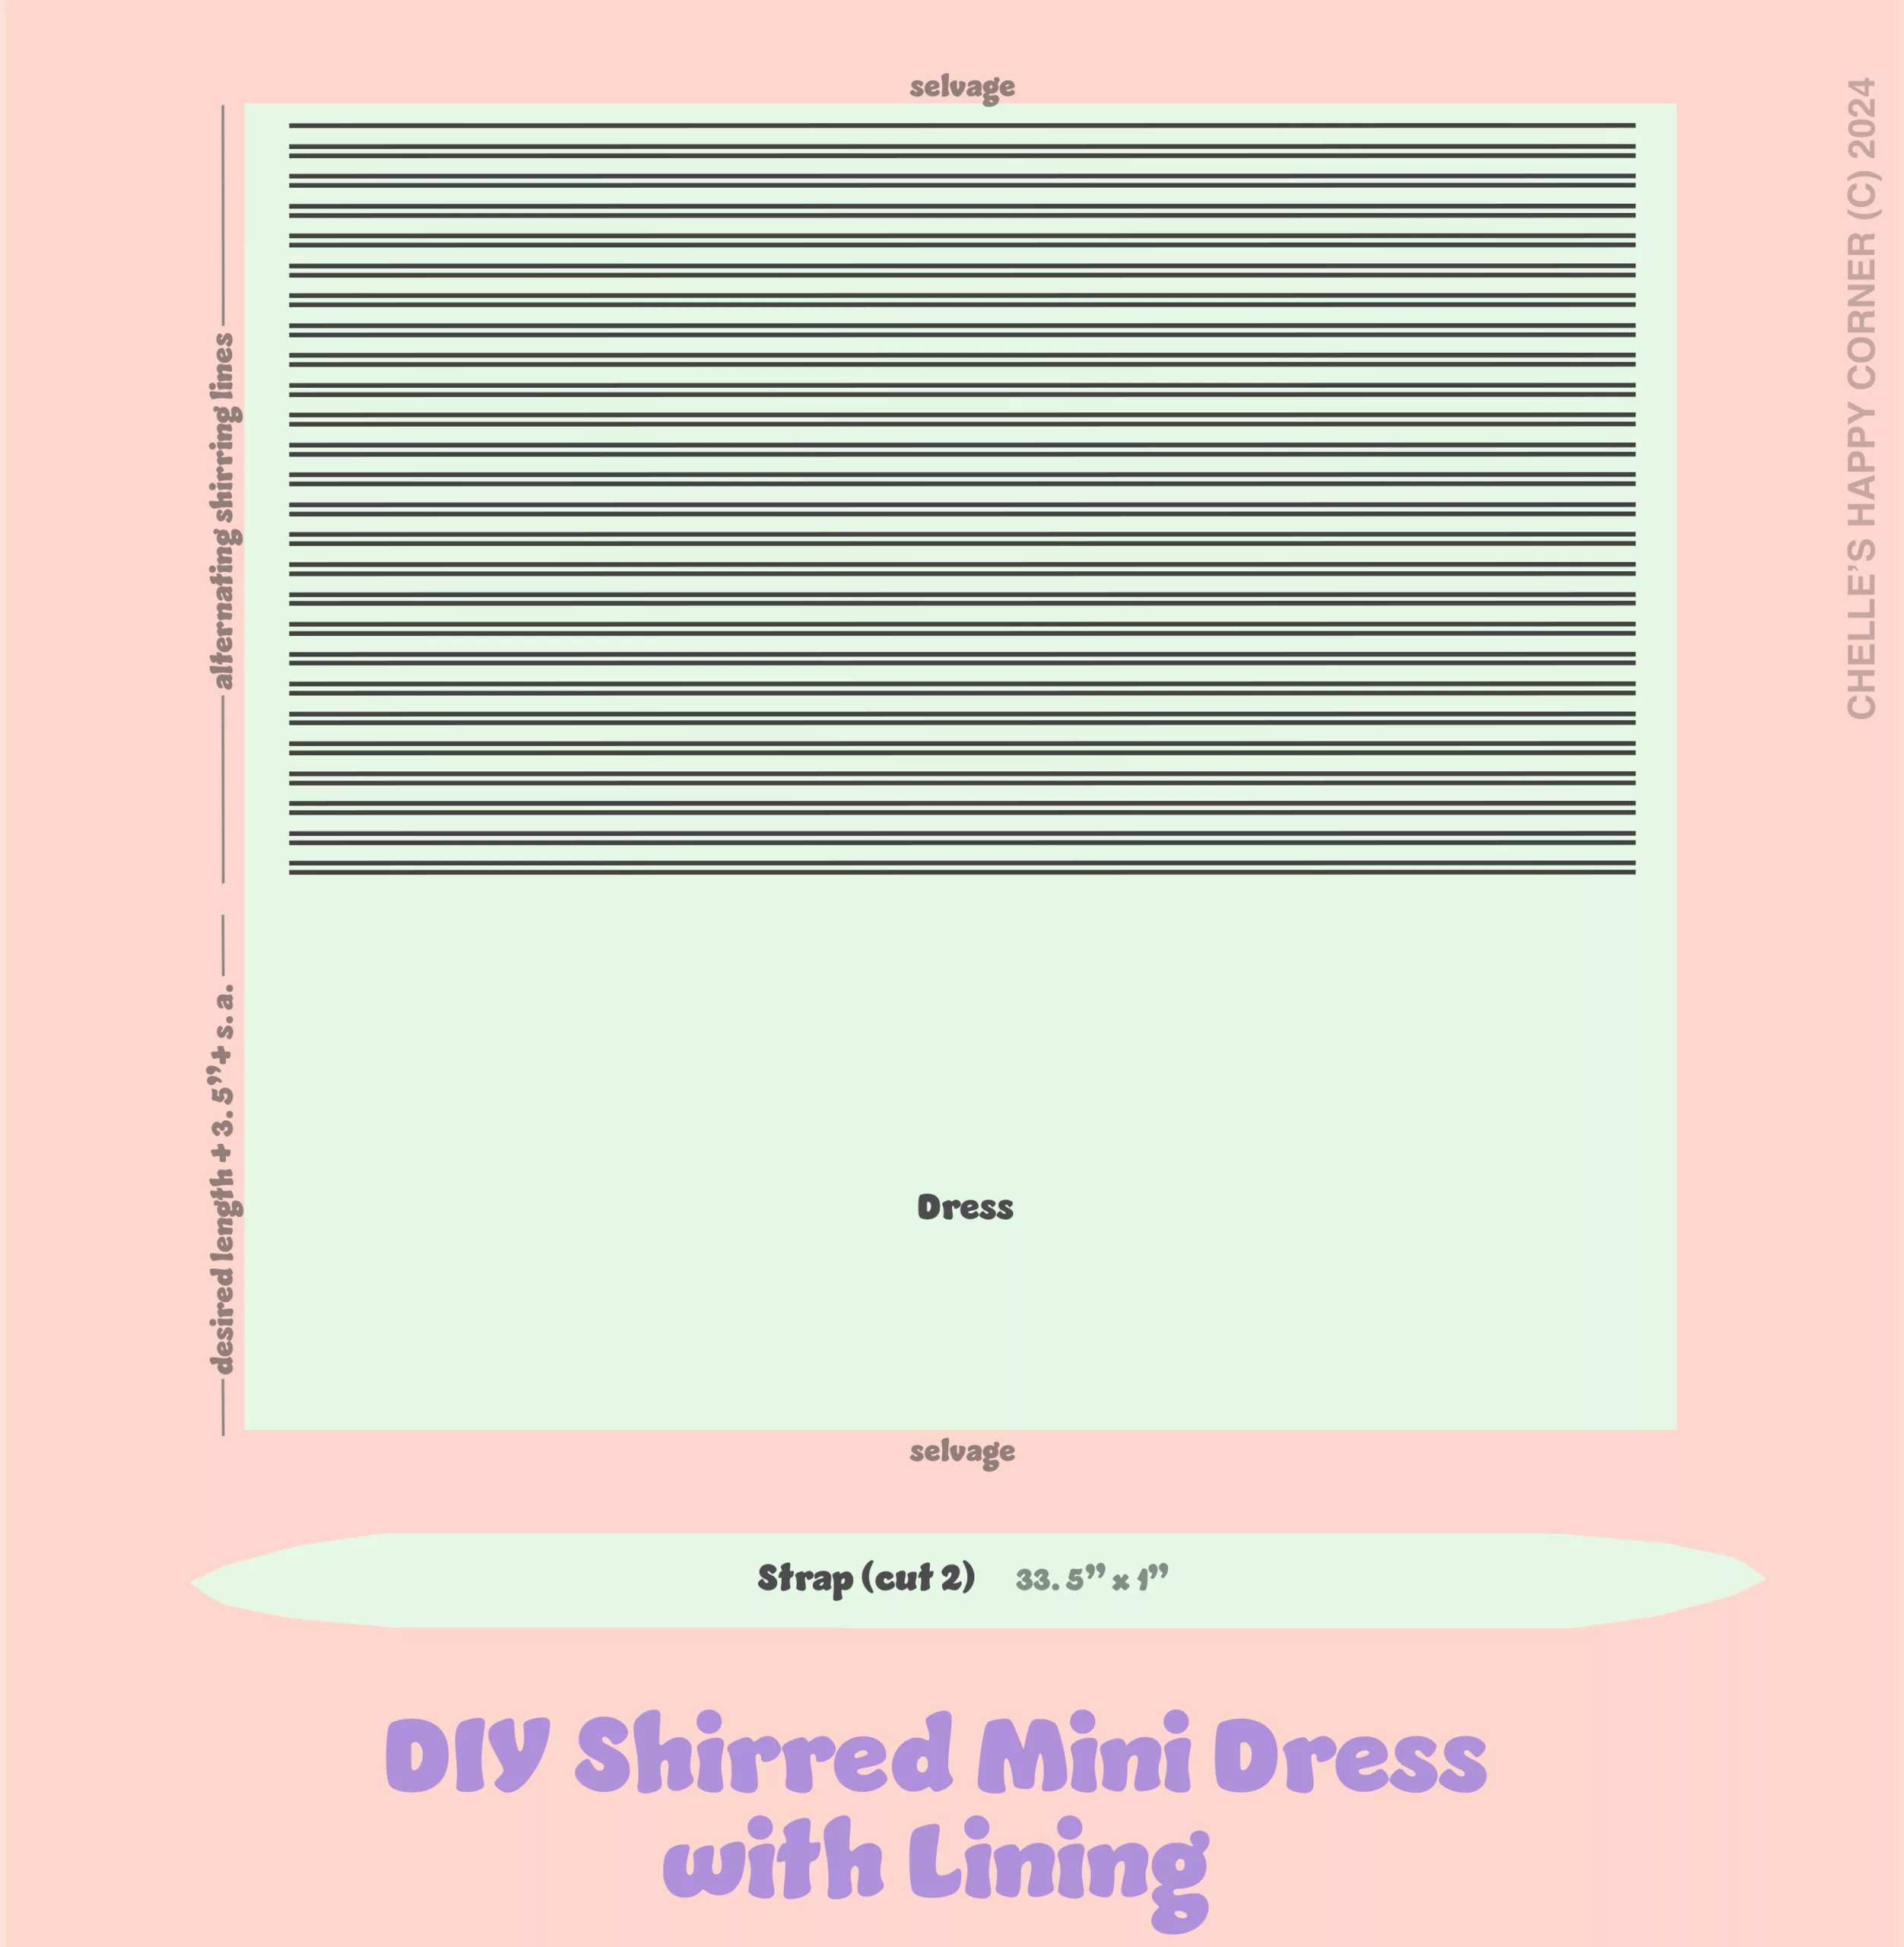
Marking the shirring lines
This project is essentially 90% shirring. If you plan to recreate it, I recommend winding multiple bobbins with shirring elastics before you begin to avoid interruptions during your work. I found myself having to switch out the bobbin every couple of rows.
If you’re new to shirring, practice on scrap fabric and watch tutorials to get comfortable with your sewing machine’s handling of elastic thread. Many tutorials recommend winding a bobbin with elastic thread by hand without stretching it. However, I had to stretch the elastic thread to gather my fabric properly, for some reason.
Before shirring the last few rows, I hemmed the bottom and top parts of the dress. Hemming too close to the shirred lines can be challenging. I found using a narrow hem foot to be a time-saver! You can check out more of my favorite sewing supplies here. If the skirt ends up too long for you, you can adjust the length before hemming it.
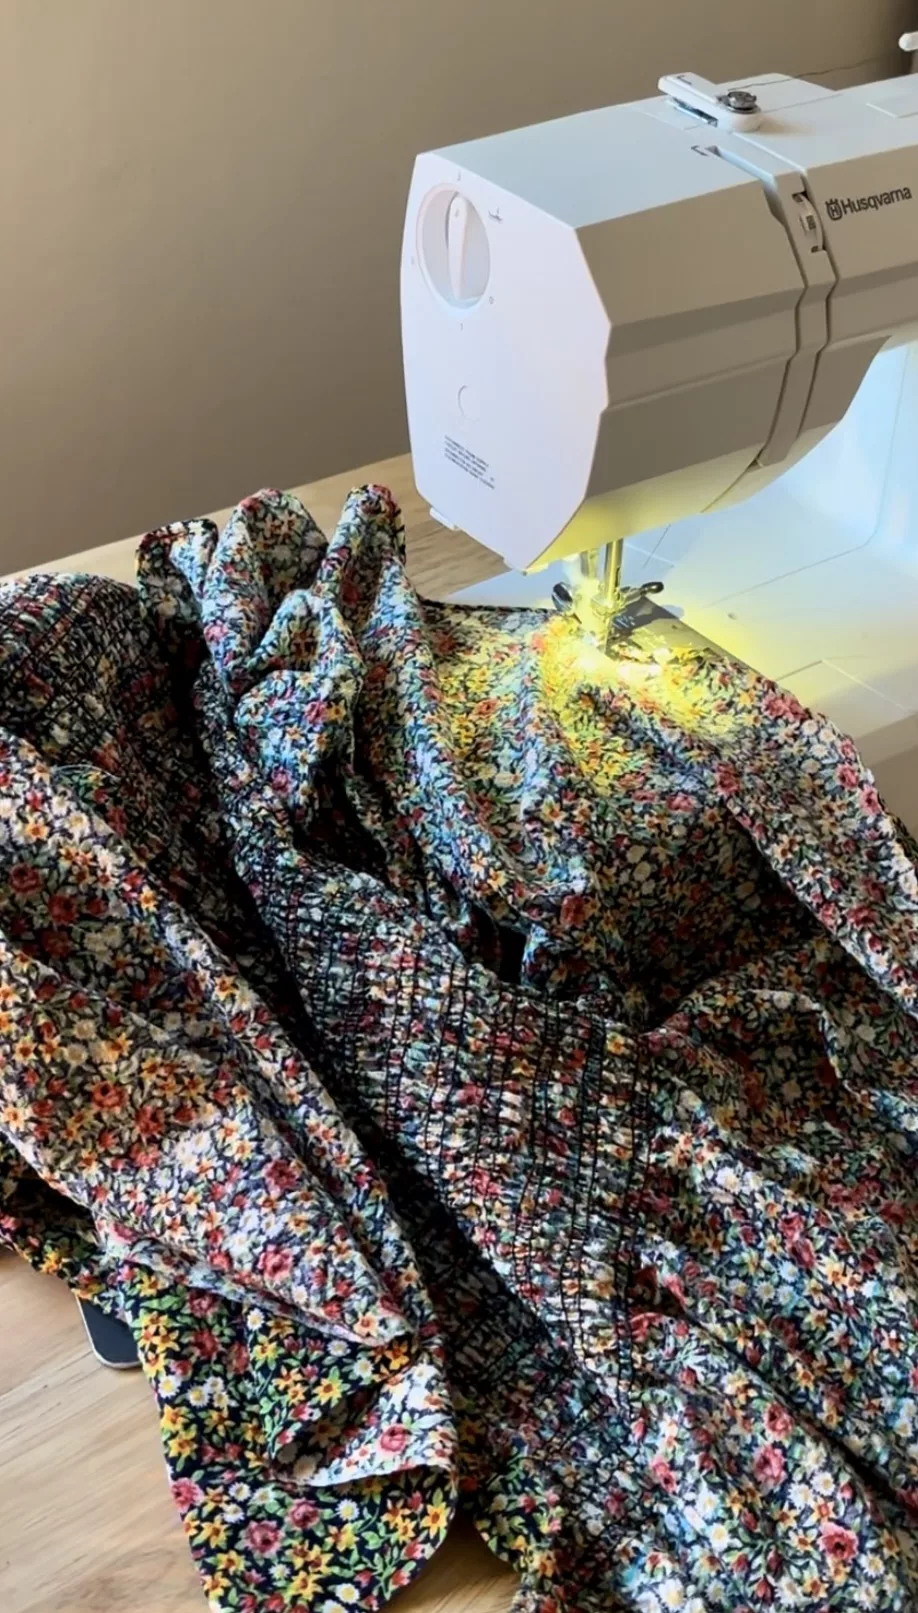
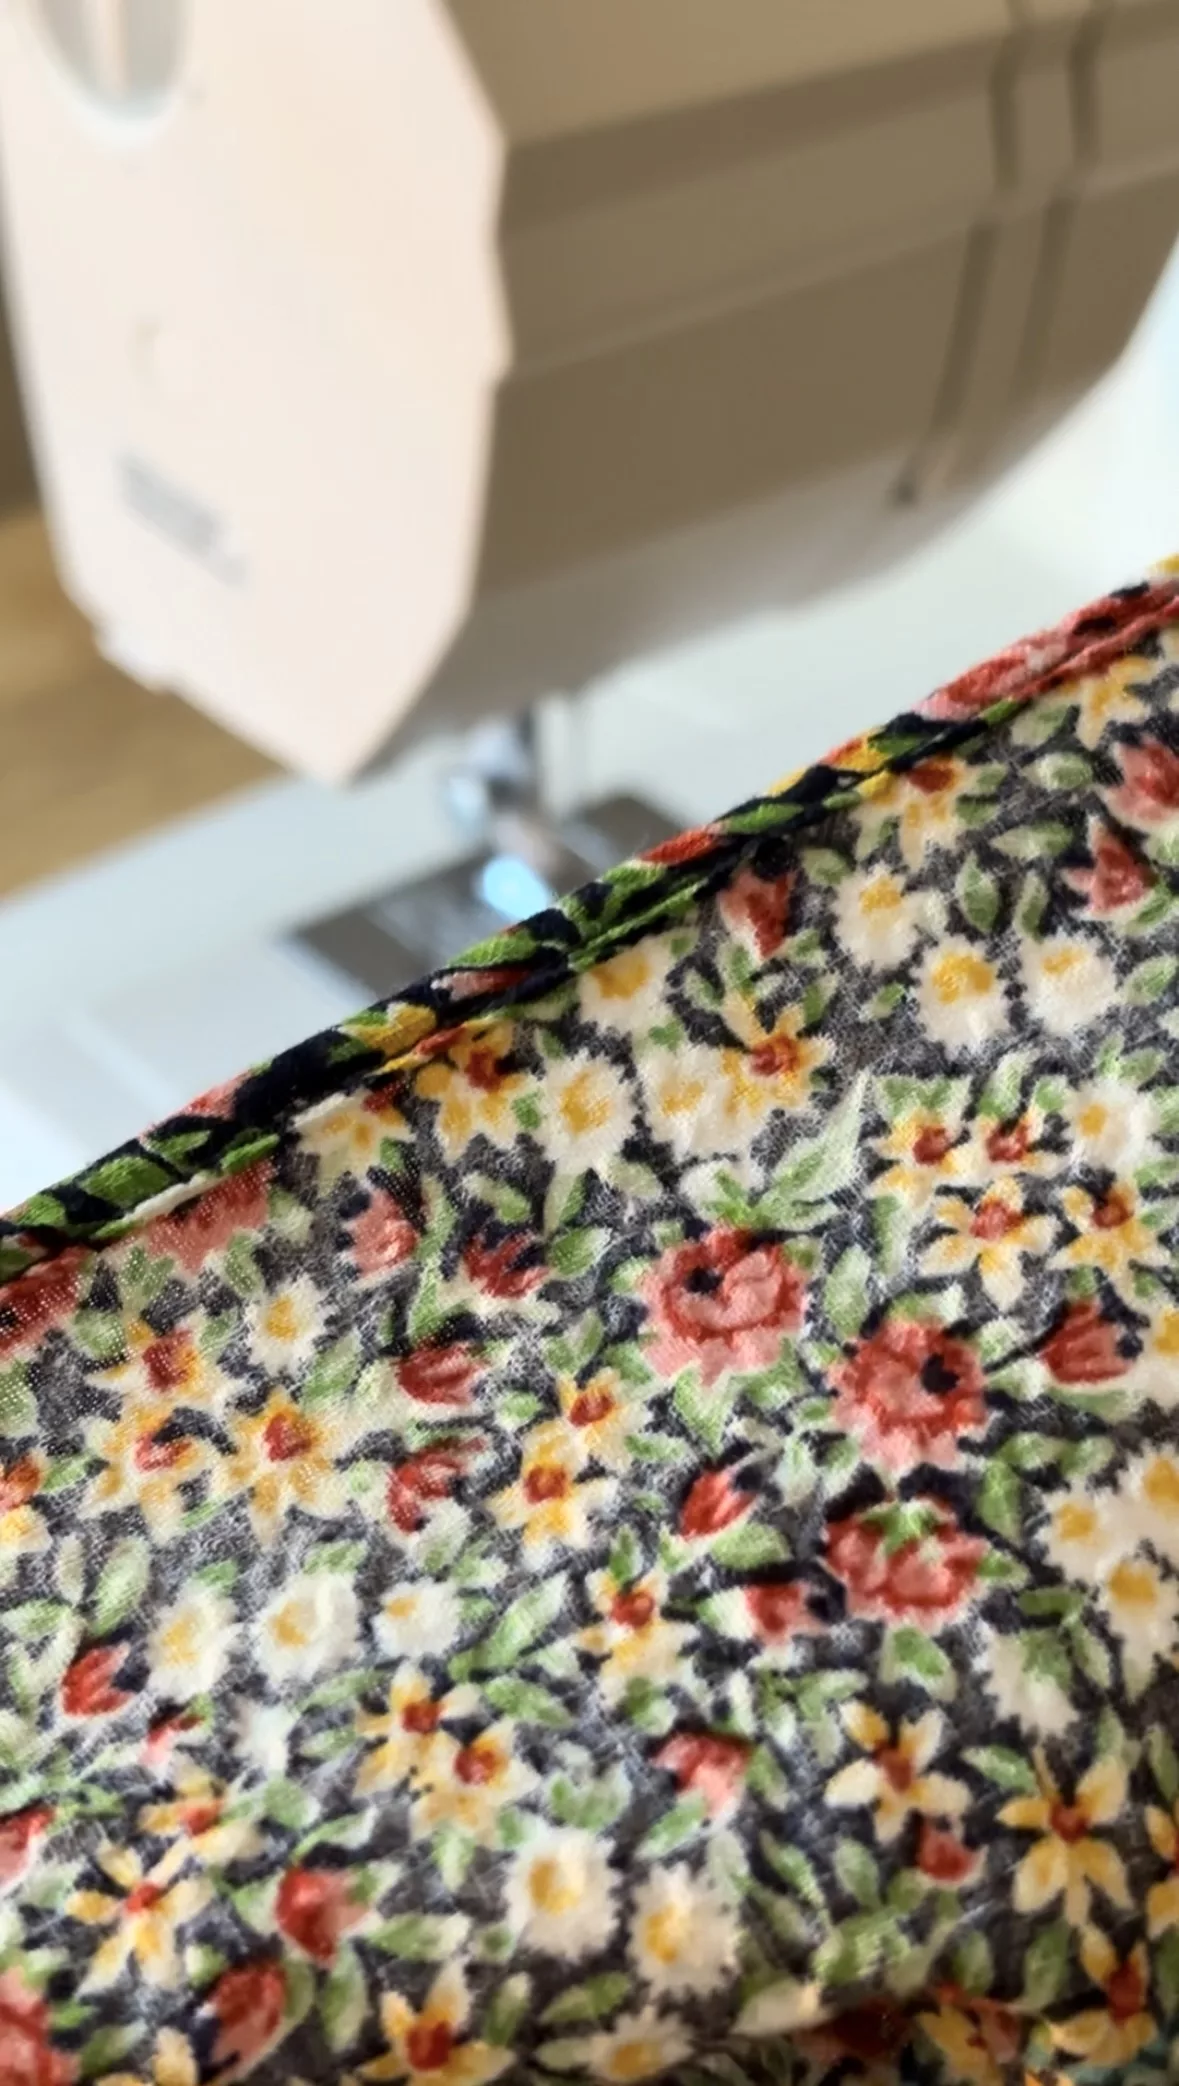
Finishing the dress
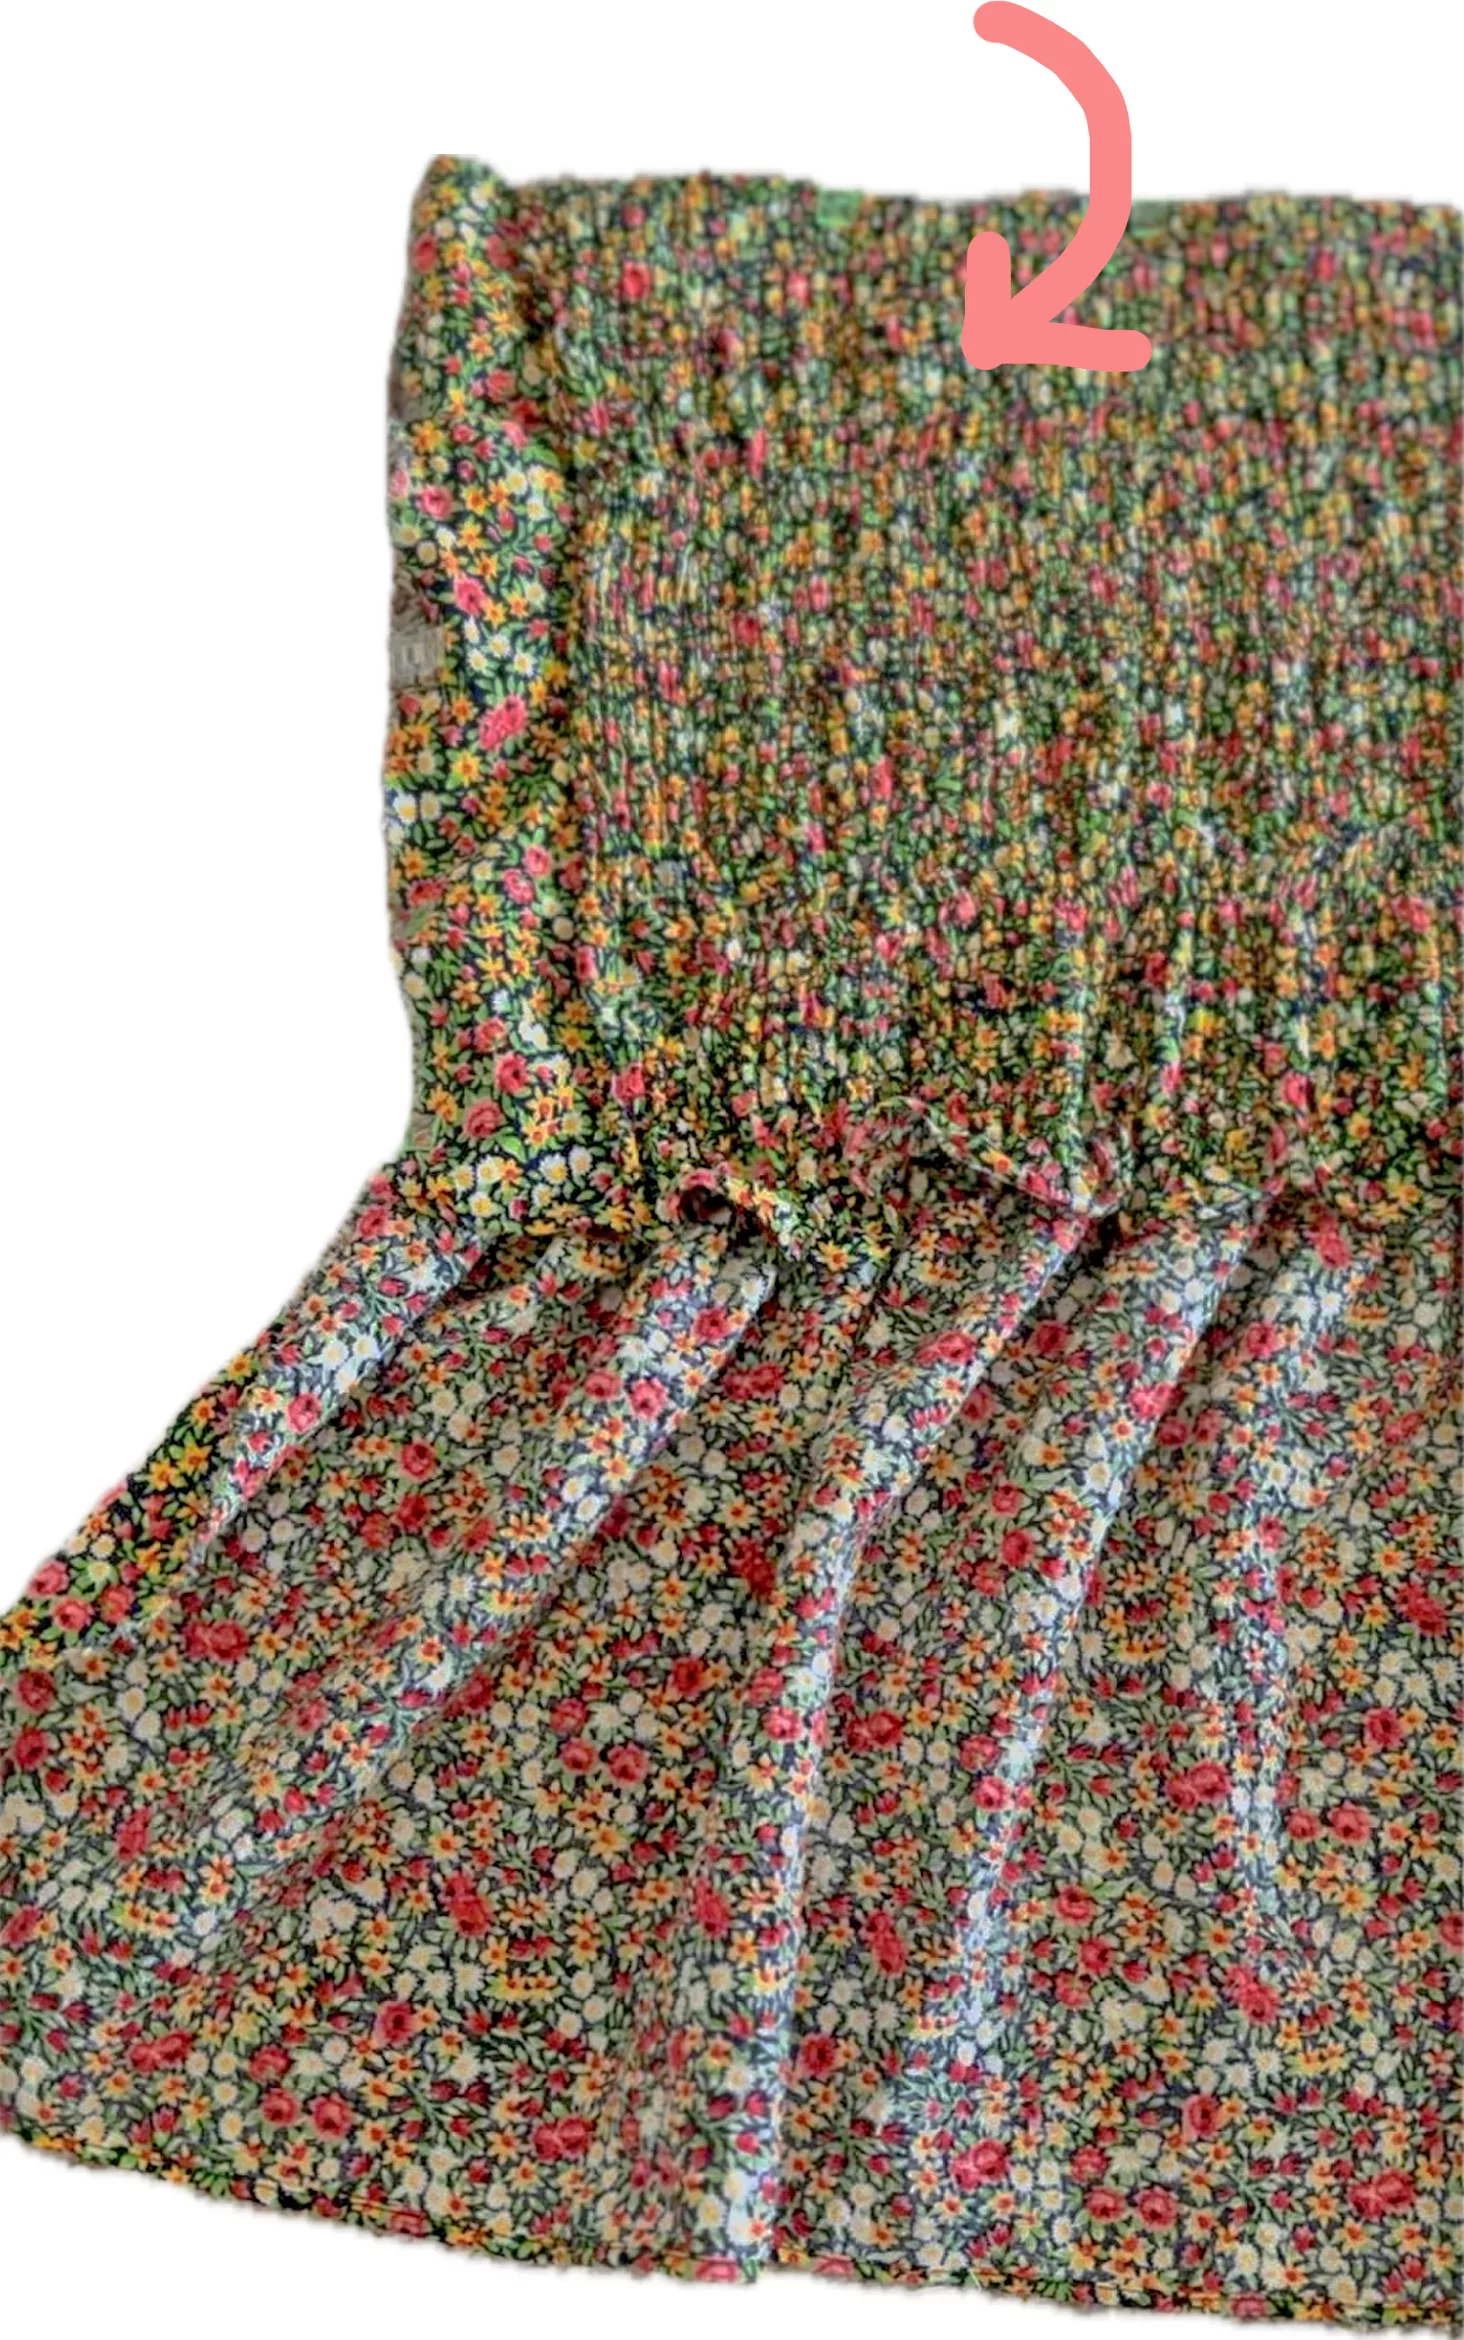
Once I finished the shirring (phew!), I measured where I wanted the top of the dress to sit and then folded the rest of the shirred fabric inward to create a lining. I opted for a double layer for added comfort, ensuring the elastic threads wouldn’t rub against me and allowing me to go braless.
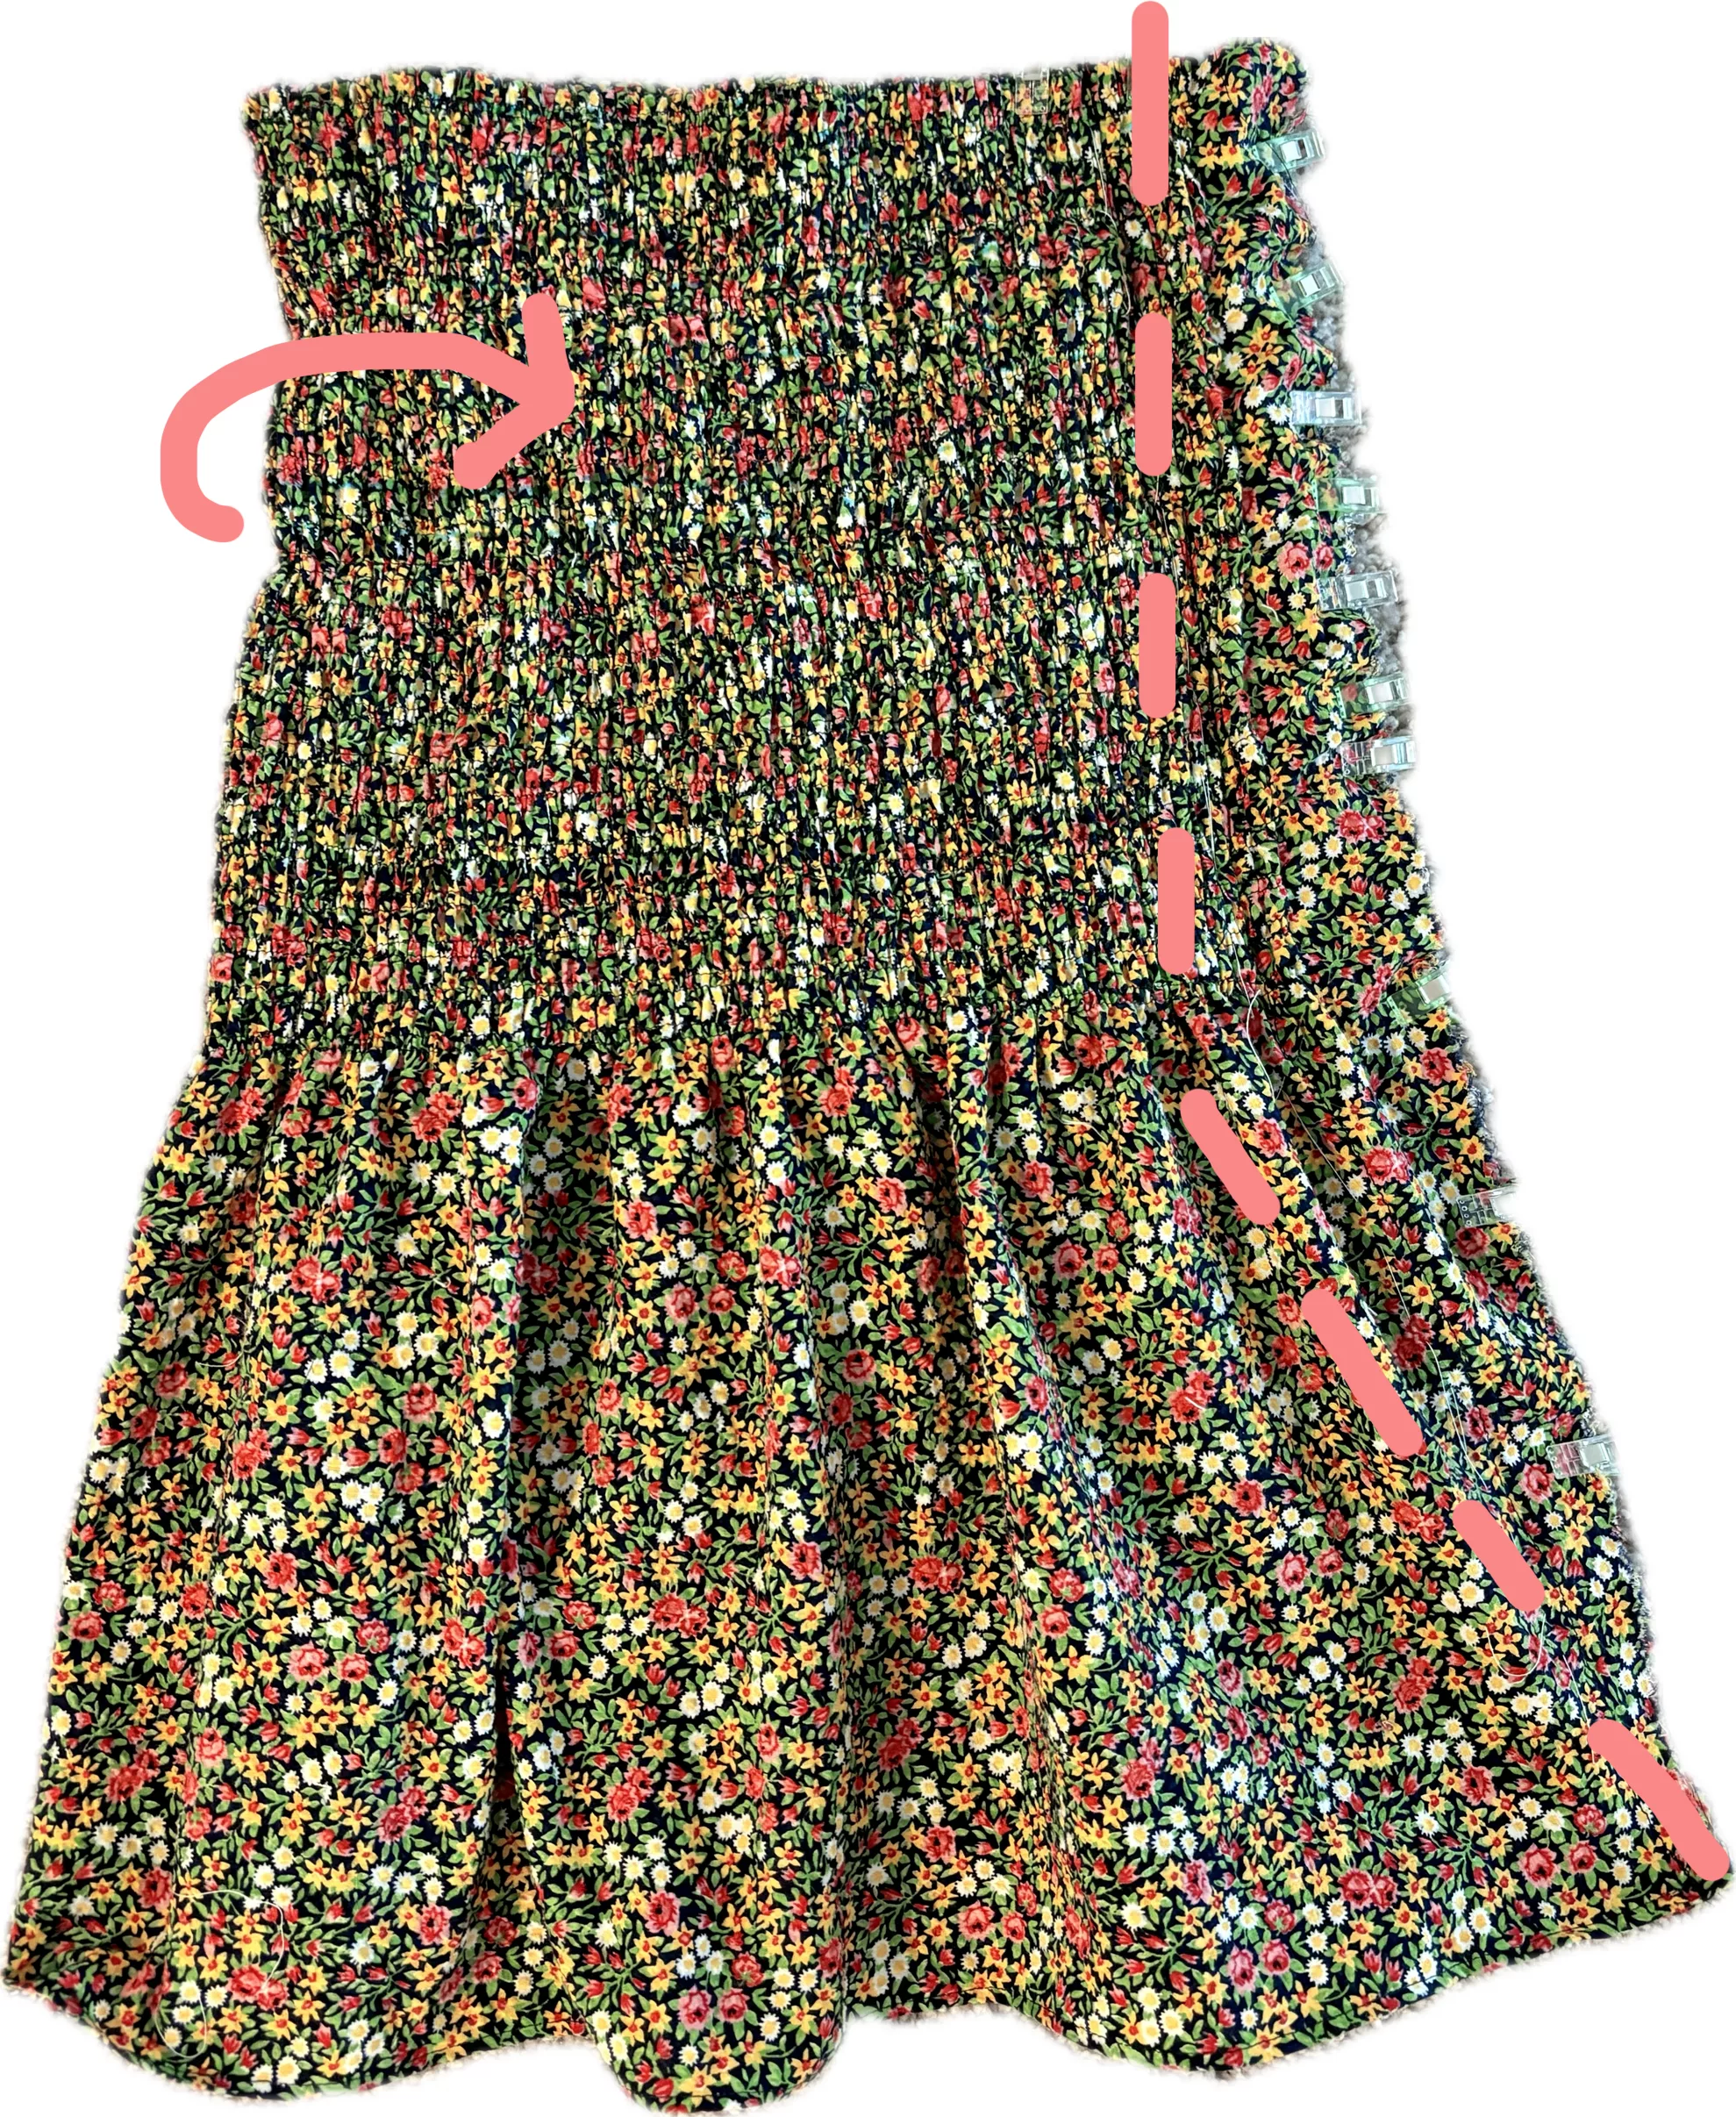
I draped the shirred fabric around myself to determine the placement of the side seams. Then, I basted the side seams together, stitching straight along the bodice and flaring out towards the end of the skirt (see picture). I tried it on before sewing the side seams with French seams. You want the bodice to fit snugly enough. If it’s too tight, the elastic will easily break, but if it’s too loose, you’ll end up with unflattering “bubbly” pockets around the bodice. If you prefer a strapless dress, you can stop at this point.
Using the scraps to make sleeve straps
After sewing the side seams, I trimmed away the excess fabric and repurposed the remnants to craft off-shoulder straps for the sleeves. With the remaining fabric, I cut two long rectangular strips, each tapering to a point at both ends, approximately 1 inch wide and 33.5 inches long.
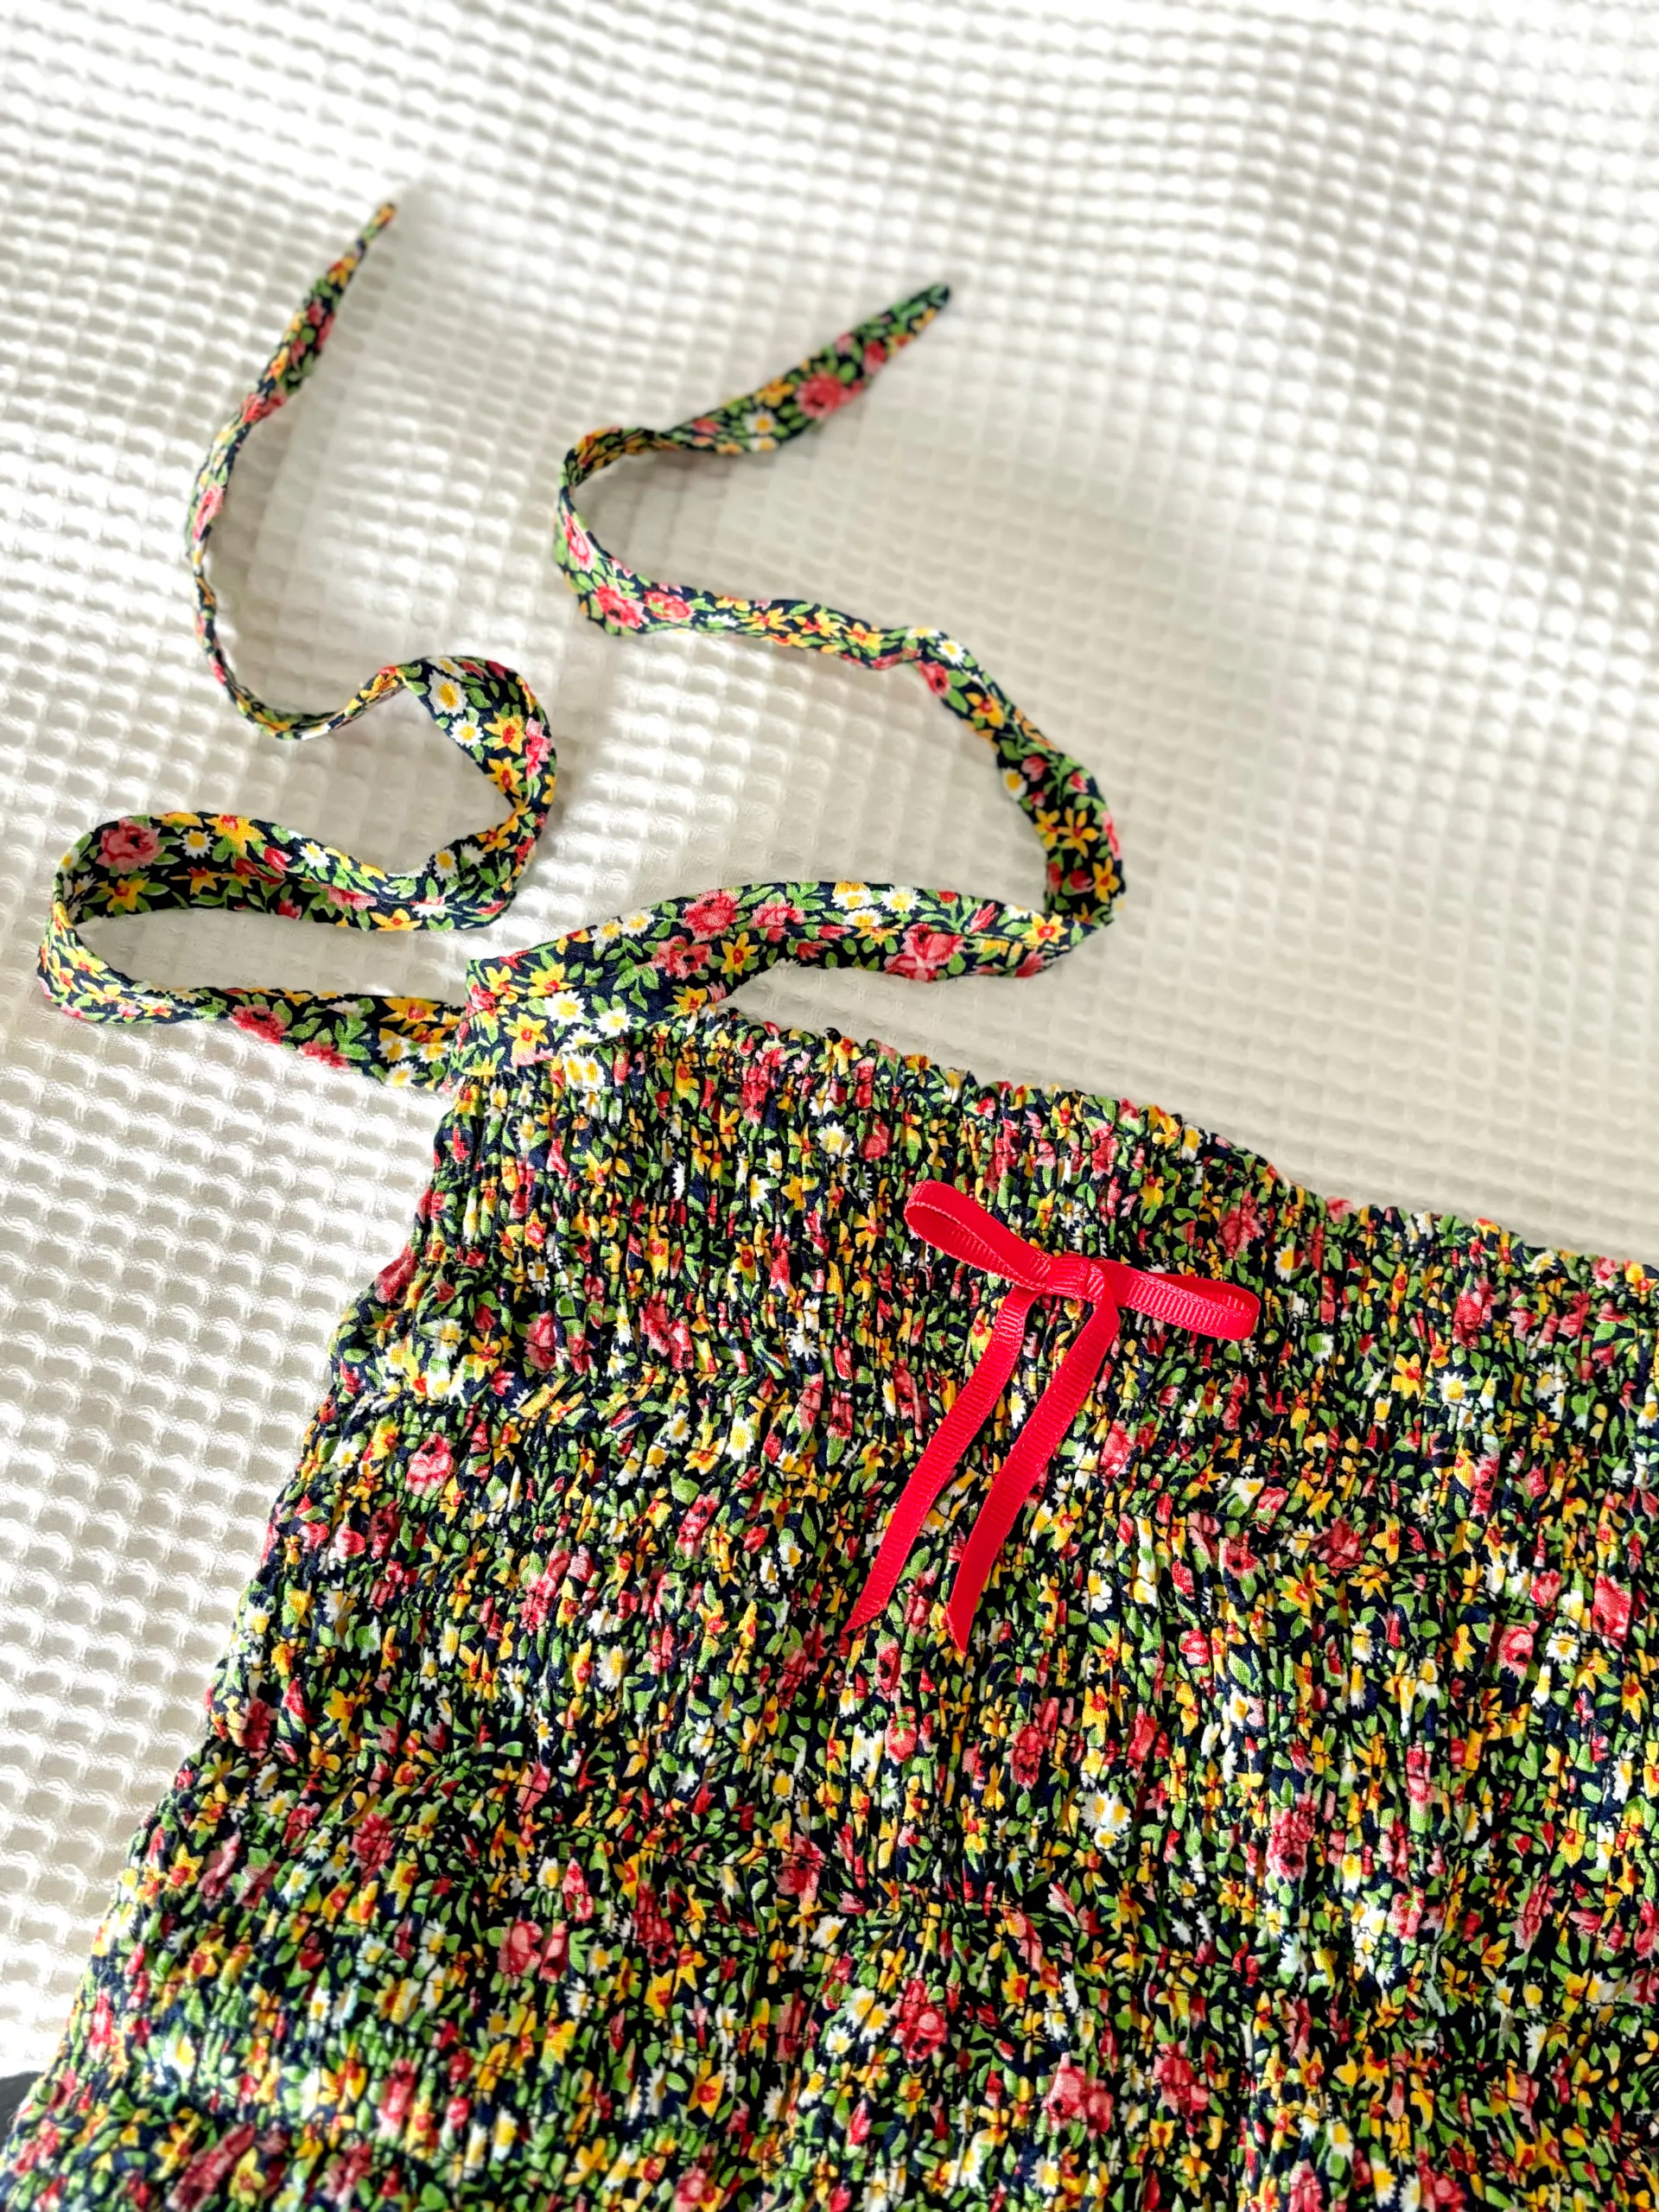
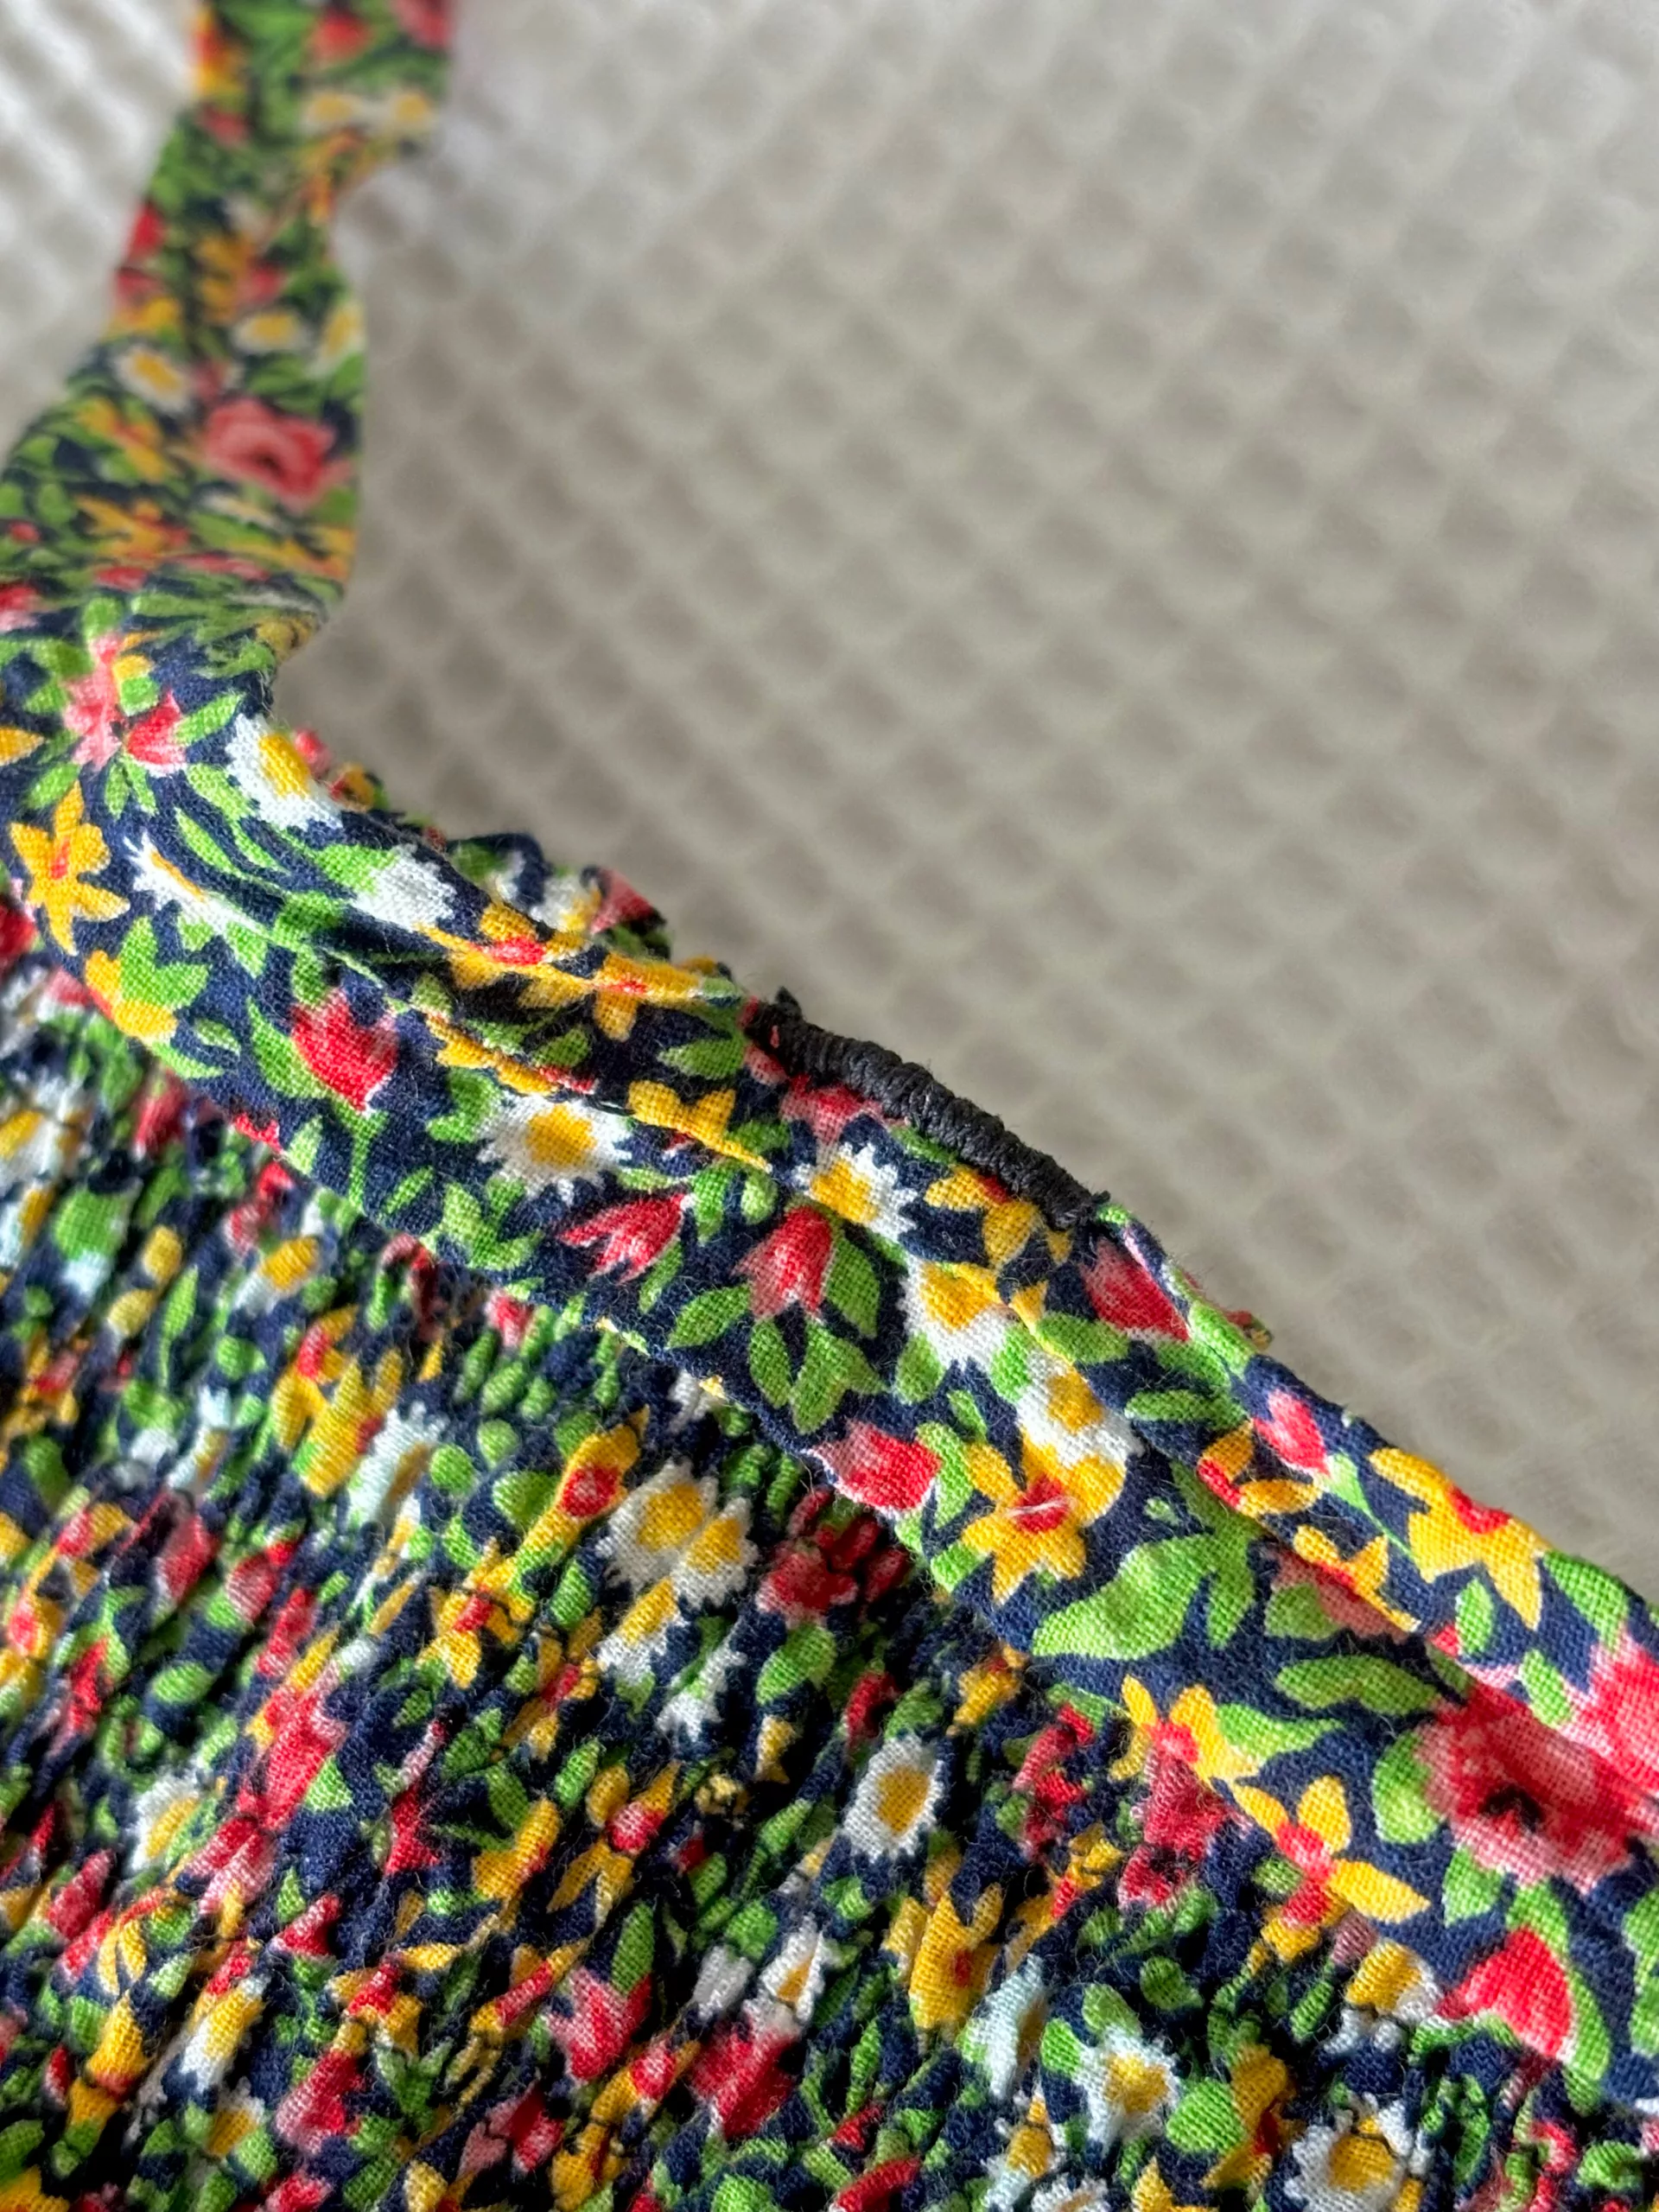
I sewed the sides together and flipped the fabric right side out. I then secured the top middle of the strap to the side of the dress with a very tight zigzag stitch (satin stitch) for durability.
Adding a bow detail to complete the look
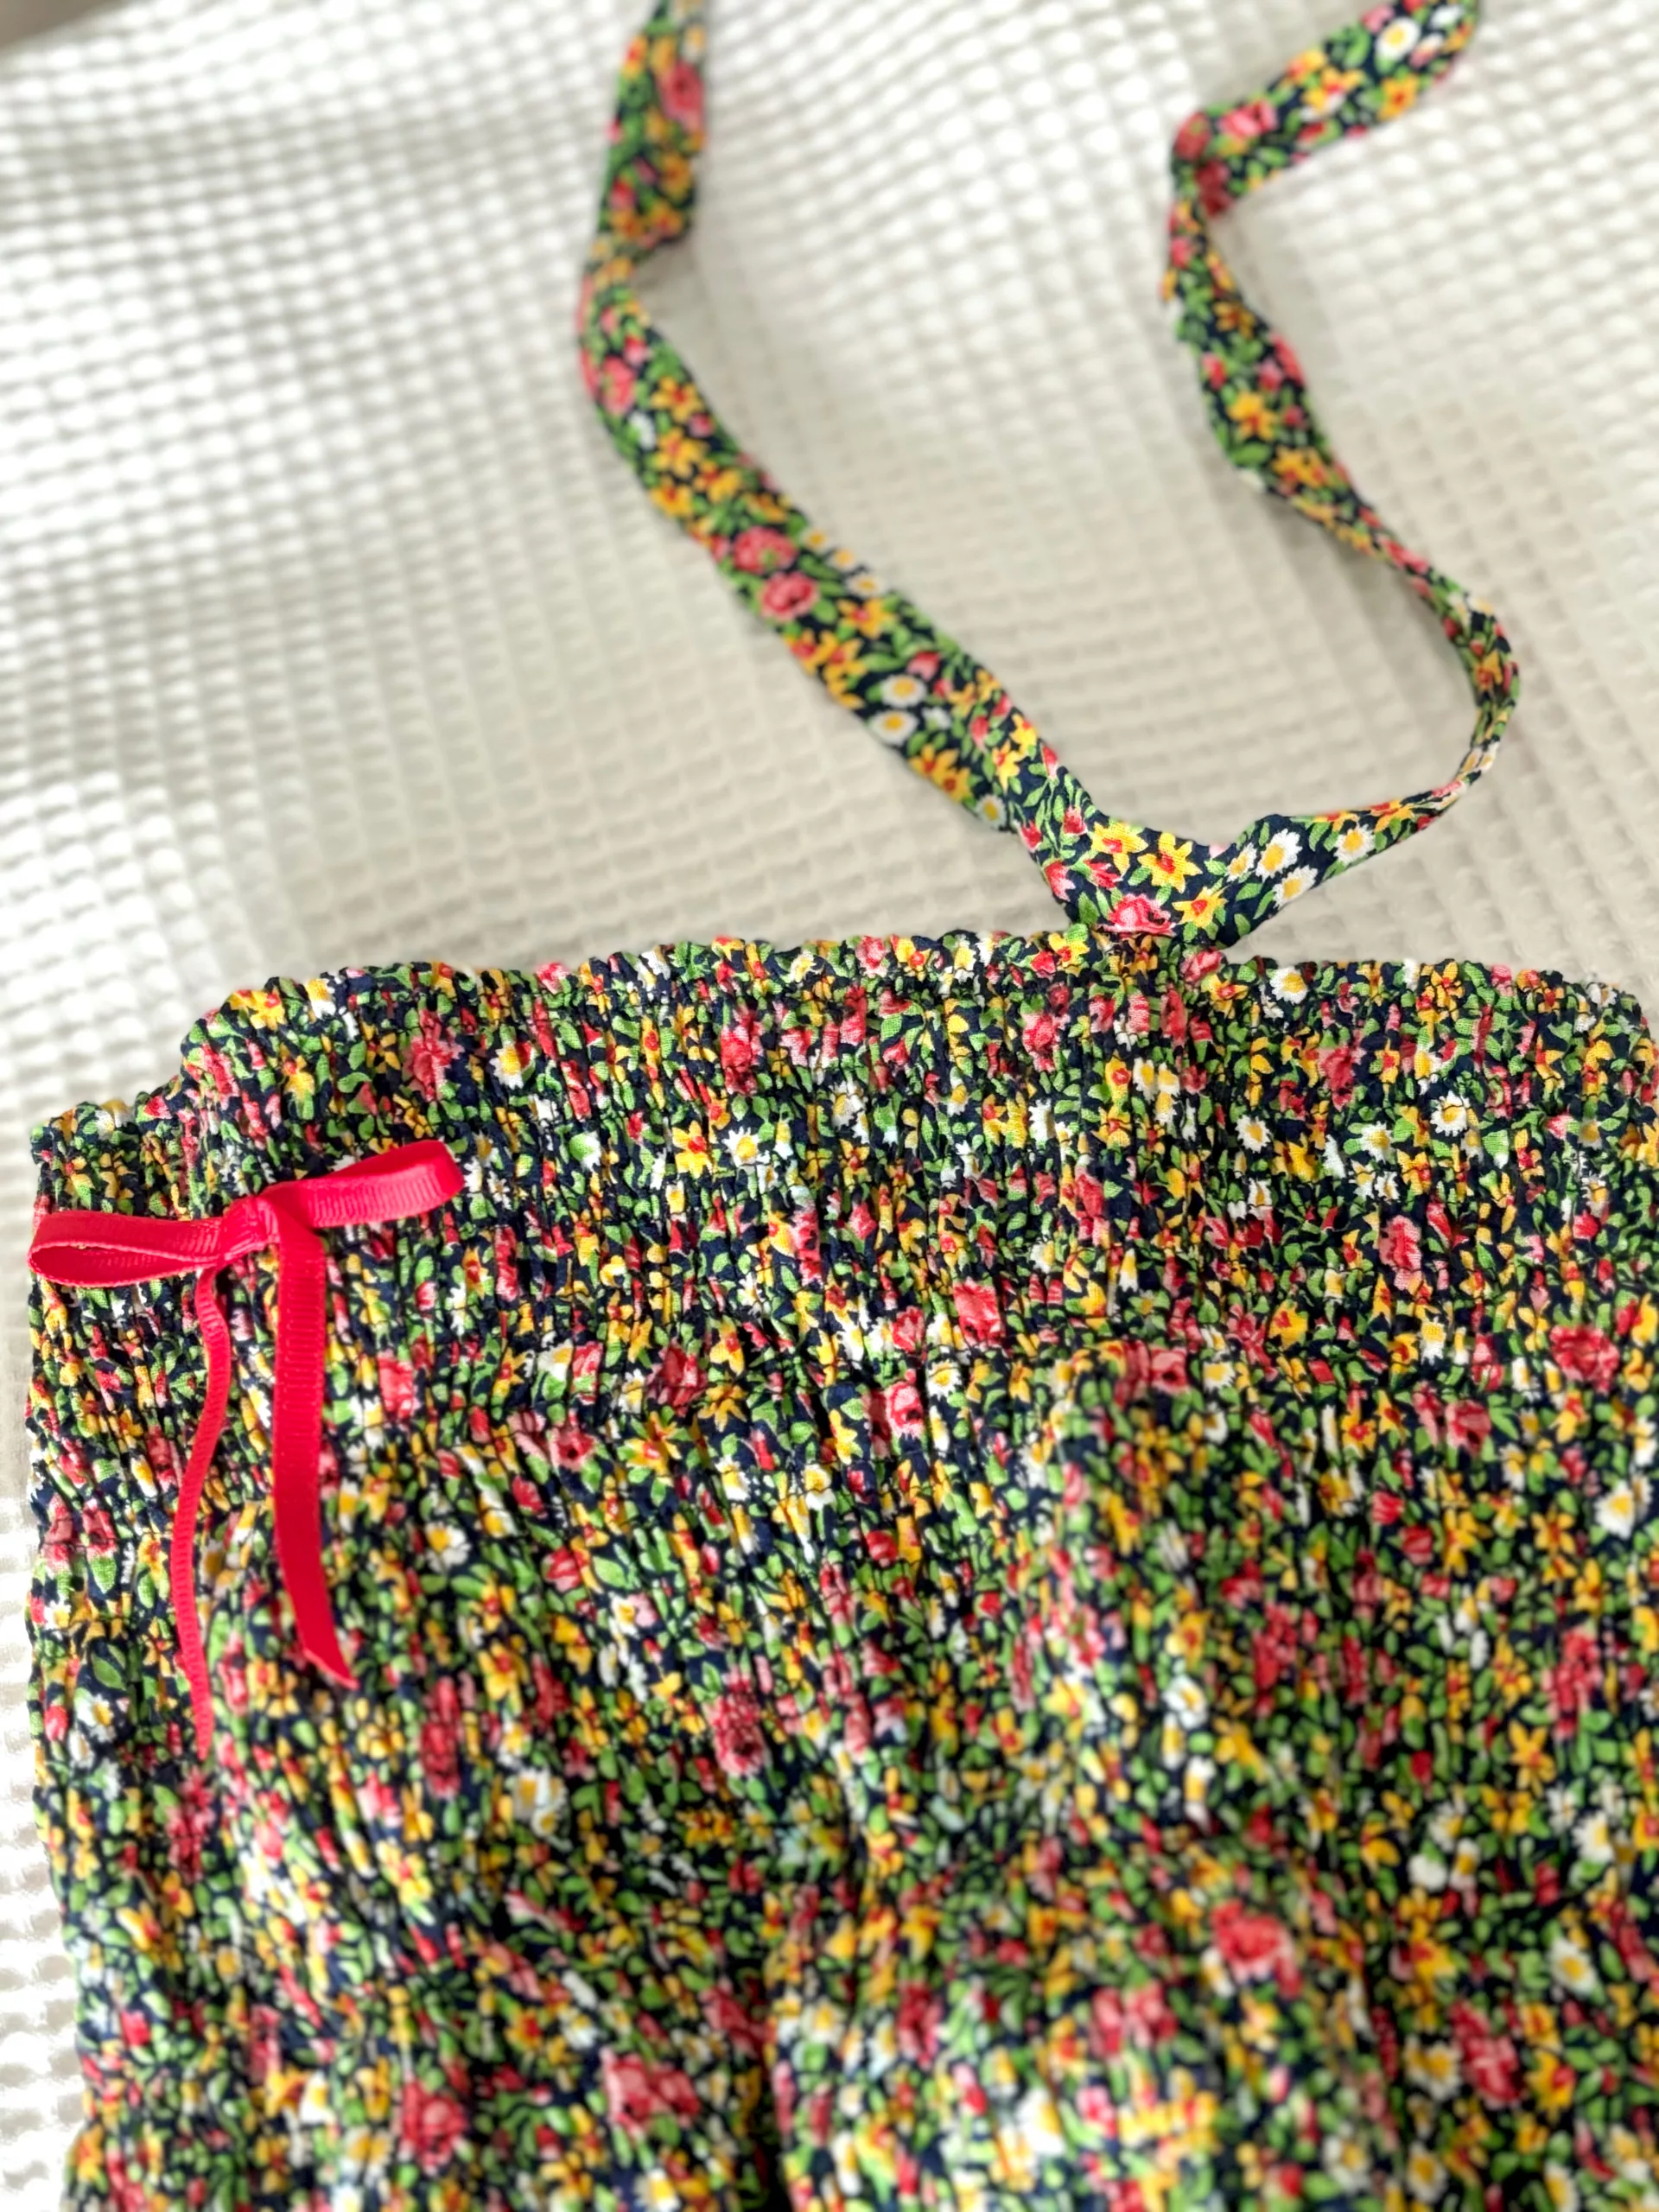
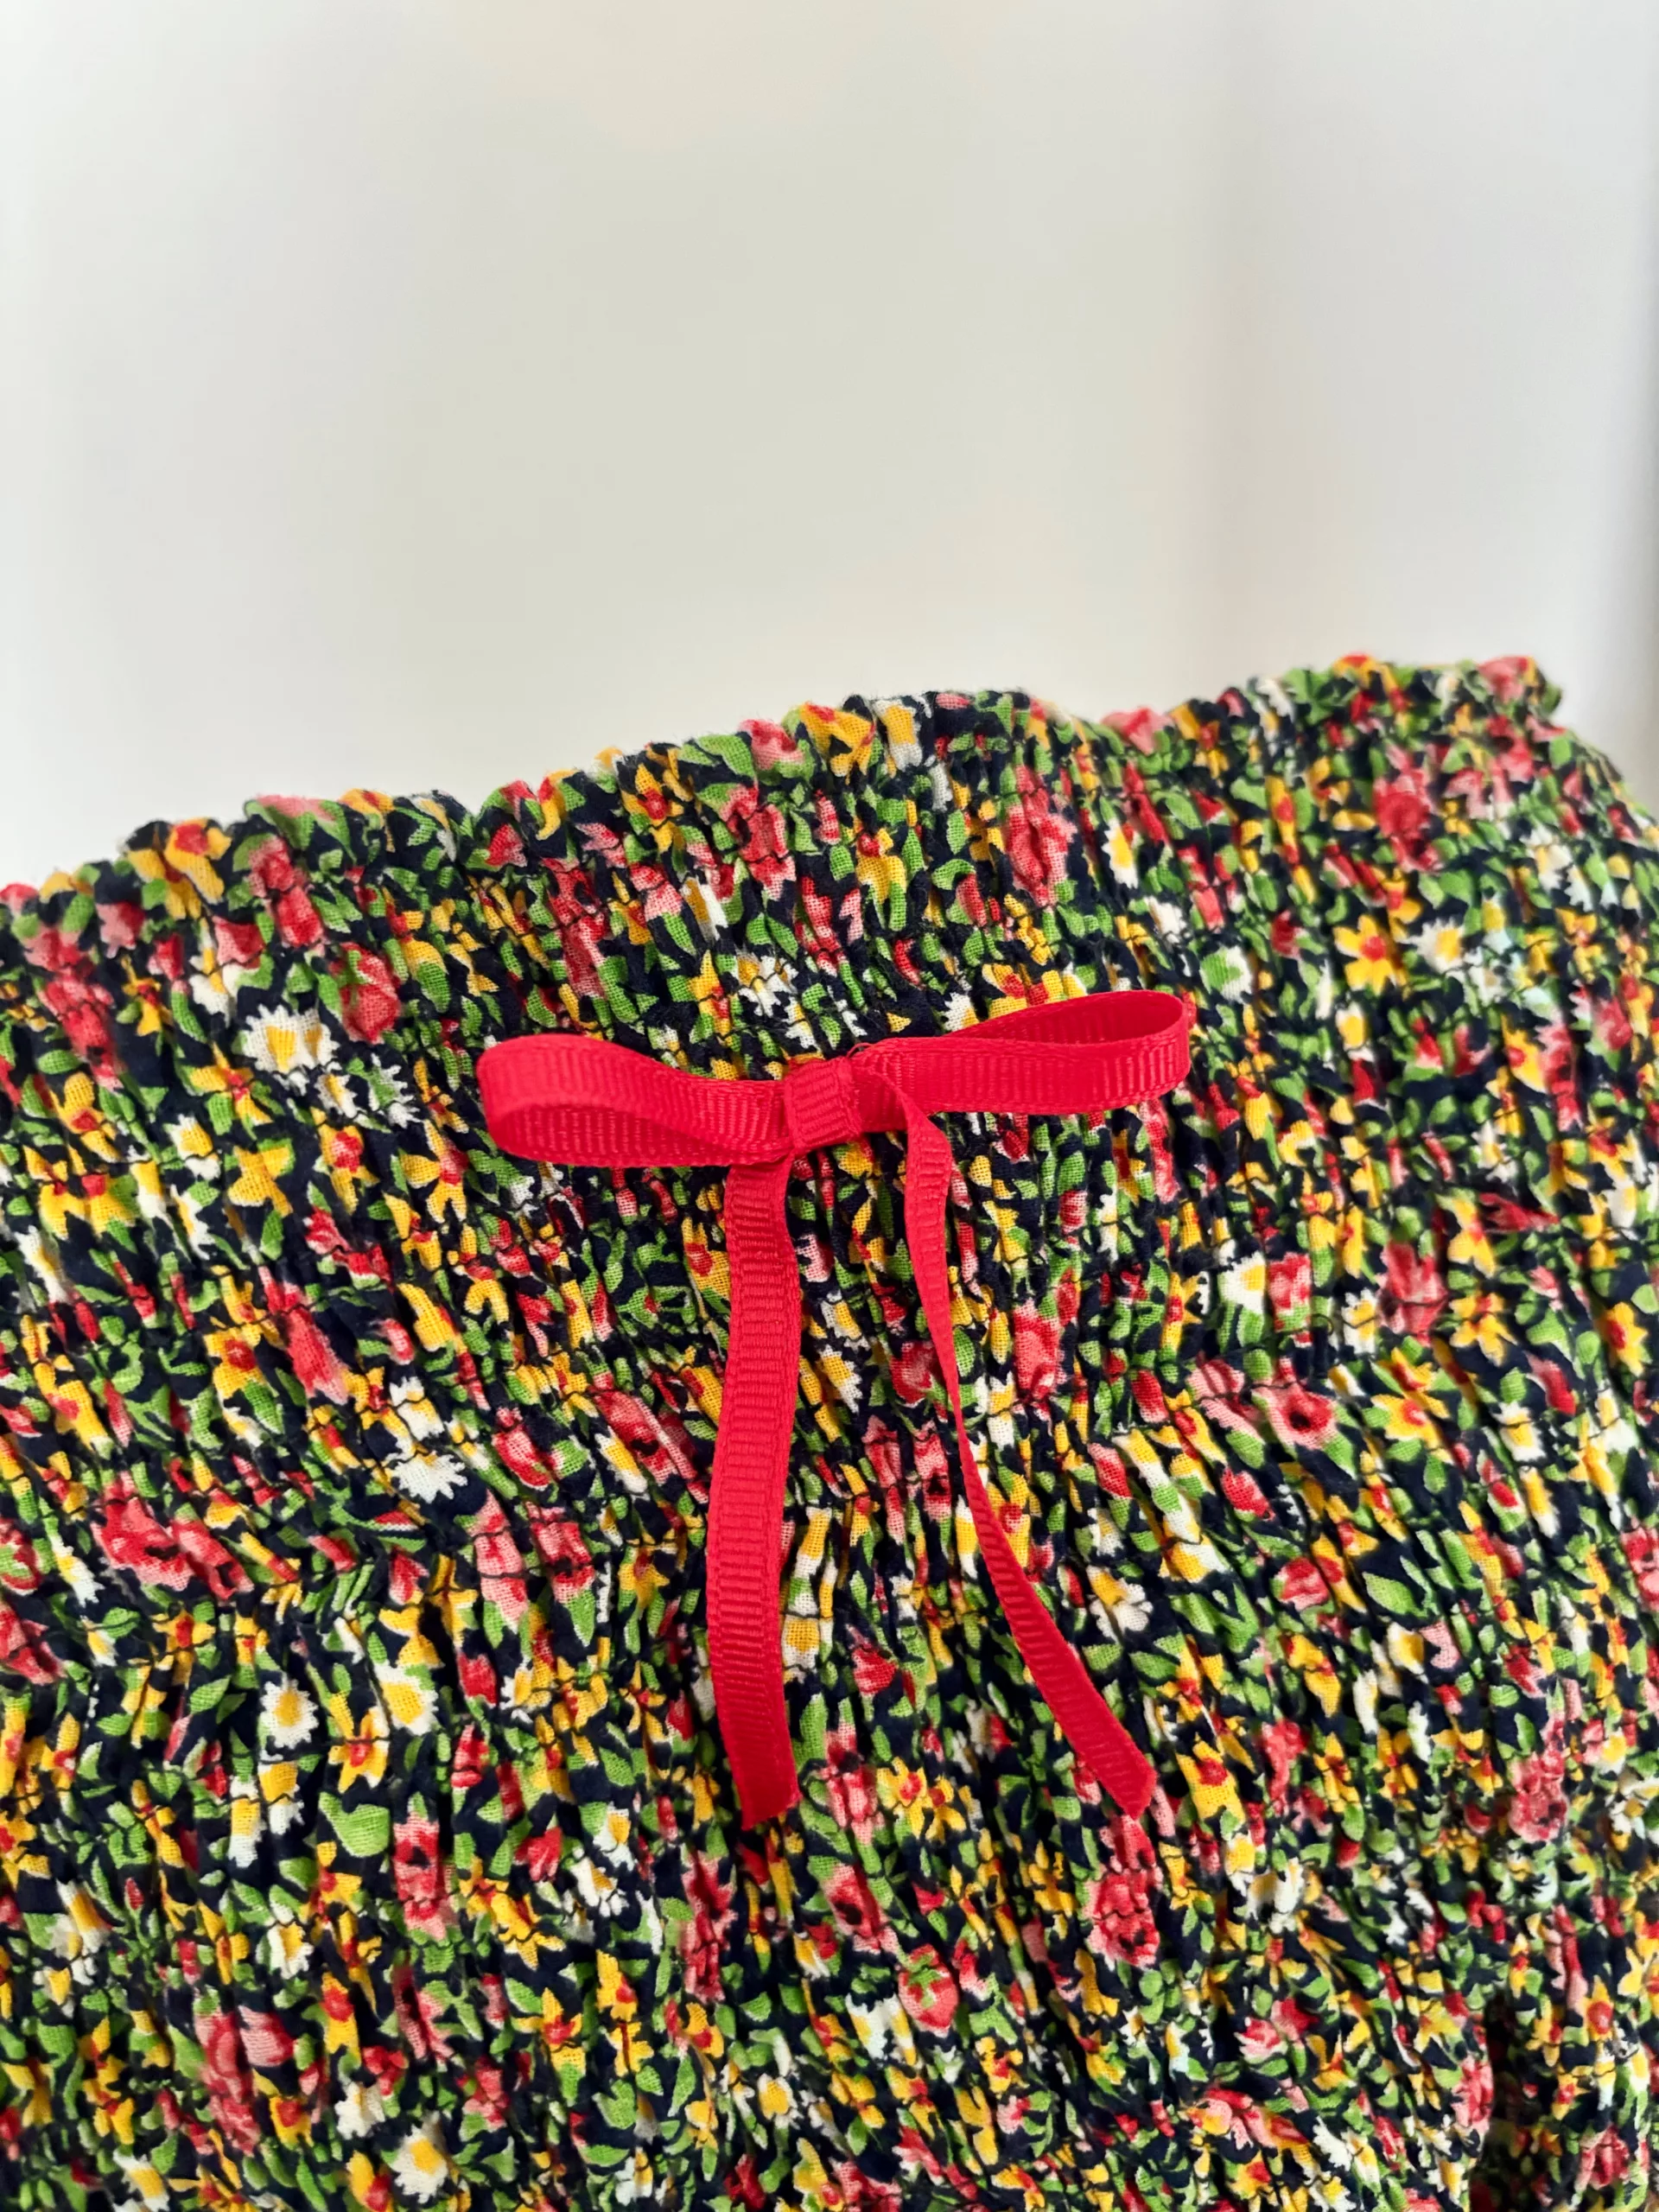
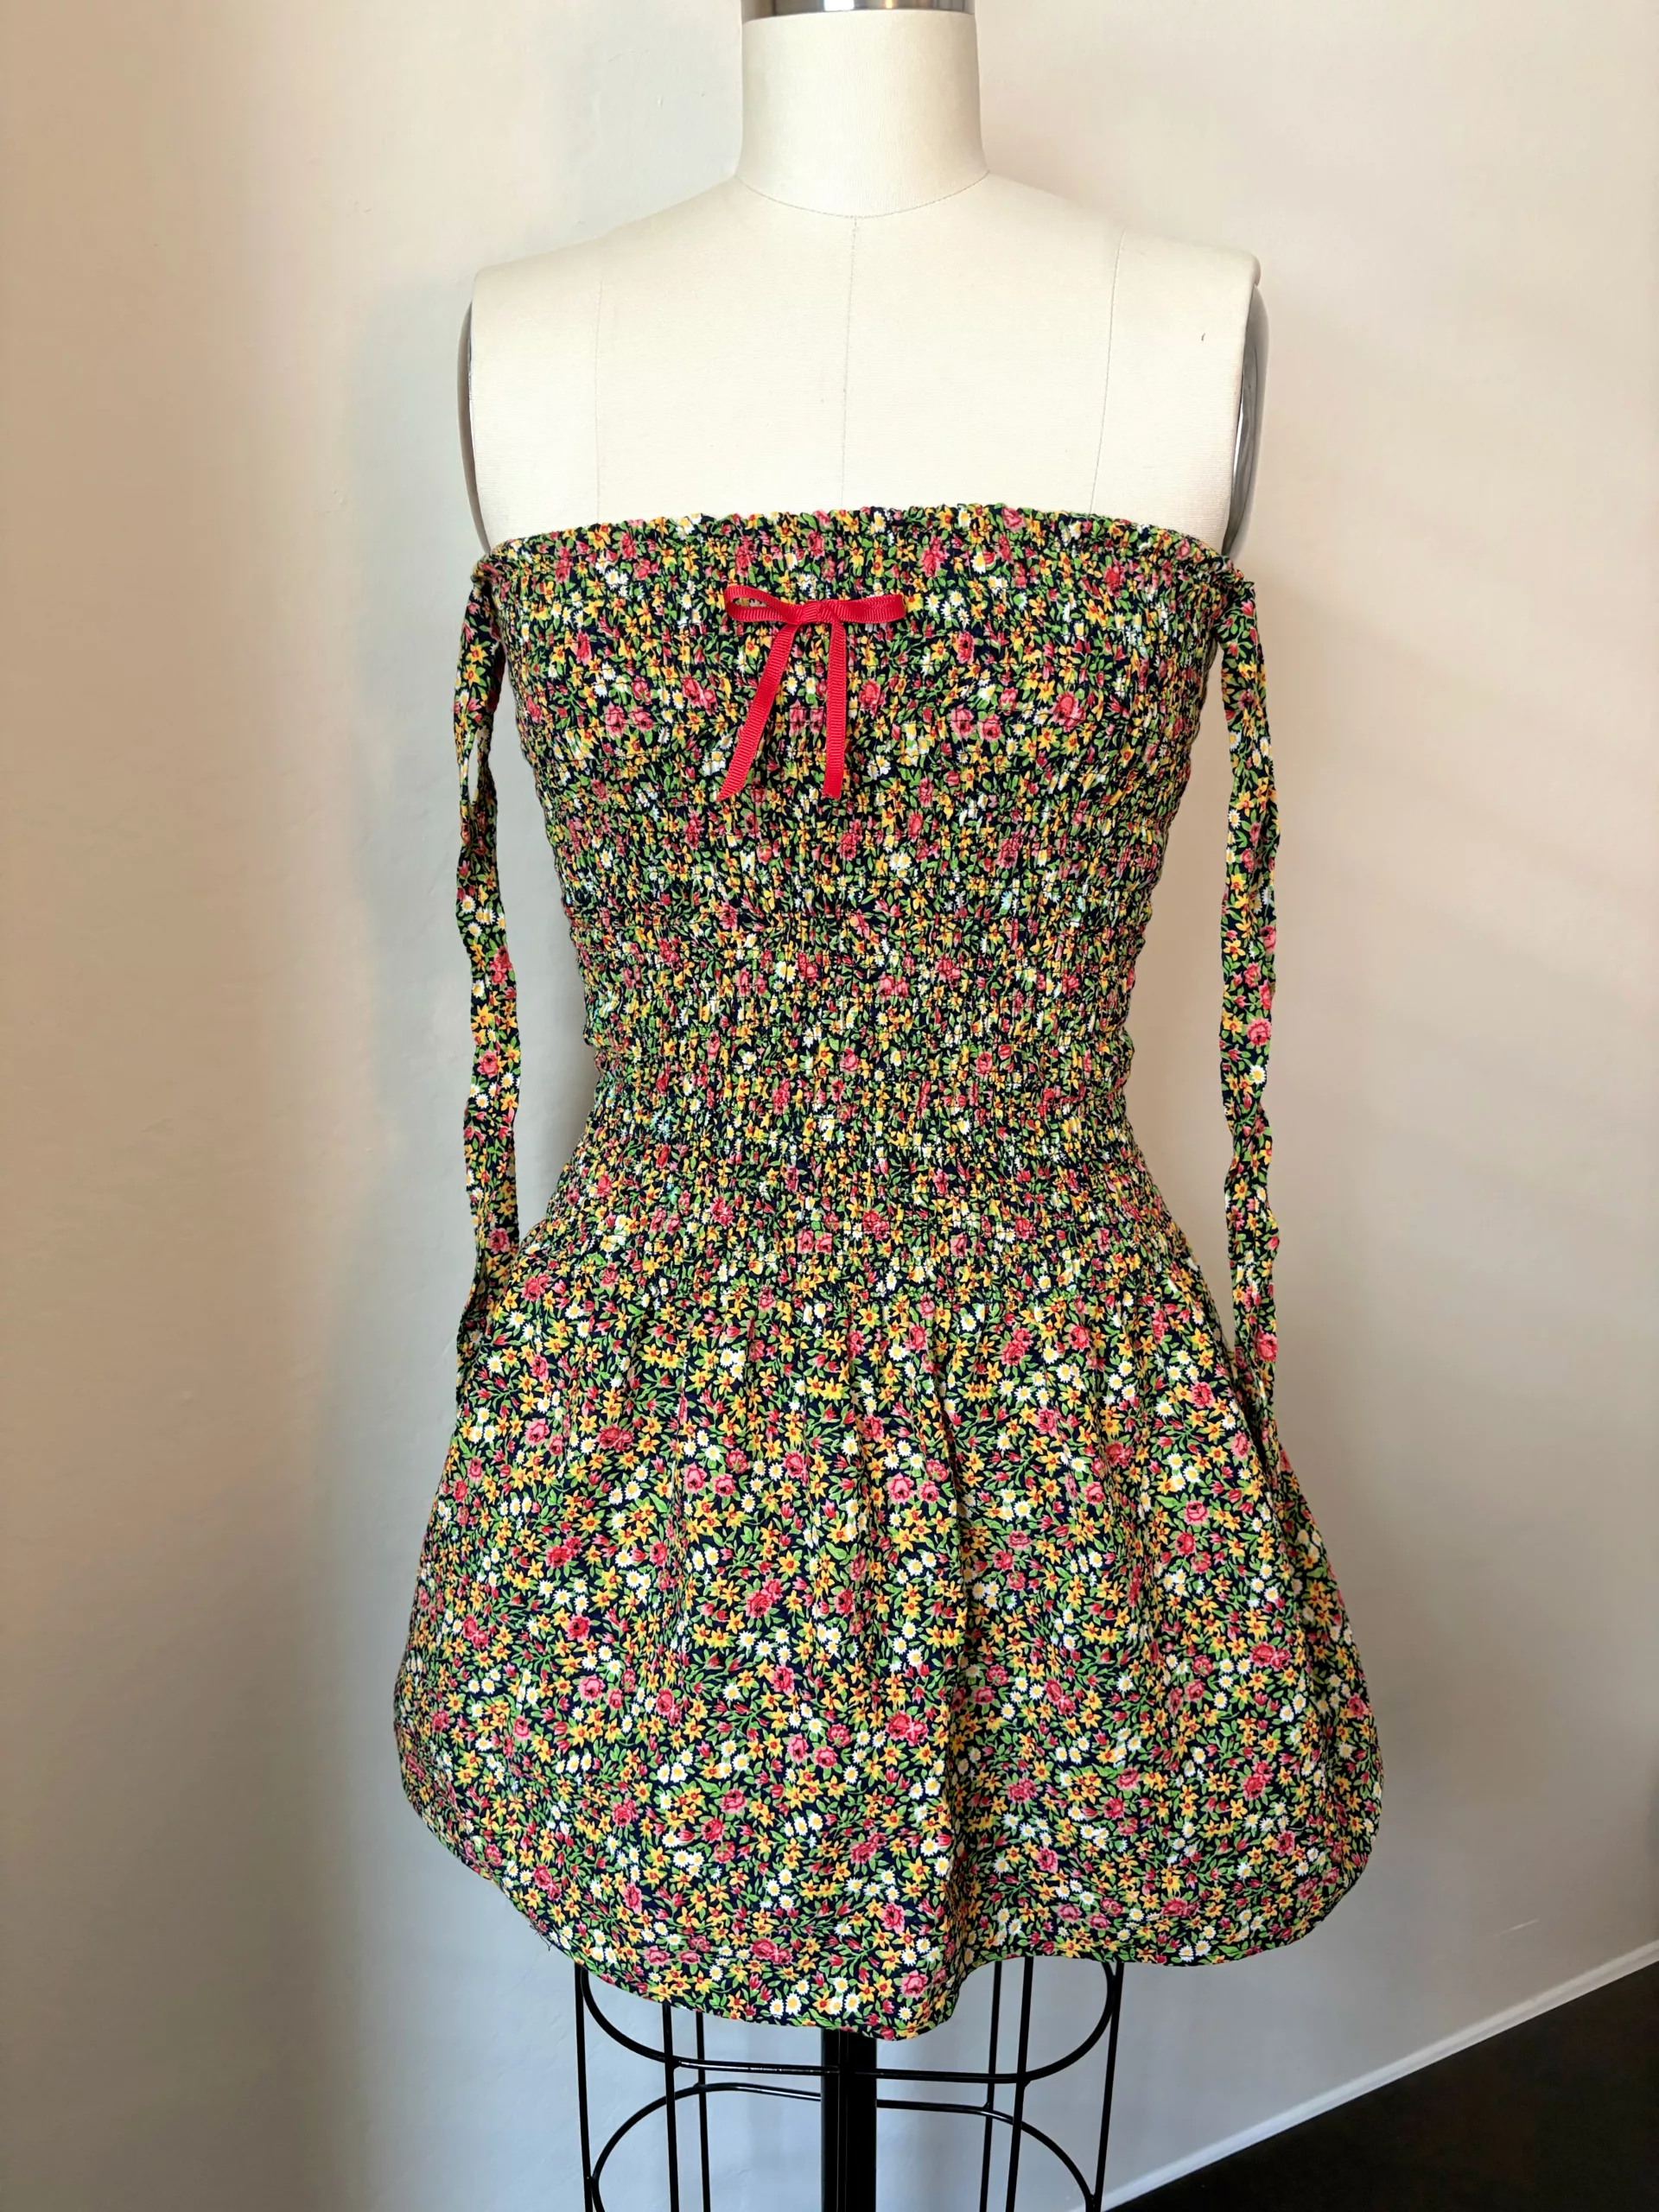
To finish, I added a small red grosgrain ribbon bow to the center of the dress. I sealed the tails of the ribbon with a liquid seam sealant to avoid fraying.
You can also check out mini video tutorials on my TikTok here and here .
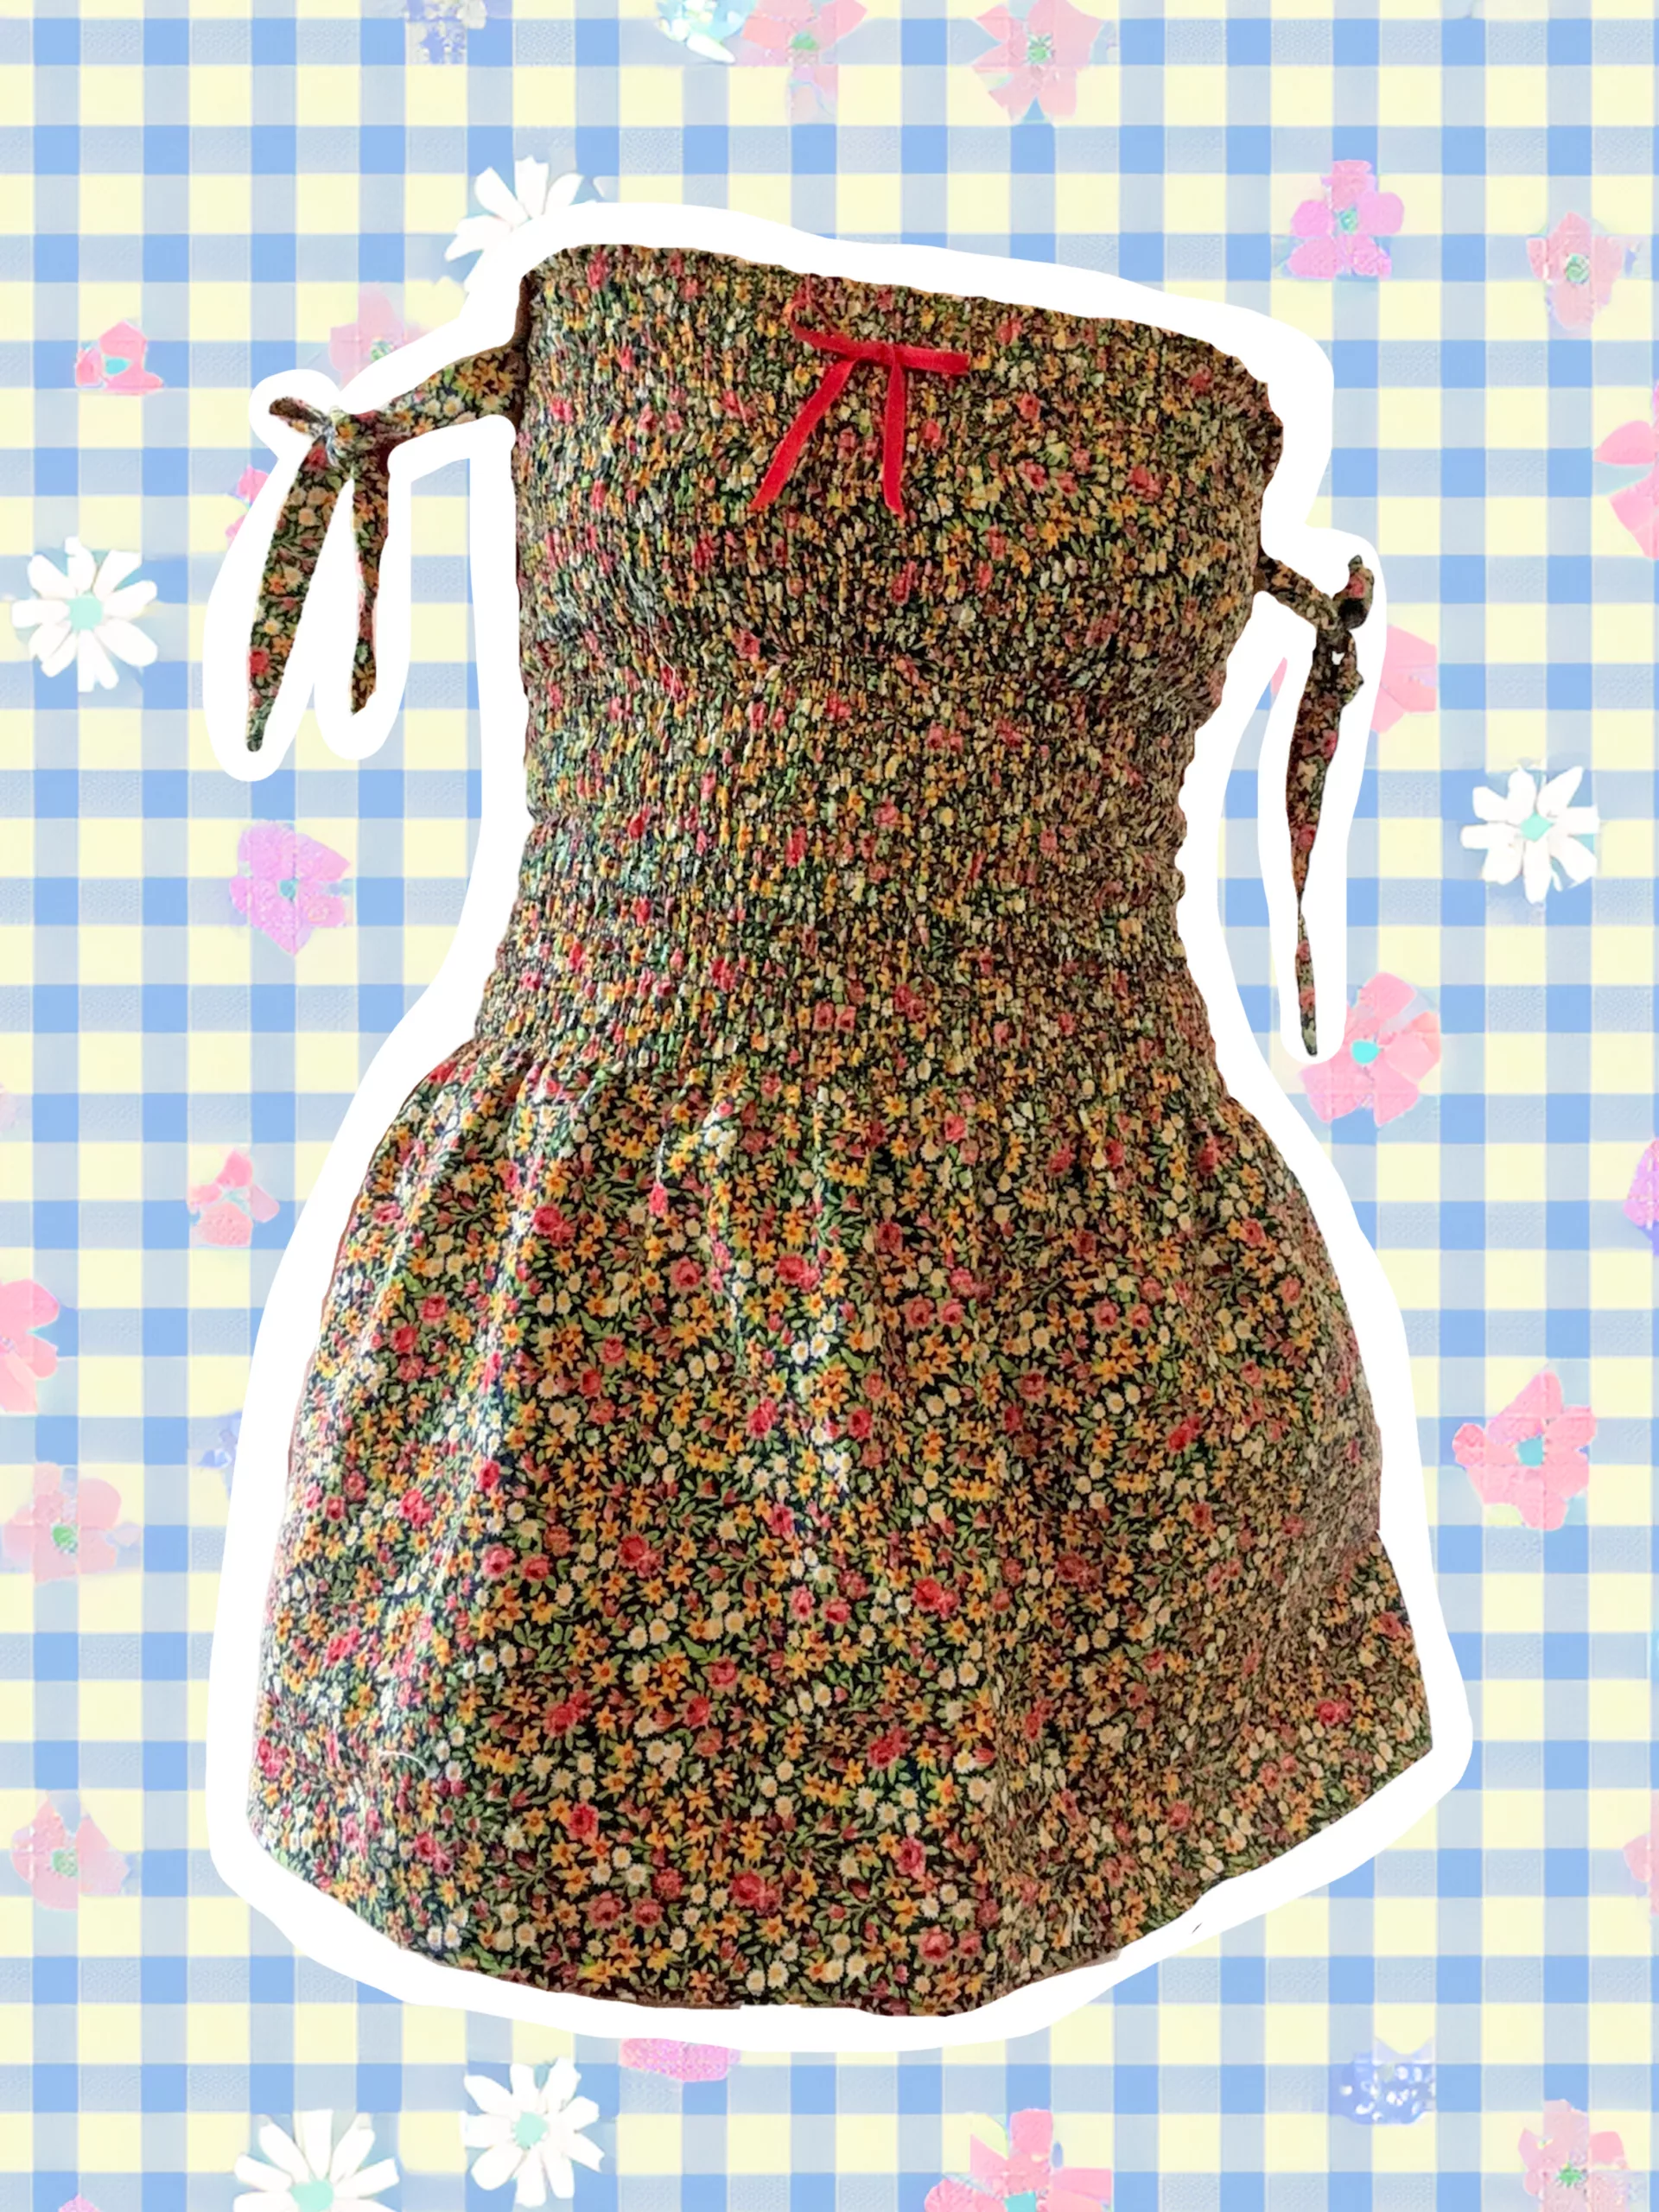
The dress hugs me in all the right places, and I can adjust the droopiness of the sleeves by how I tie them. The lining added that extra layer of comfort! I will continue adding lining to future shirred dress/top projects. I also have the option to tuck the straps into the dress for a strapless look.

Leave a Reply