

So, I discovered recently that Walmart actually sells fabric! Their fabric remnants section can be a treasure trove of heavily discounted goodies, going as low as $3 per yard.
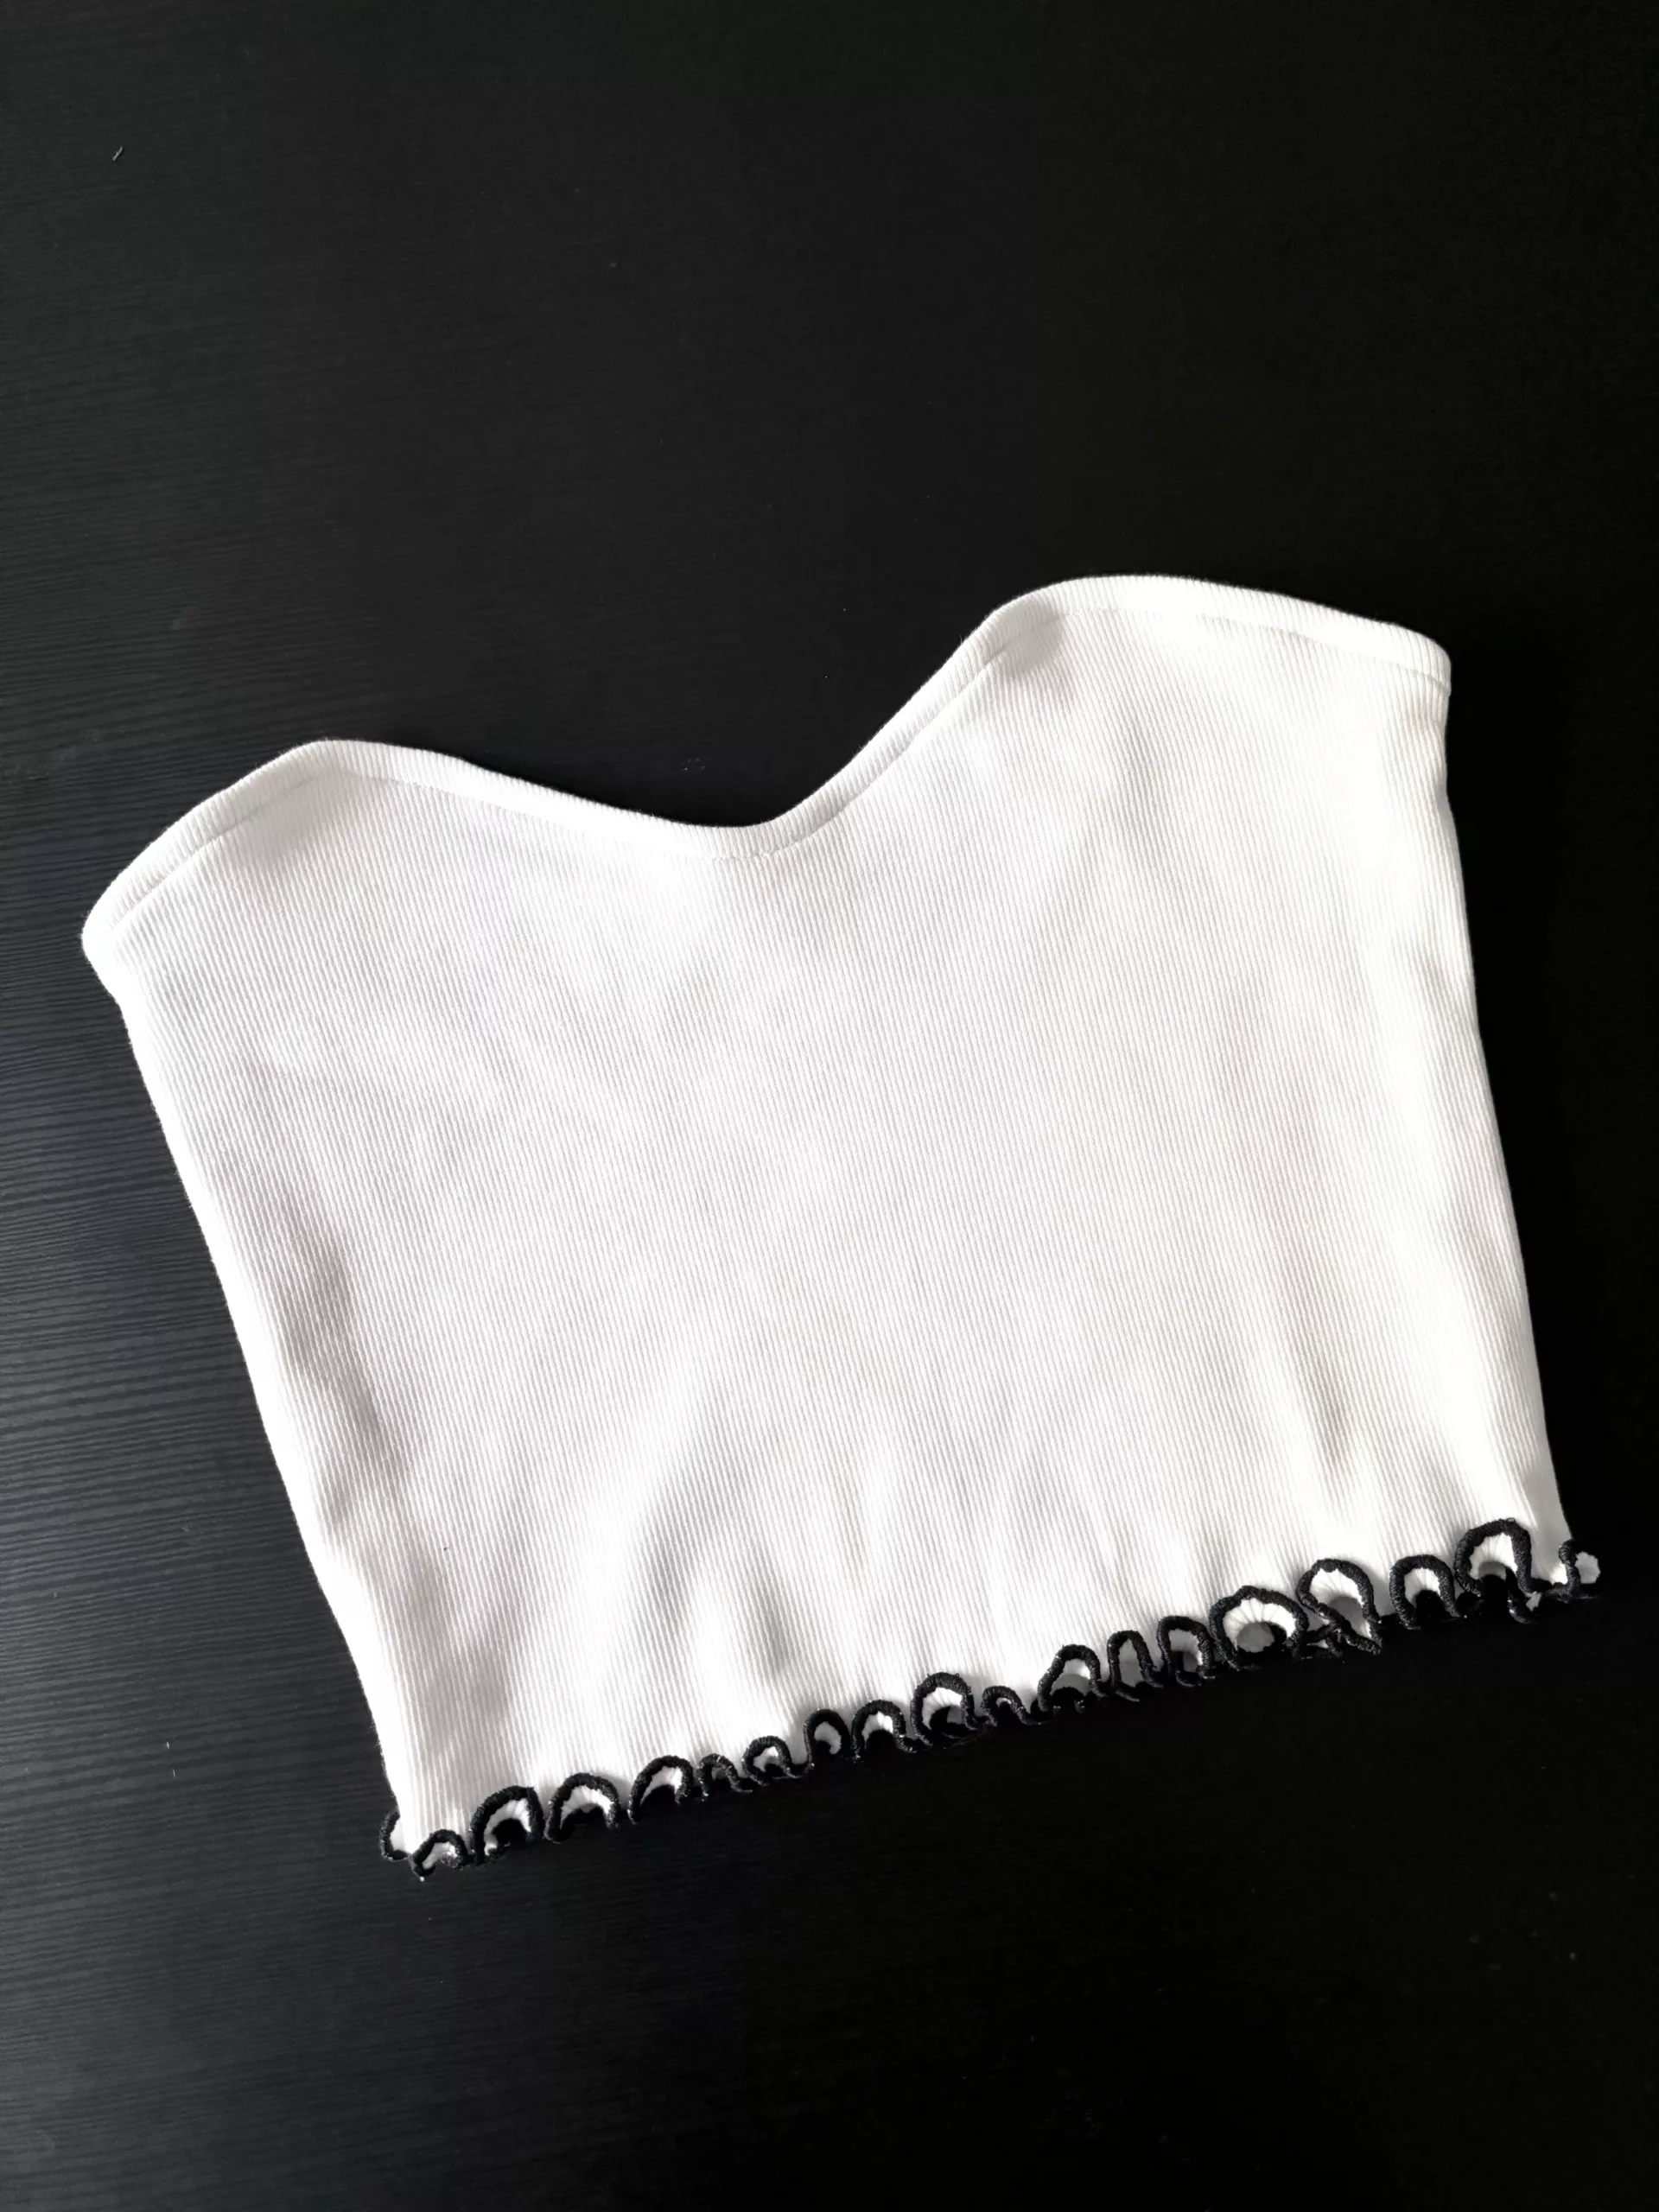
I scored a basic white rib knit fabric from Walmart’s fabric remnant section. Inspired by a top I spotted at Aritzia, the Sculpt Knit Sweetheart Tube Top, I decided to dive into making my first-ever strapless bustier tank!
Disclaimer: This post contains affiliate links, which means that while I am not paid to promote certain items, I may earn a small commission should you purchase items through these links at no cost to you.
The Process
I decided to try my hand at self-drafting this pattern but ended up making numerous adjustments along the way. The knit fabric turned out to be quite thin and a bit see-through when stretched, so I double-layered it for a nicer look.
The pattern started with just the front and back bodice pieces. However, I didn’t anticipate how stretchy the knit fabric was. So I had to gradually taper the side seams and try it on multiple times until it fits just right!
Thinner knit fabrics are prone to stretching out of shape as you sew, especially when sewing in the direction of the fabric’s stretch. Here are a couple of tricks I did when sewing to minimize wavy seams so the garment lays nicely against your body:
- Used a zig zag stitch. The gaps between the zigzag stitches create flexible seams and stop seams from popping if you stretch the fabric.
- Used a ballpoint needle. The blunt tip prevents skipped stitches, puckered seams, and damaged fabric.
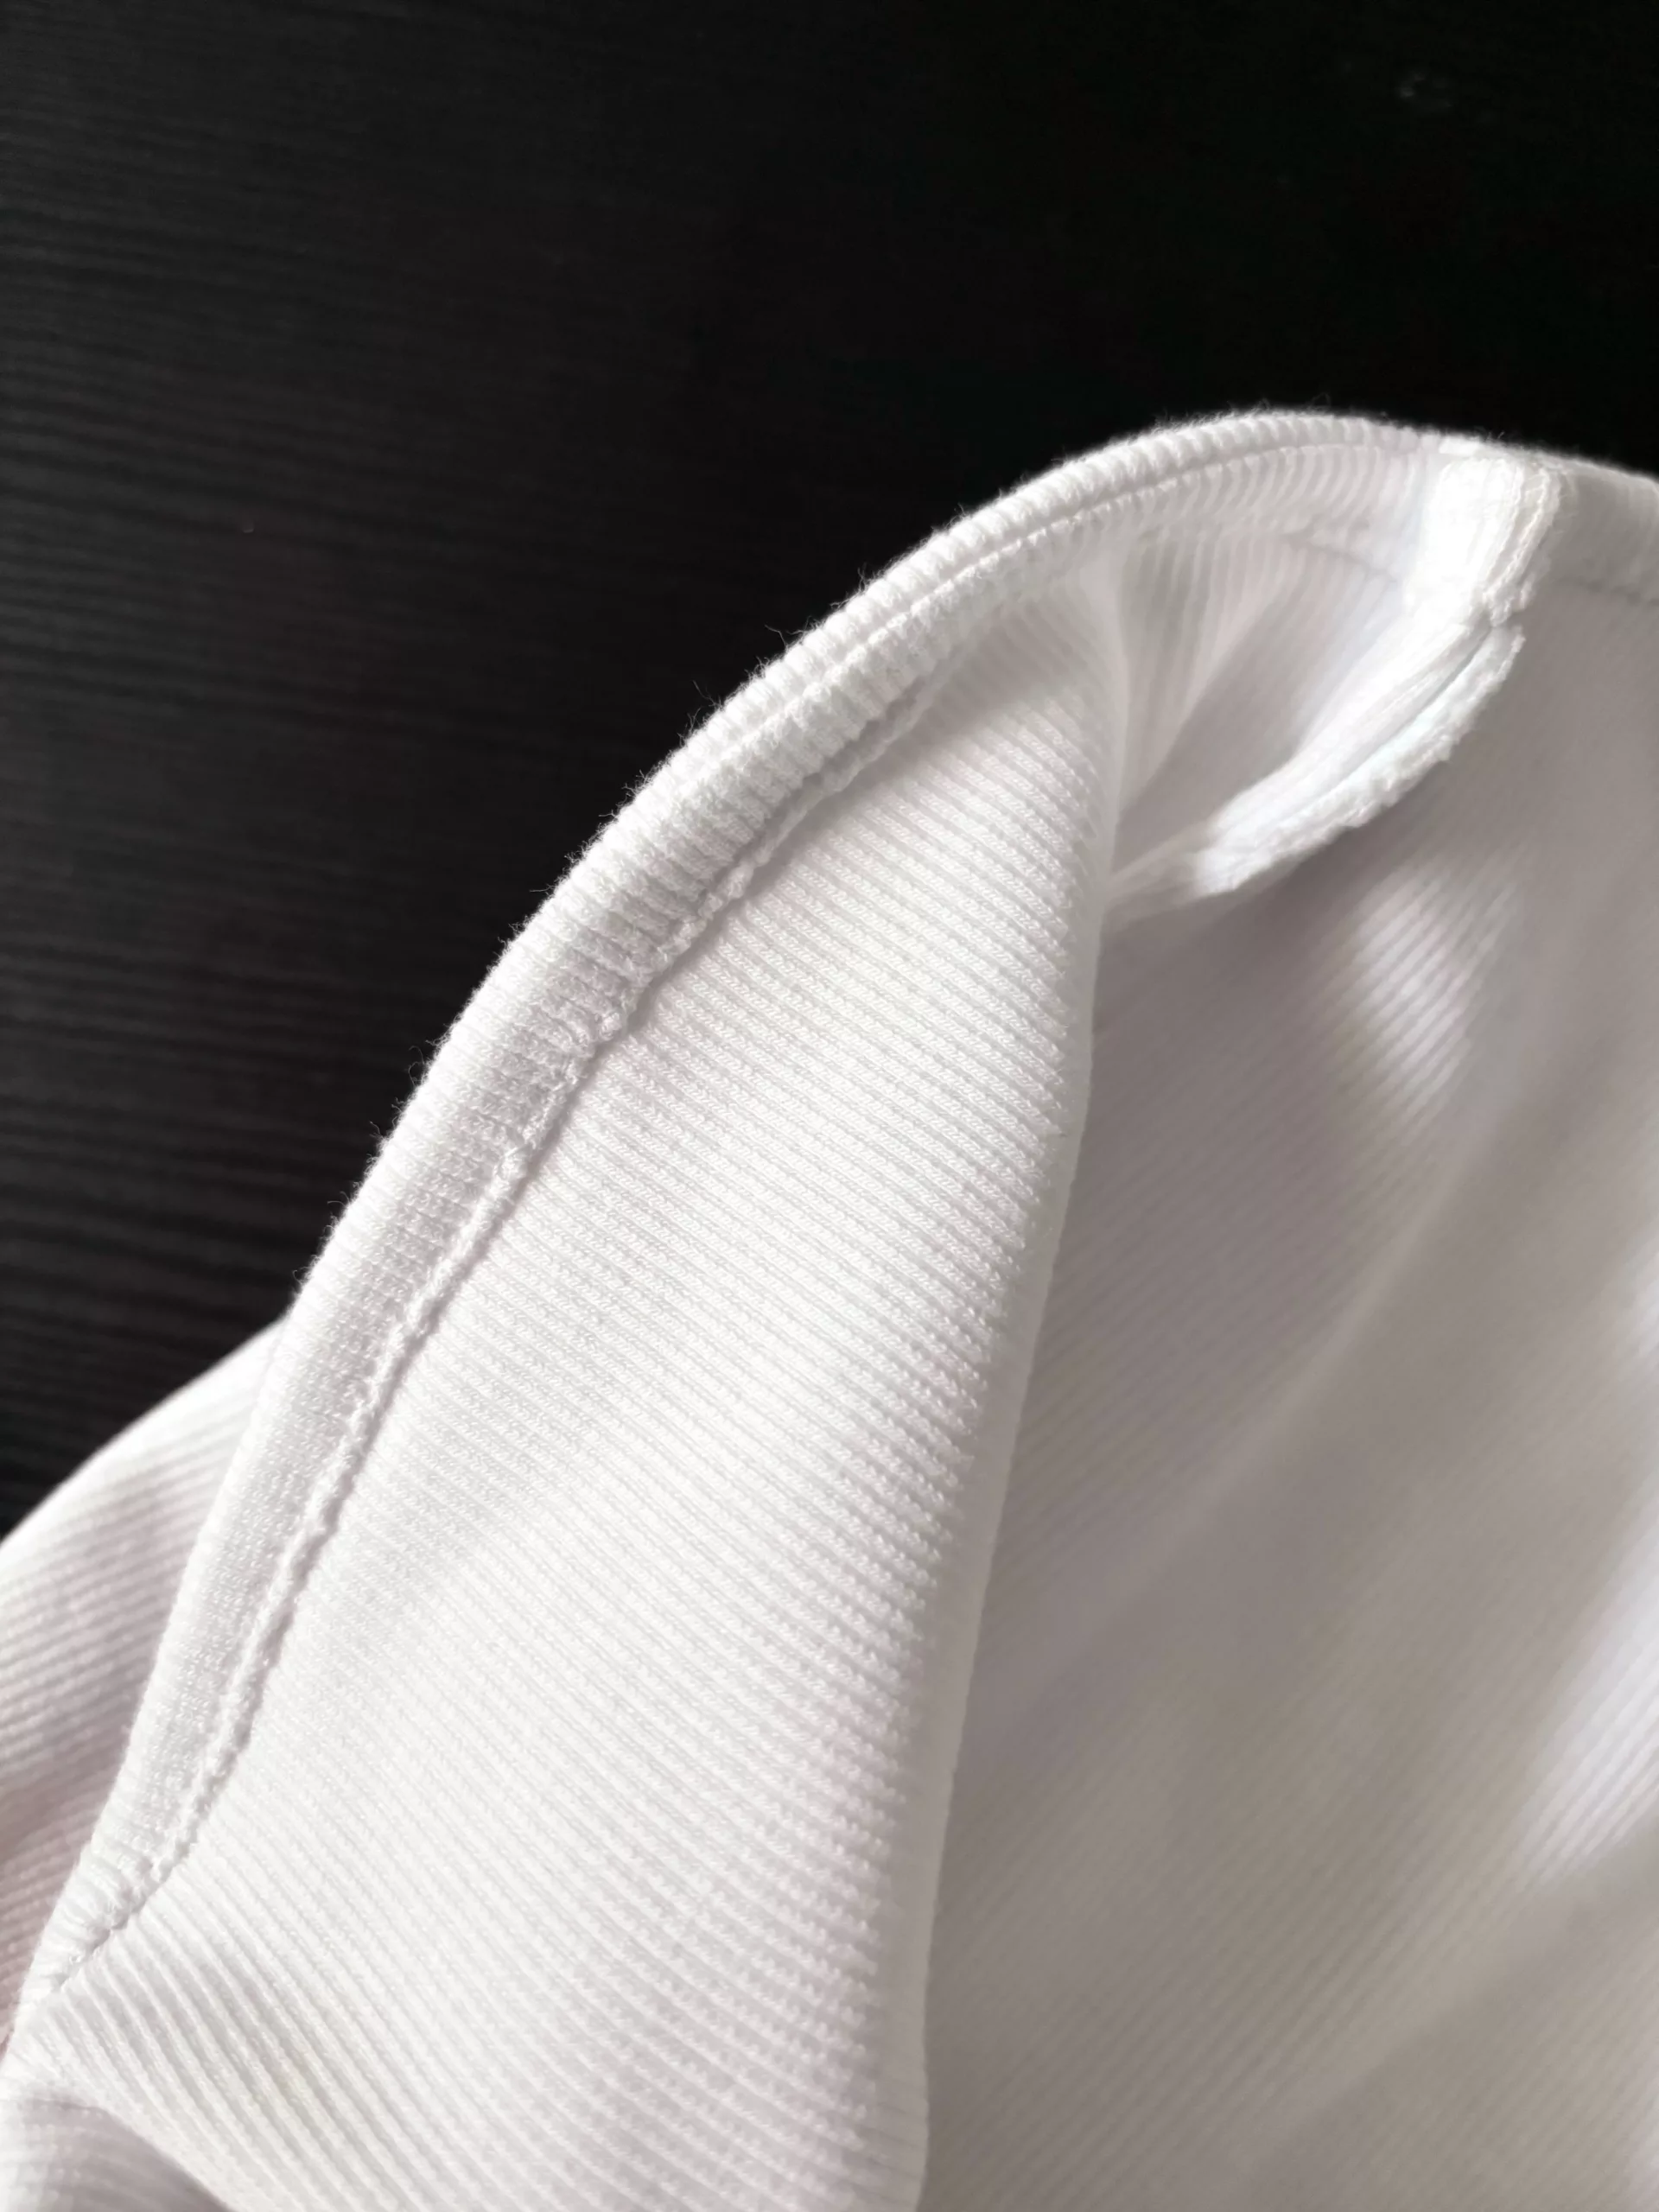
- Applied the magical wash-away tape along the sweetheart neckline. This stabilizes the fabric and prevents it from stretching out when sewn over it.
- Be mindful not to stretch or put pressure on the fabric. Let the machine do the work, gently guide the fabric, and keep the fabric relaxed.
- Gently pulled thread tails at the start. This keeps the fabric from being sucked into the needle plate and jamming the machine.
- Steamed the seams. Even when you’re extra careful, some seams can get a little stretched out. This helps flatten some of the wavy seams when I accidentally stretch the fabric as I sew.
Sweetheart Neckline
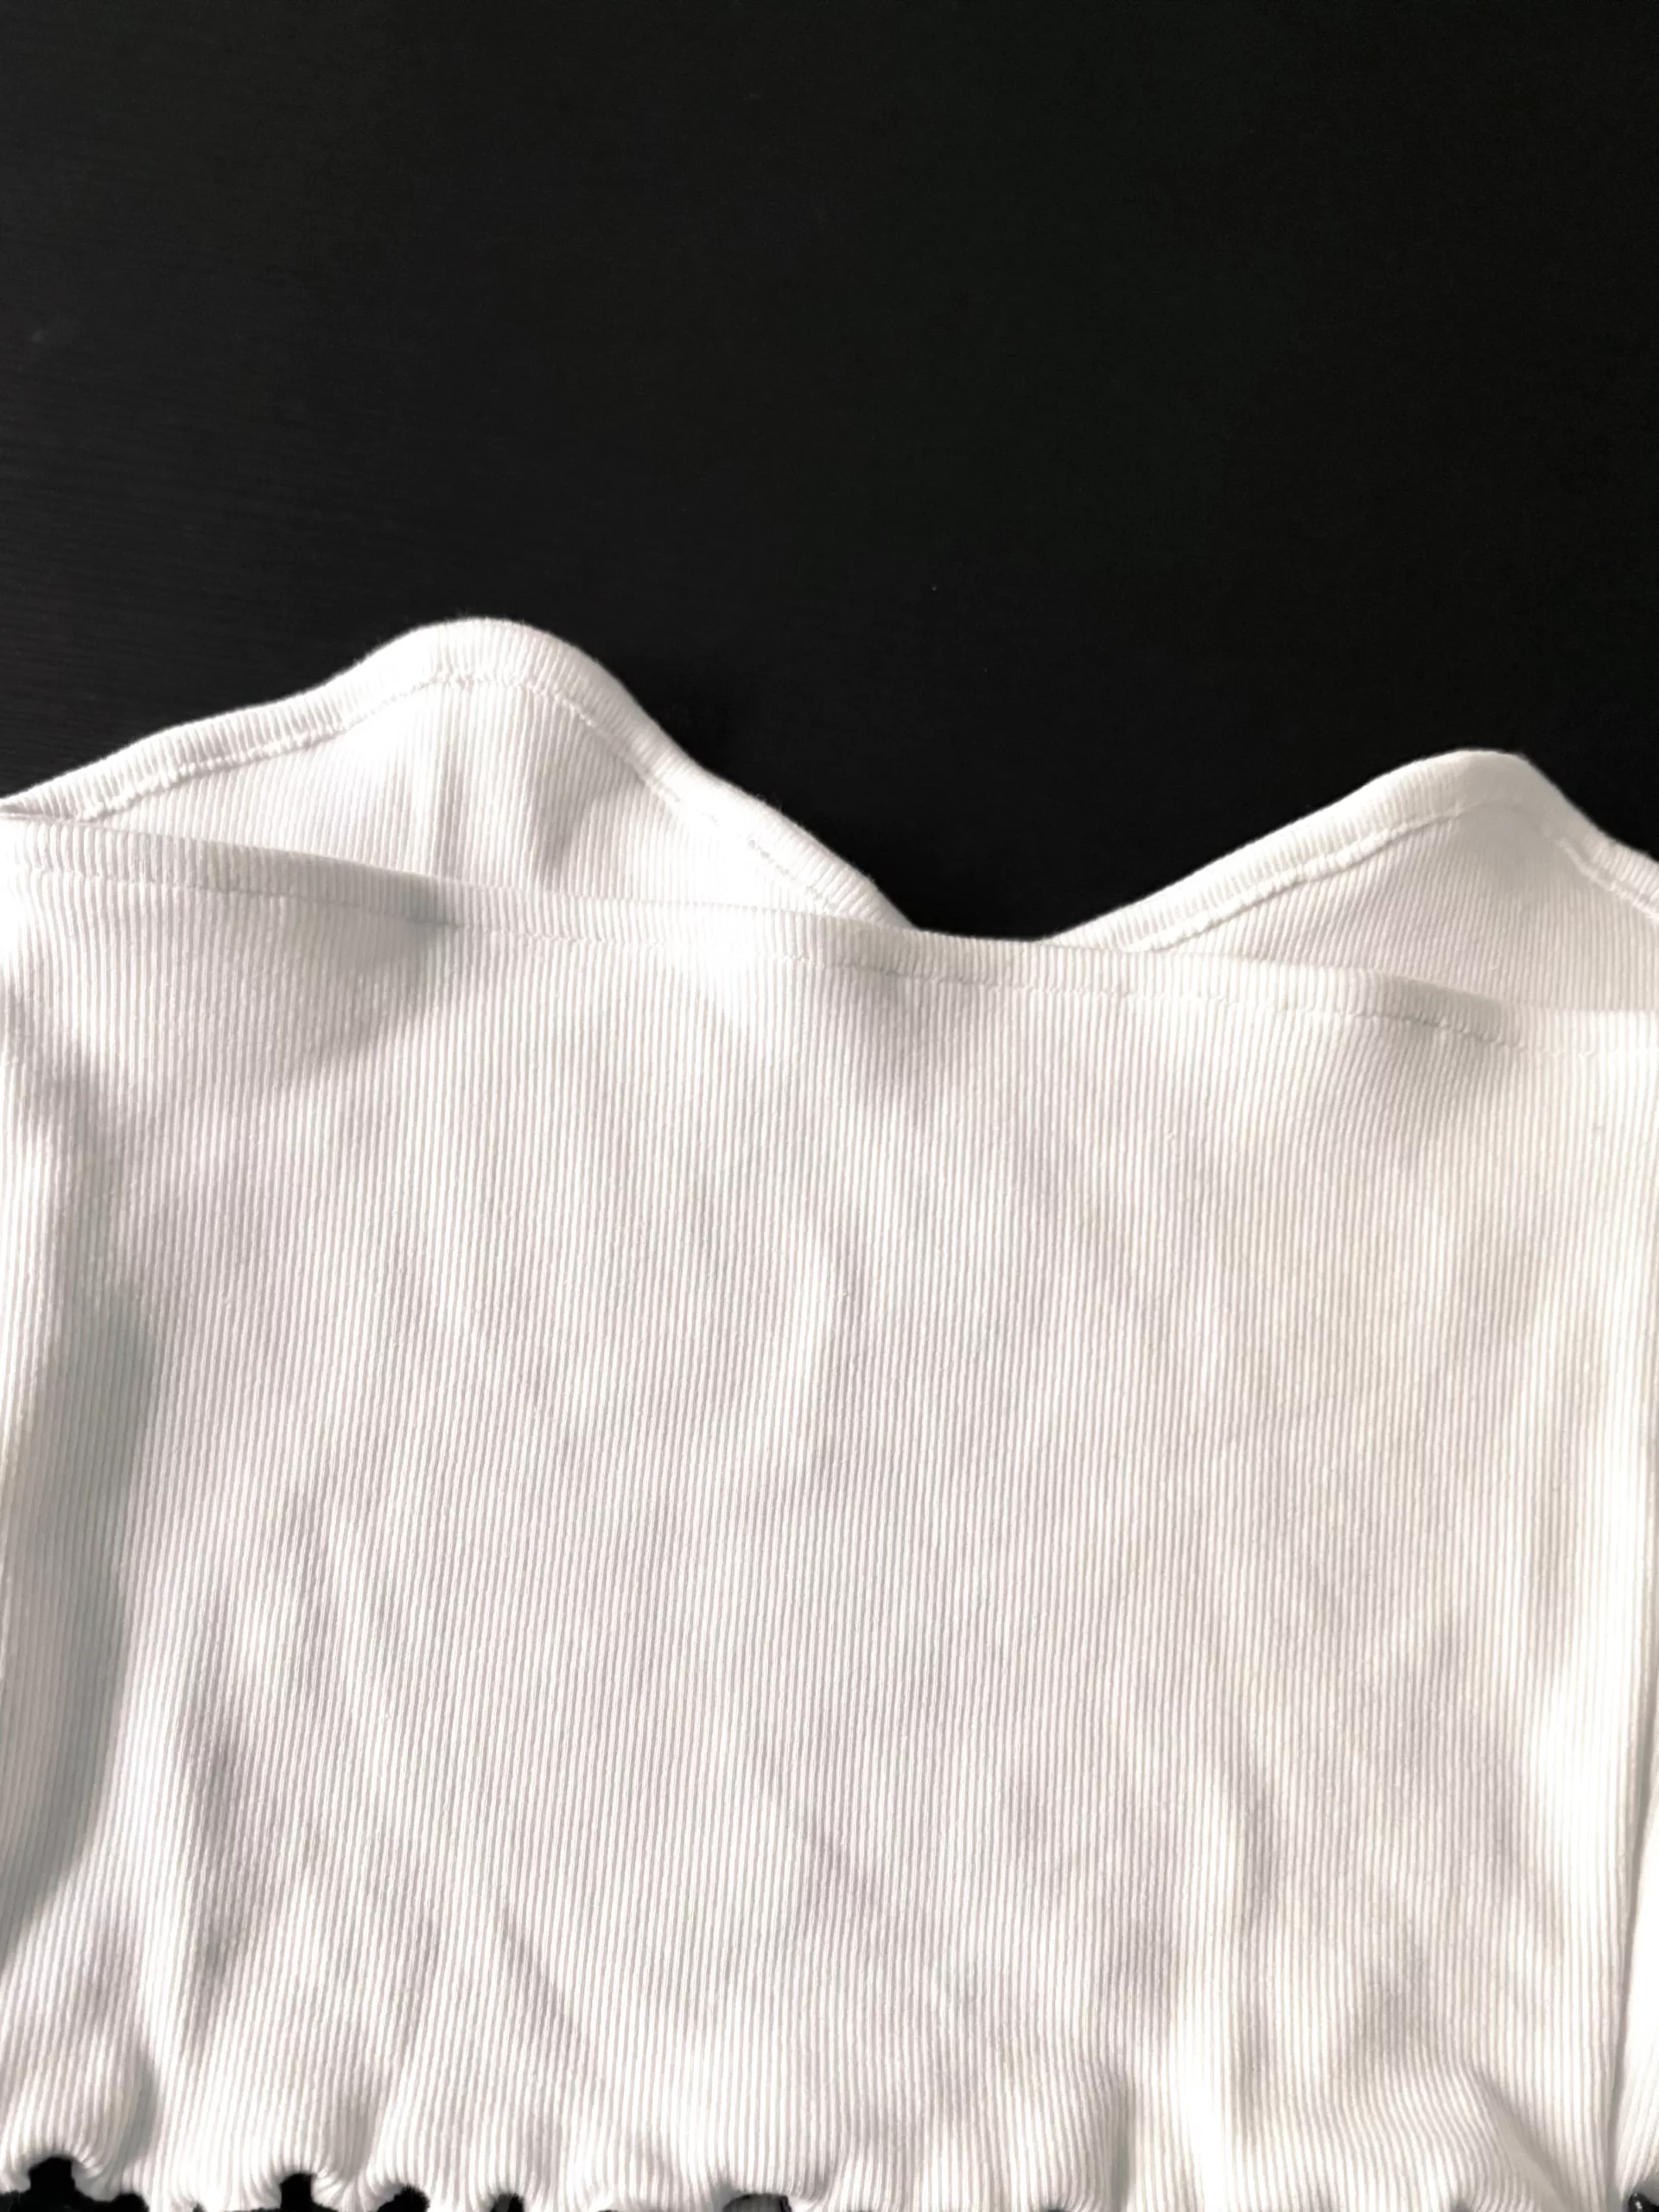
The wash-away tape is a game-changer, particularly at the sweetheart neckline where it aligns with the fabric’s stretch! The double-sided tape doesn’t gunk up the needle, and it washes off easily with water. I did a test piece with and without the tape, and as expected, the one without came out ripply and could not be fixed with iron and steam! I used the same knit fabric to finish the neckline with bias binding.
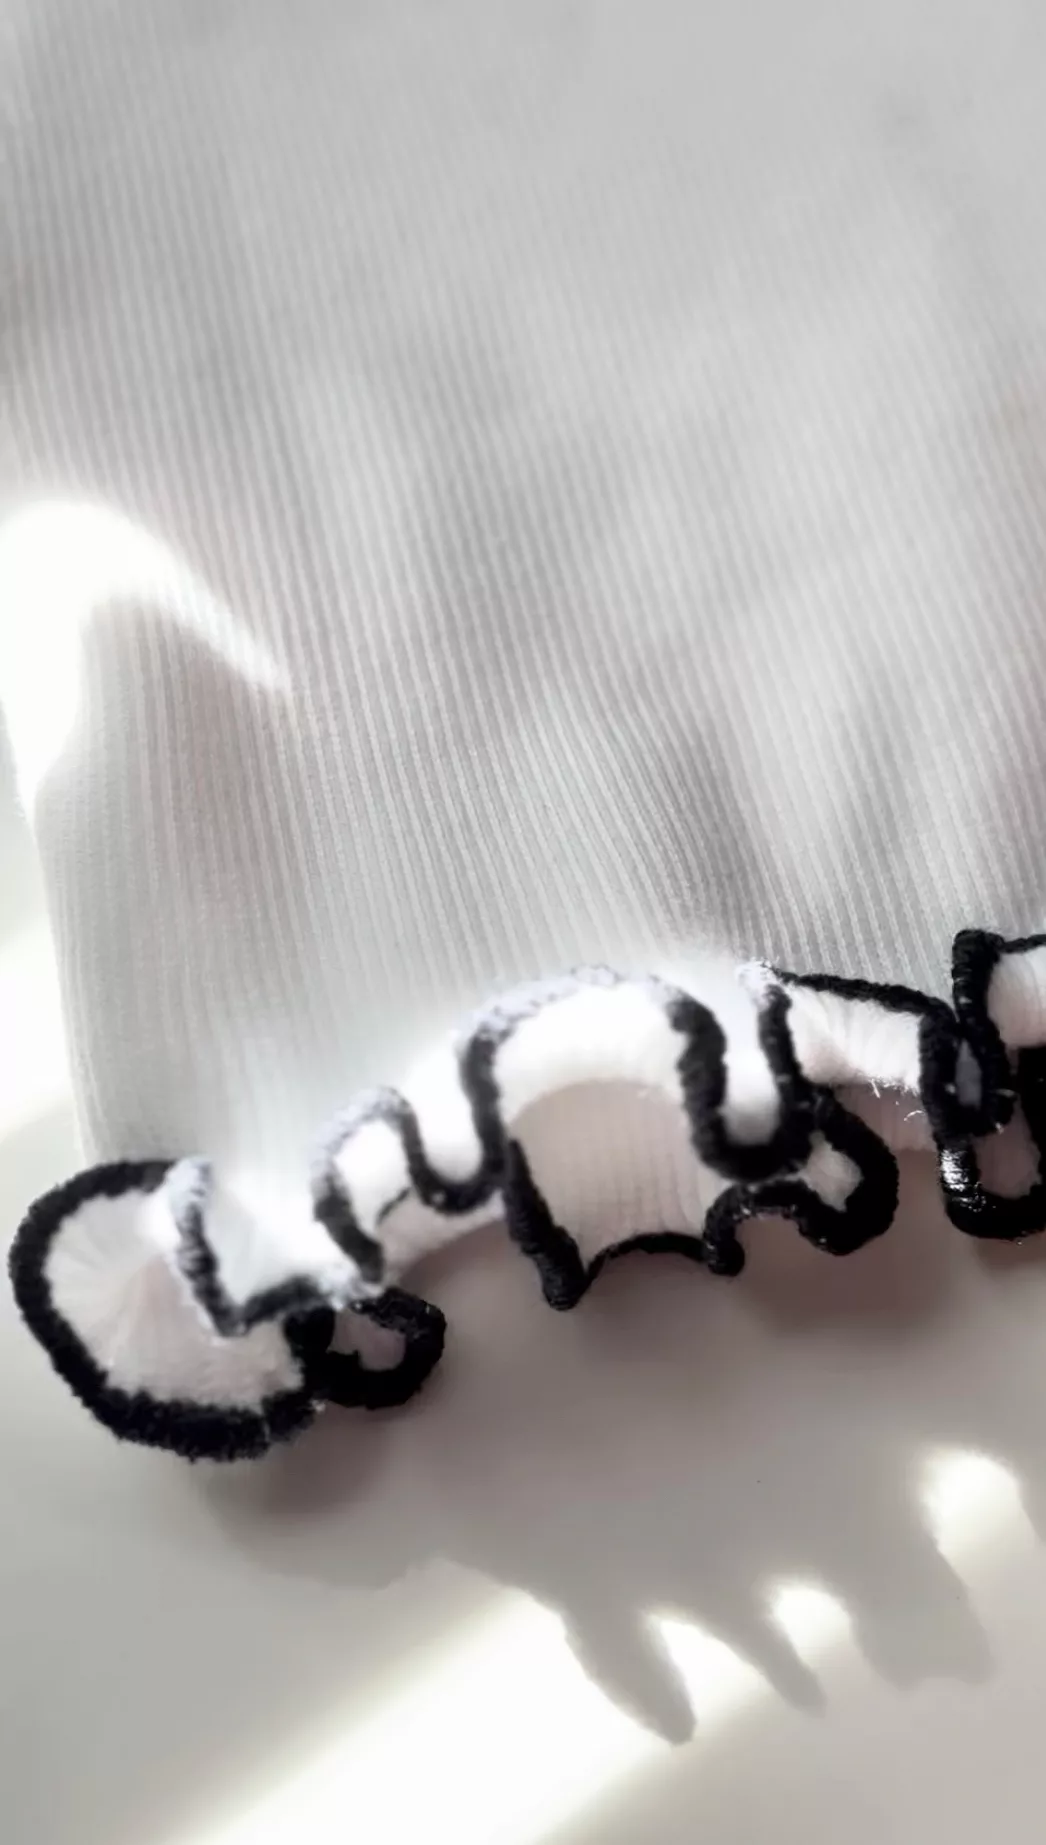
Lettuce Hem
If you’ve read my previous post on making my little black dress, you’ll know how I enjoy incorporating those adorable lettuce hem details! I used a thicker knit fabric for the little black dress and matched it with the same colored thread for the lettuce hem.
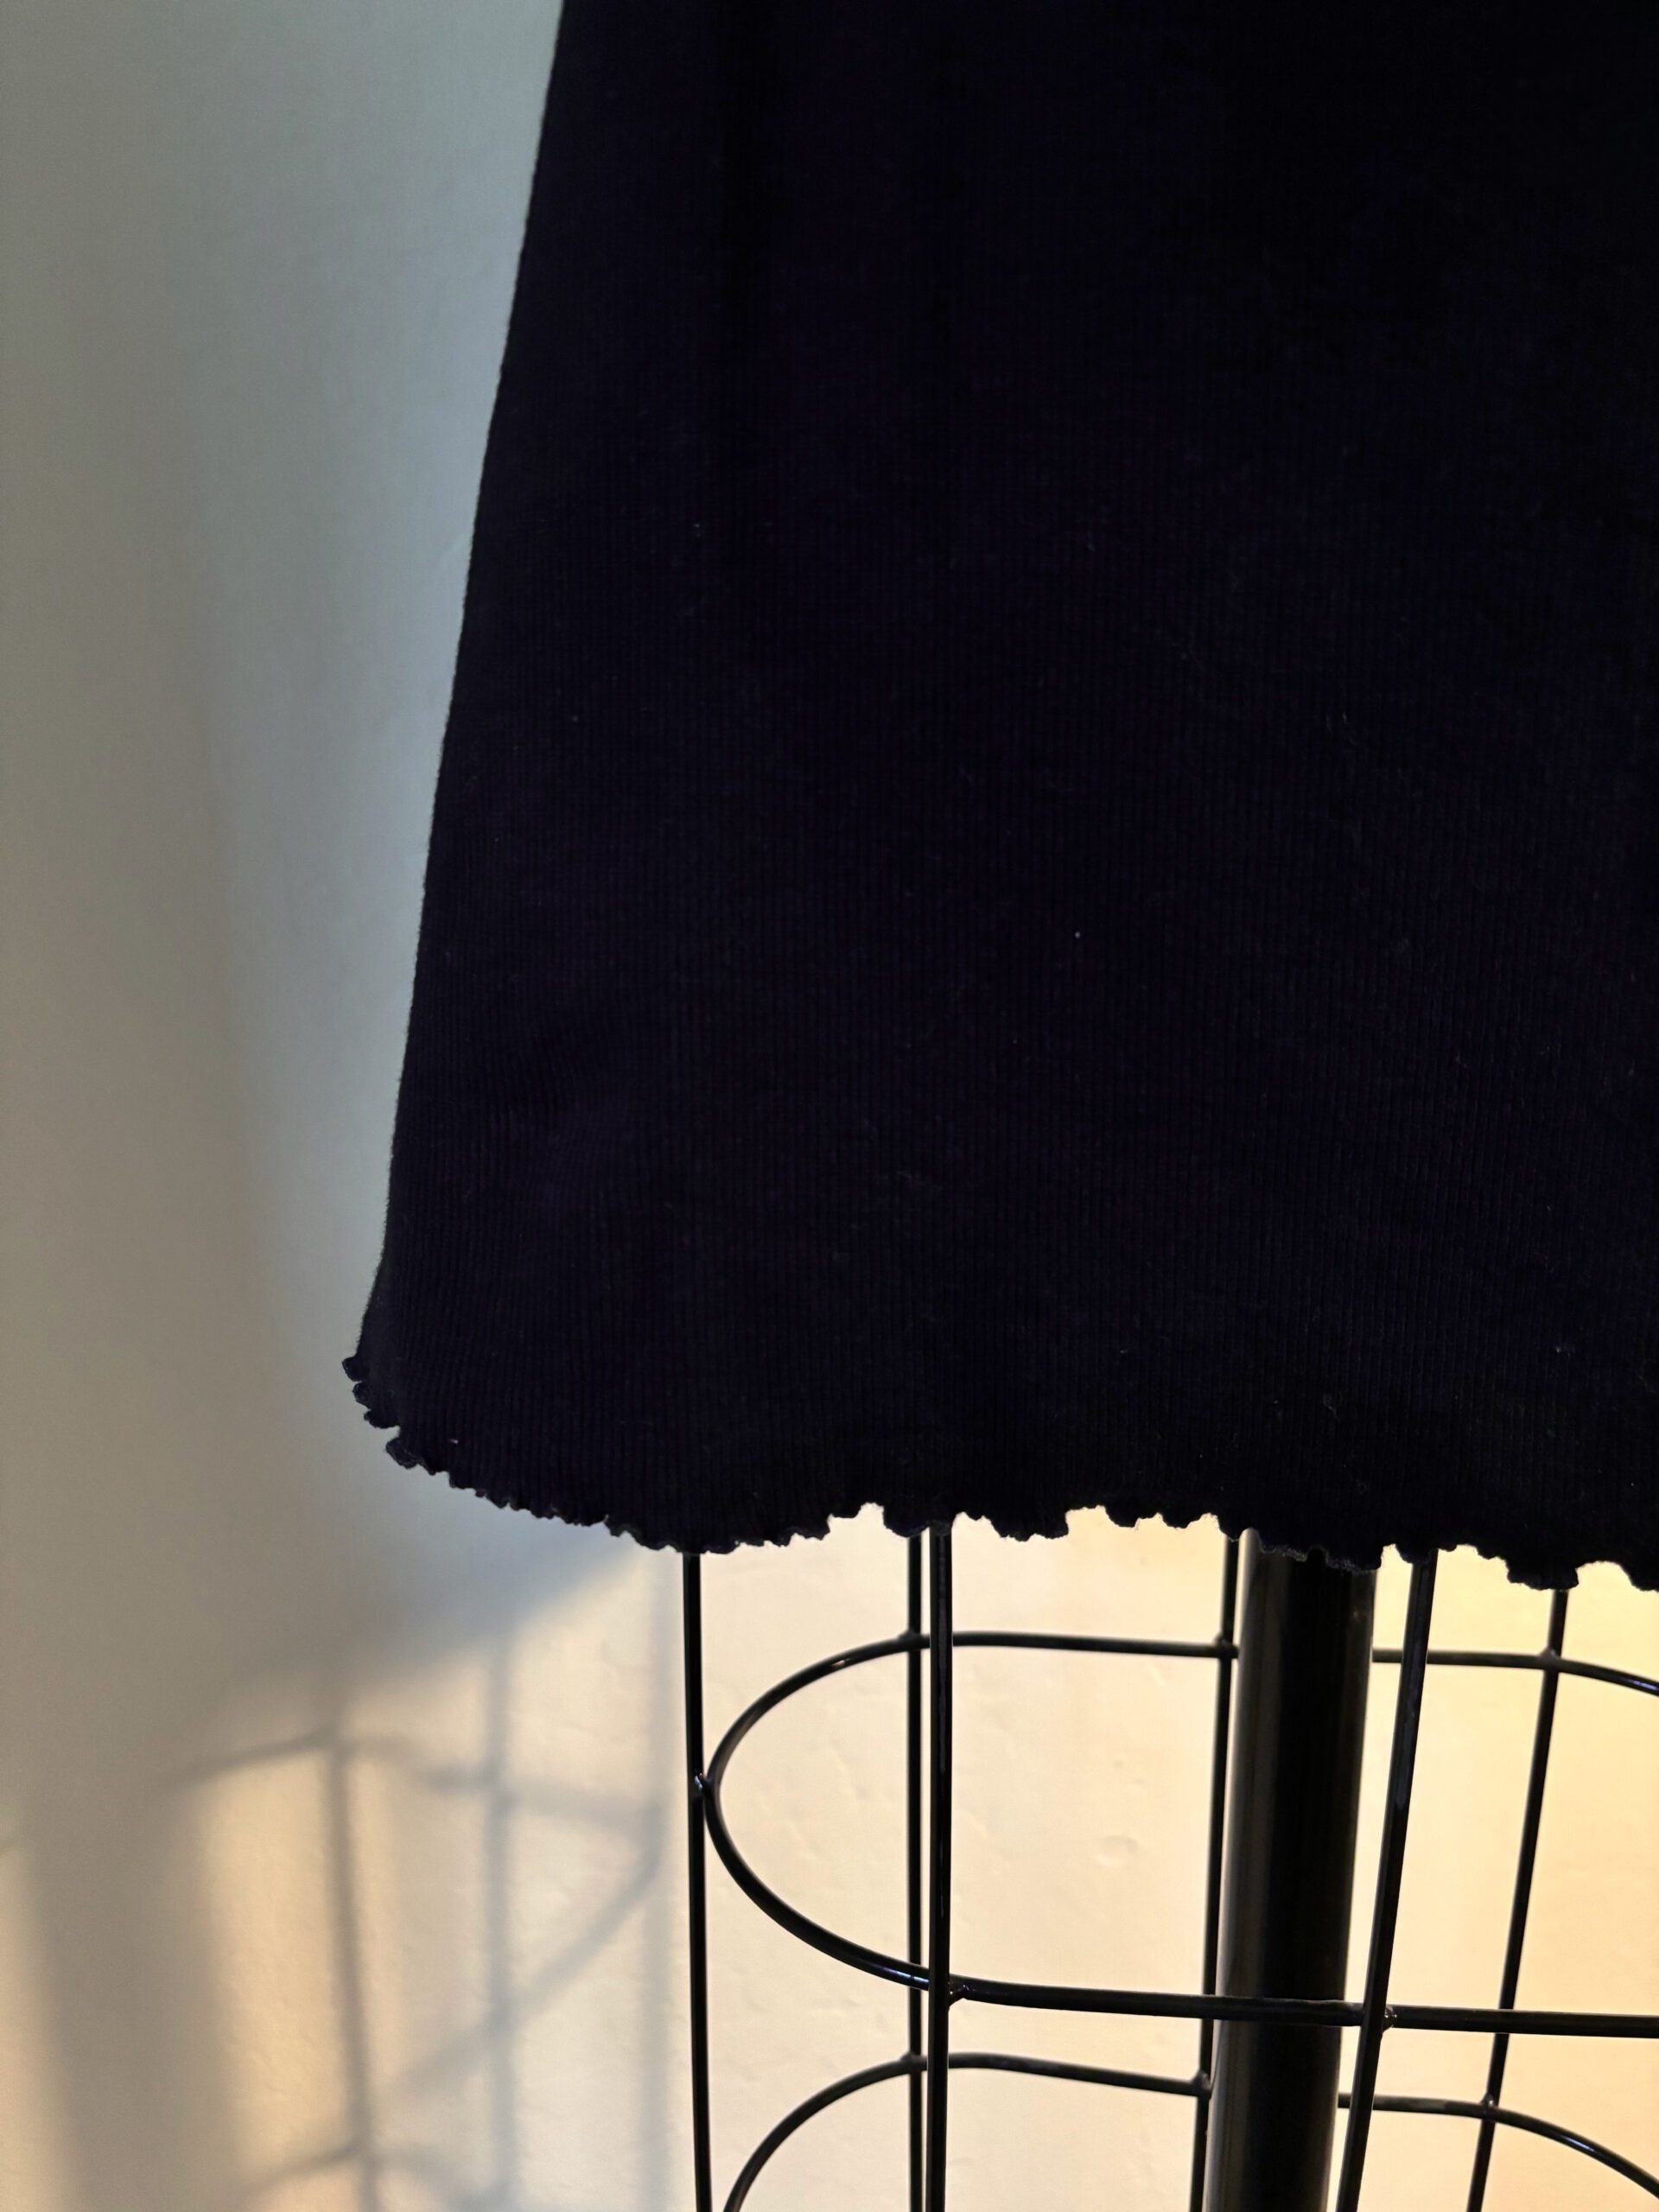
Given the thinner knit fabric and my choice of black contrasting thread, I adjusted to a much shorter (0.3) and wider (3.5) zigzag stitch length to keep the stitches tightly spaced and prevent any white fabric from showing through.
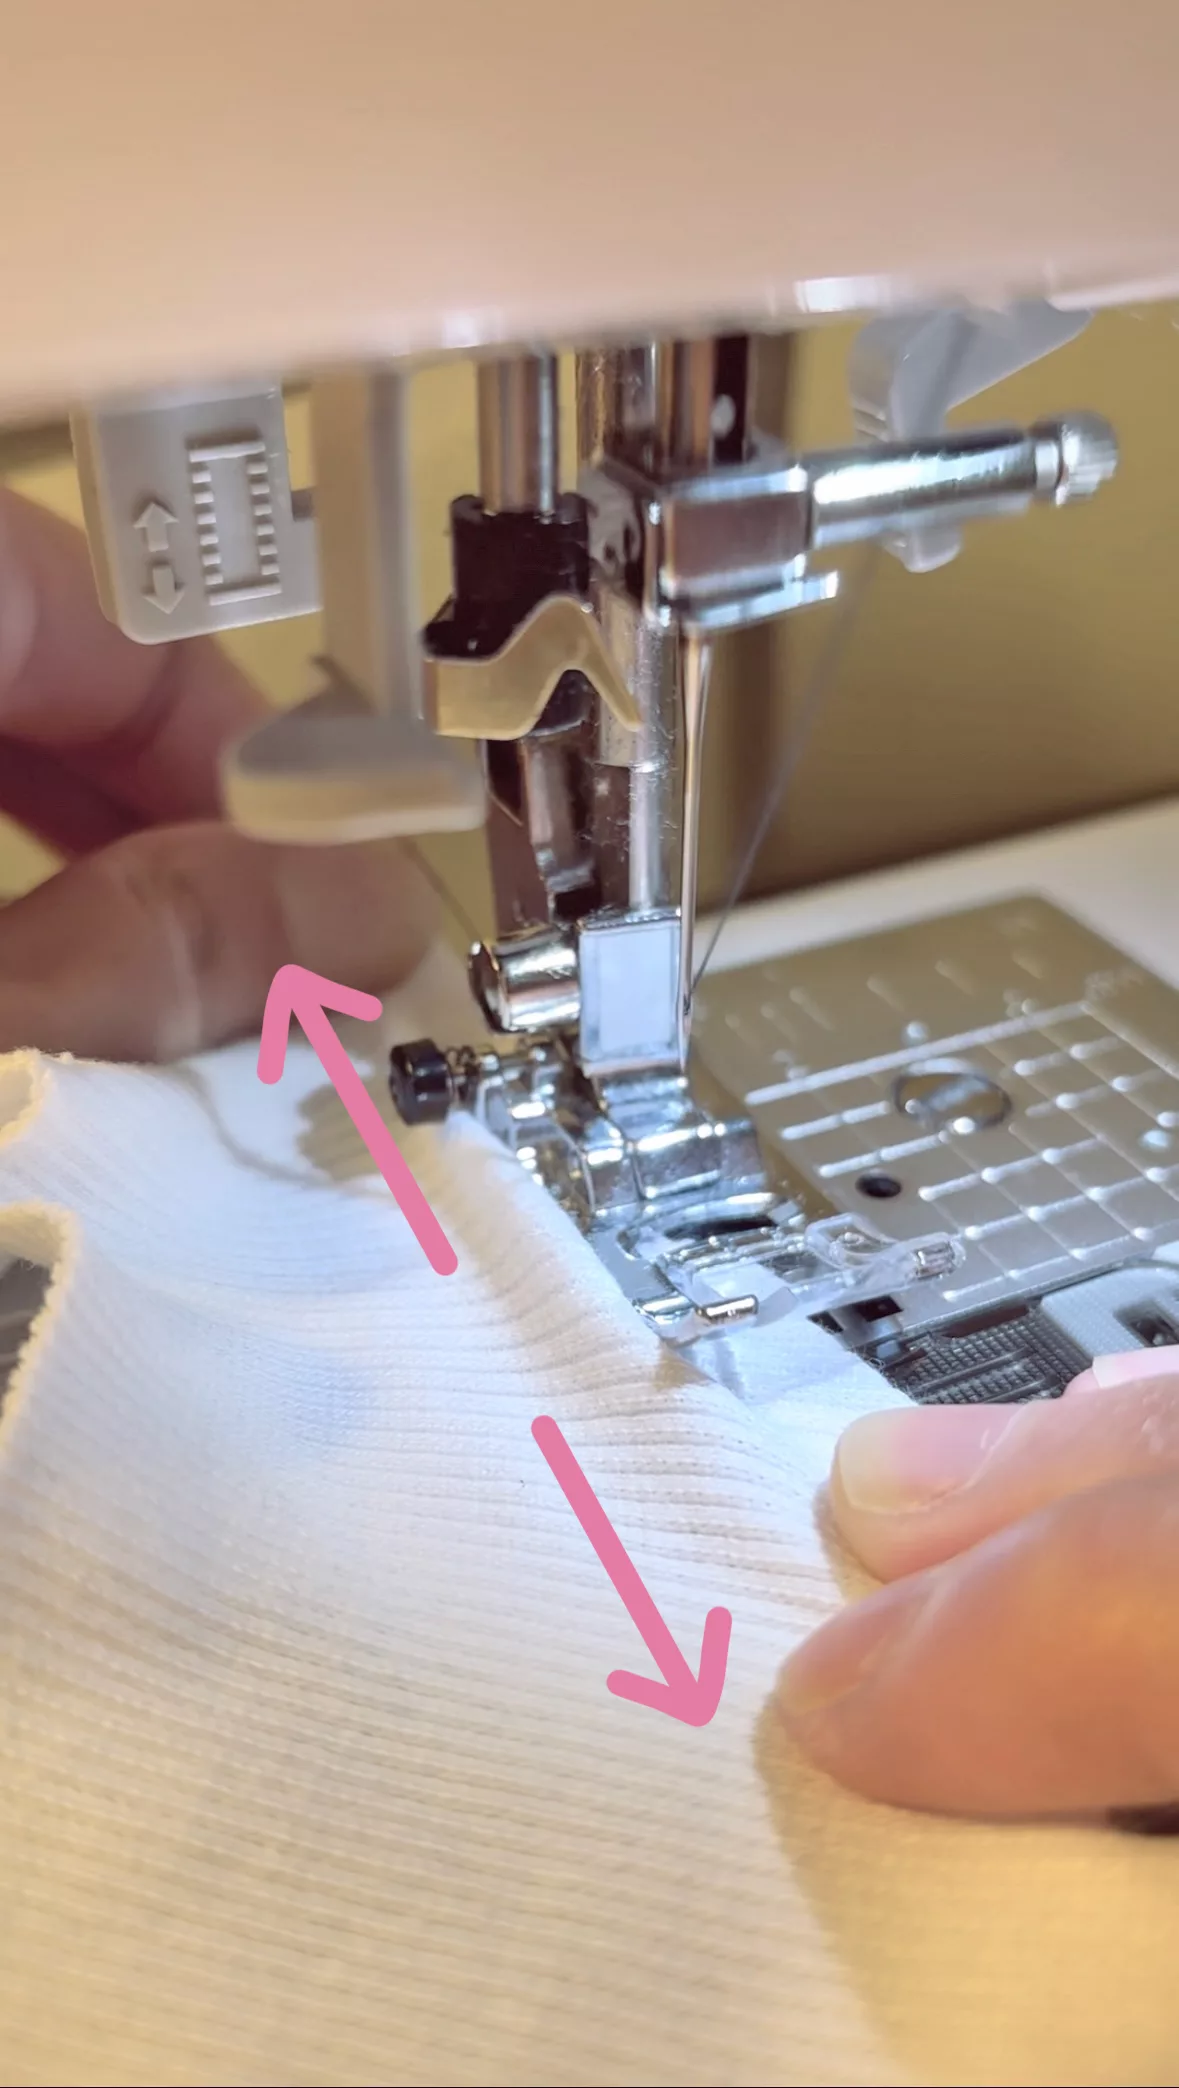
I positioned the fabric with a folded edge near the needle to ensure it stitched over the hem properly. As I sewed, I stretched the fabric with both hands and gently guided its movement to fill in any gaps. Keep in mind that the more you stretch the fabric, the more pronounced the wavy hem will appear. If you’re a visual learner like me, you can watch the video tutorial here.
Although the construction for the knit top with the sweetheart neckline and contrasting lettuce hem was fairly simple, I learned a lot throughout the process.
Leave a Reply