
Circle skirts are one of the most beginner-friendly projects you can do. Plus, circle skirts flatter any body type. When I first started sewing, I was all about scrunchies, hair bows, and circle skirts—they were like my holy trinity of beginner-friendly projects!
If you’re new to sewing, you can find so many circle skirt tutorials out there. You can whip up a half circle, quarter circle, or go all out with a full circle for that extra twirl factor. For an easy circle skirt calculation, check out the handy tool on the Mood Fabrics website here. Just input your desired skirt length, waist measurement, and preferred fullness, and it will calculate the fabric yardage and radius needed.
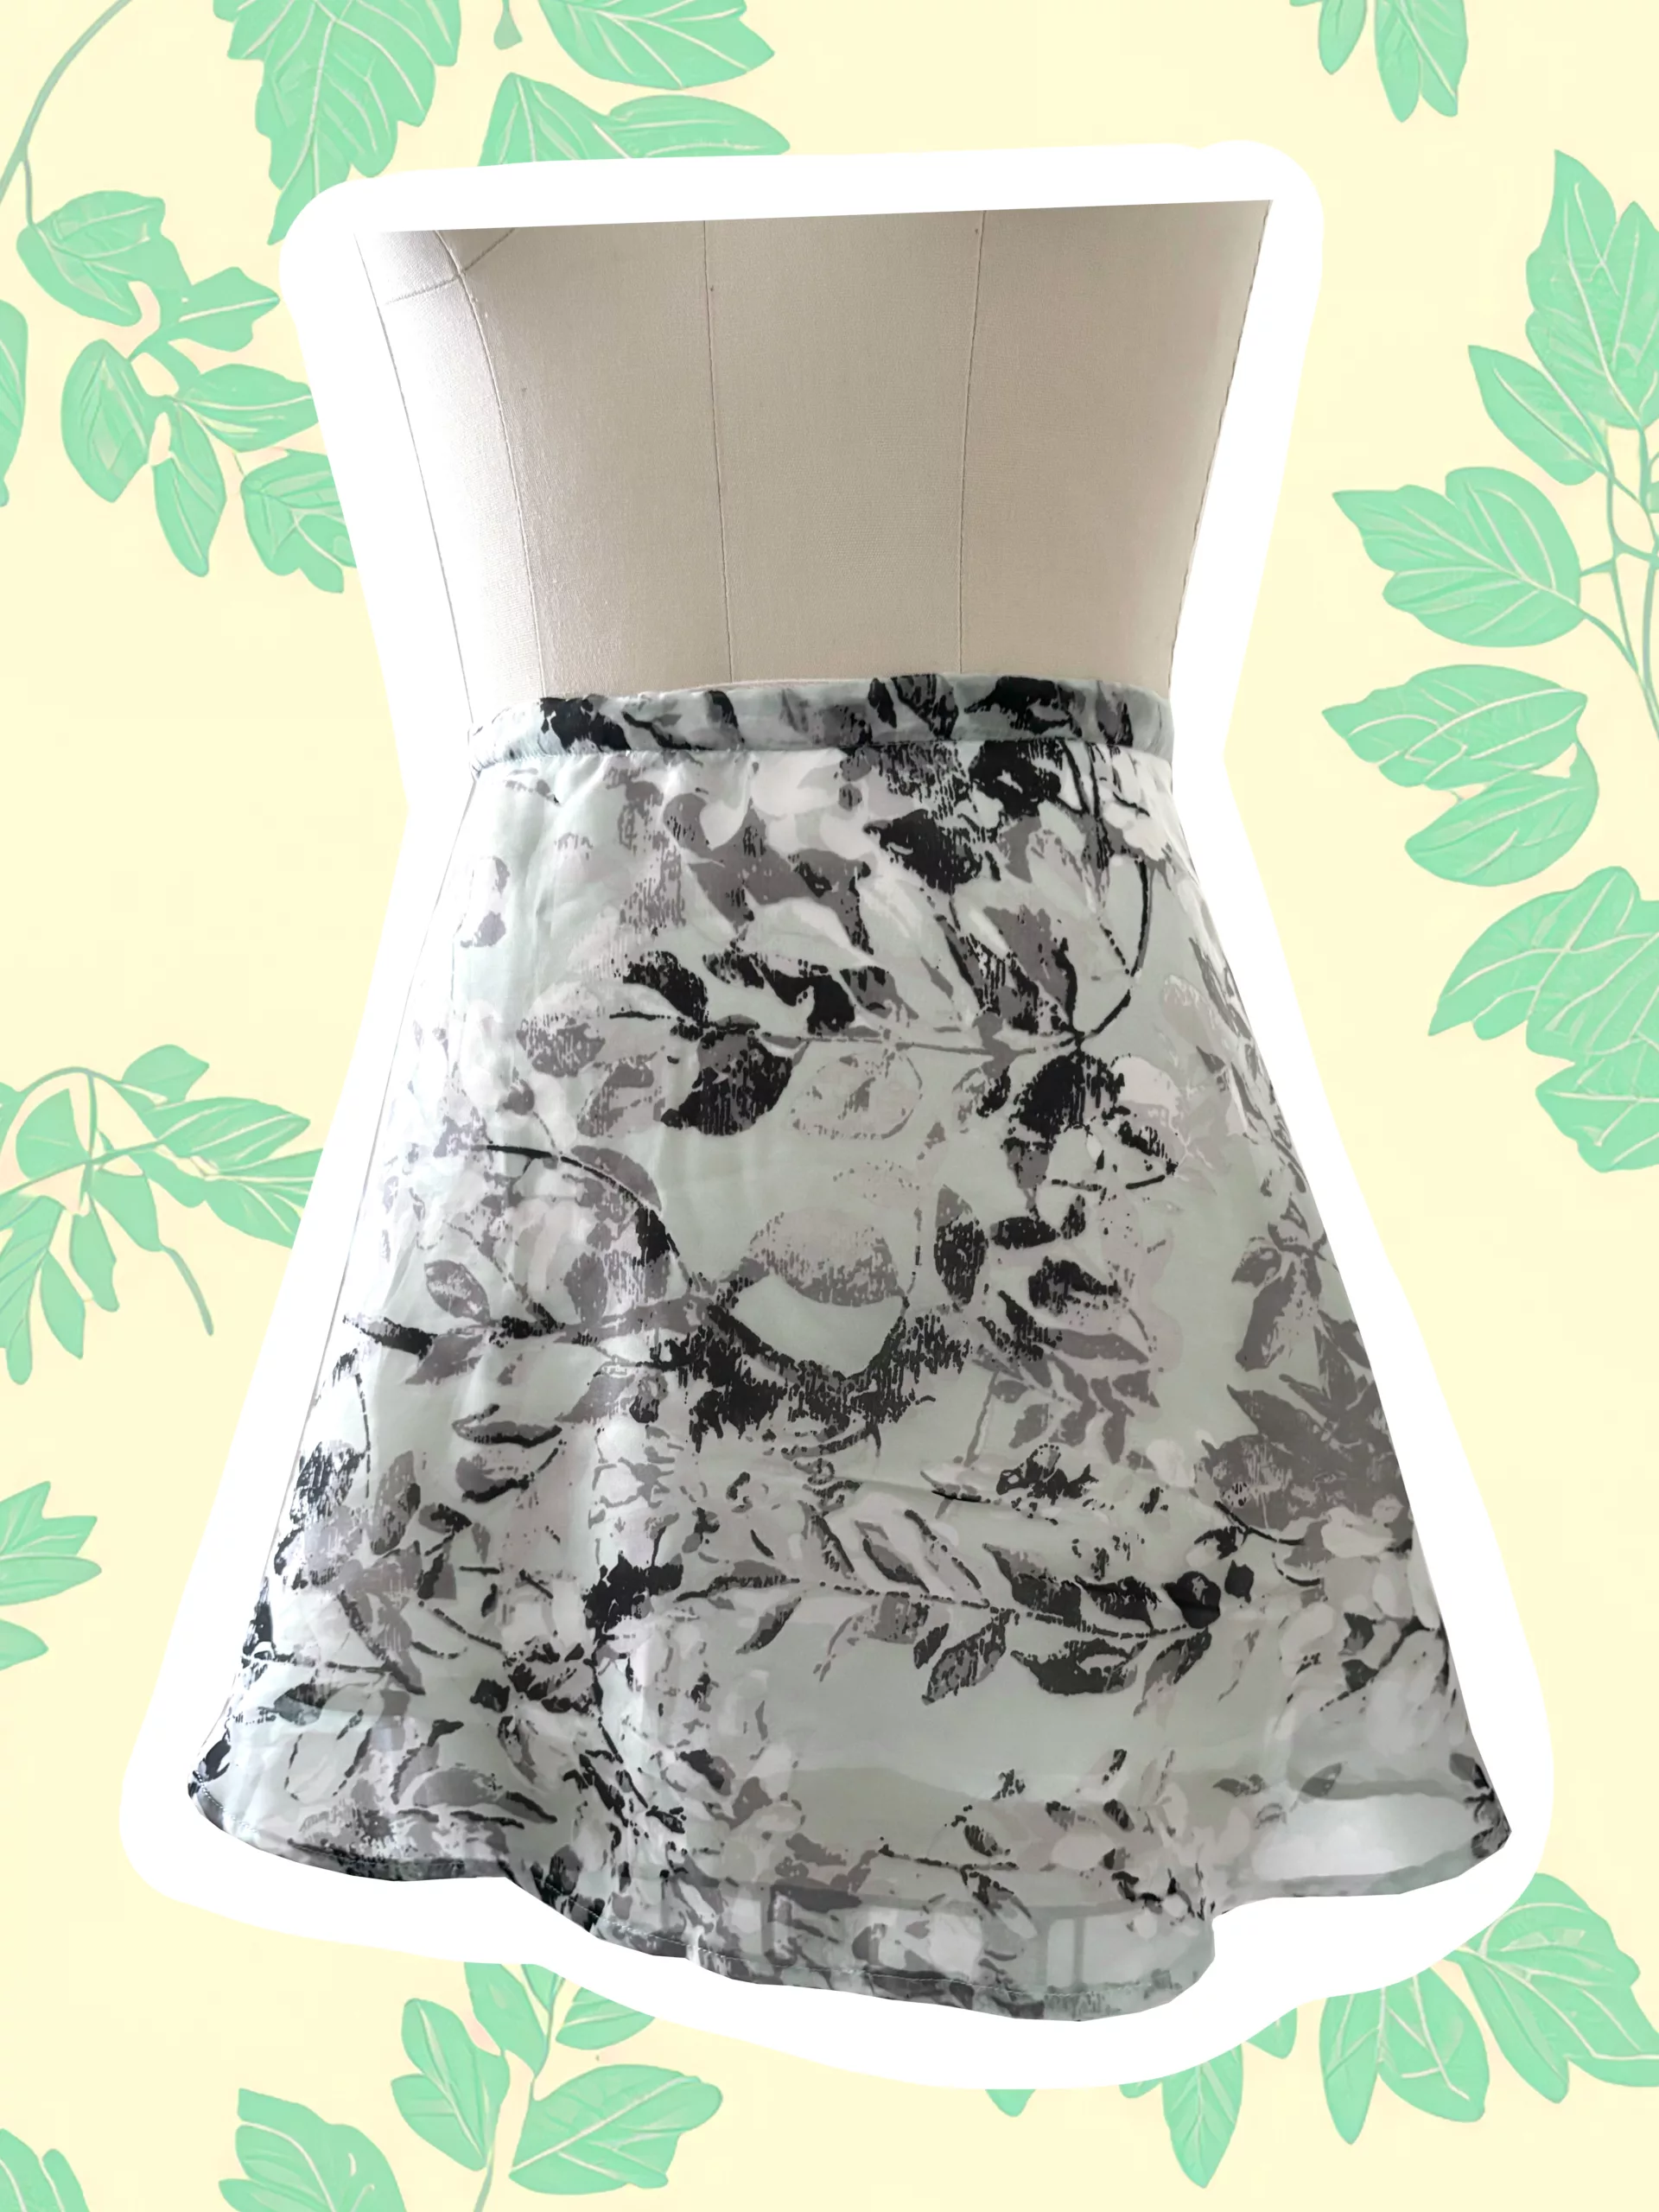
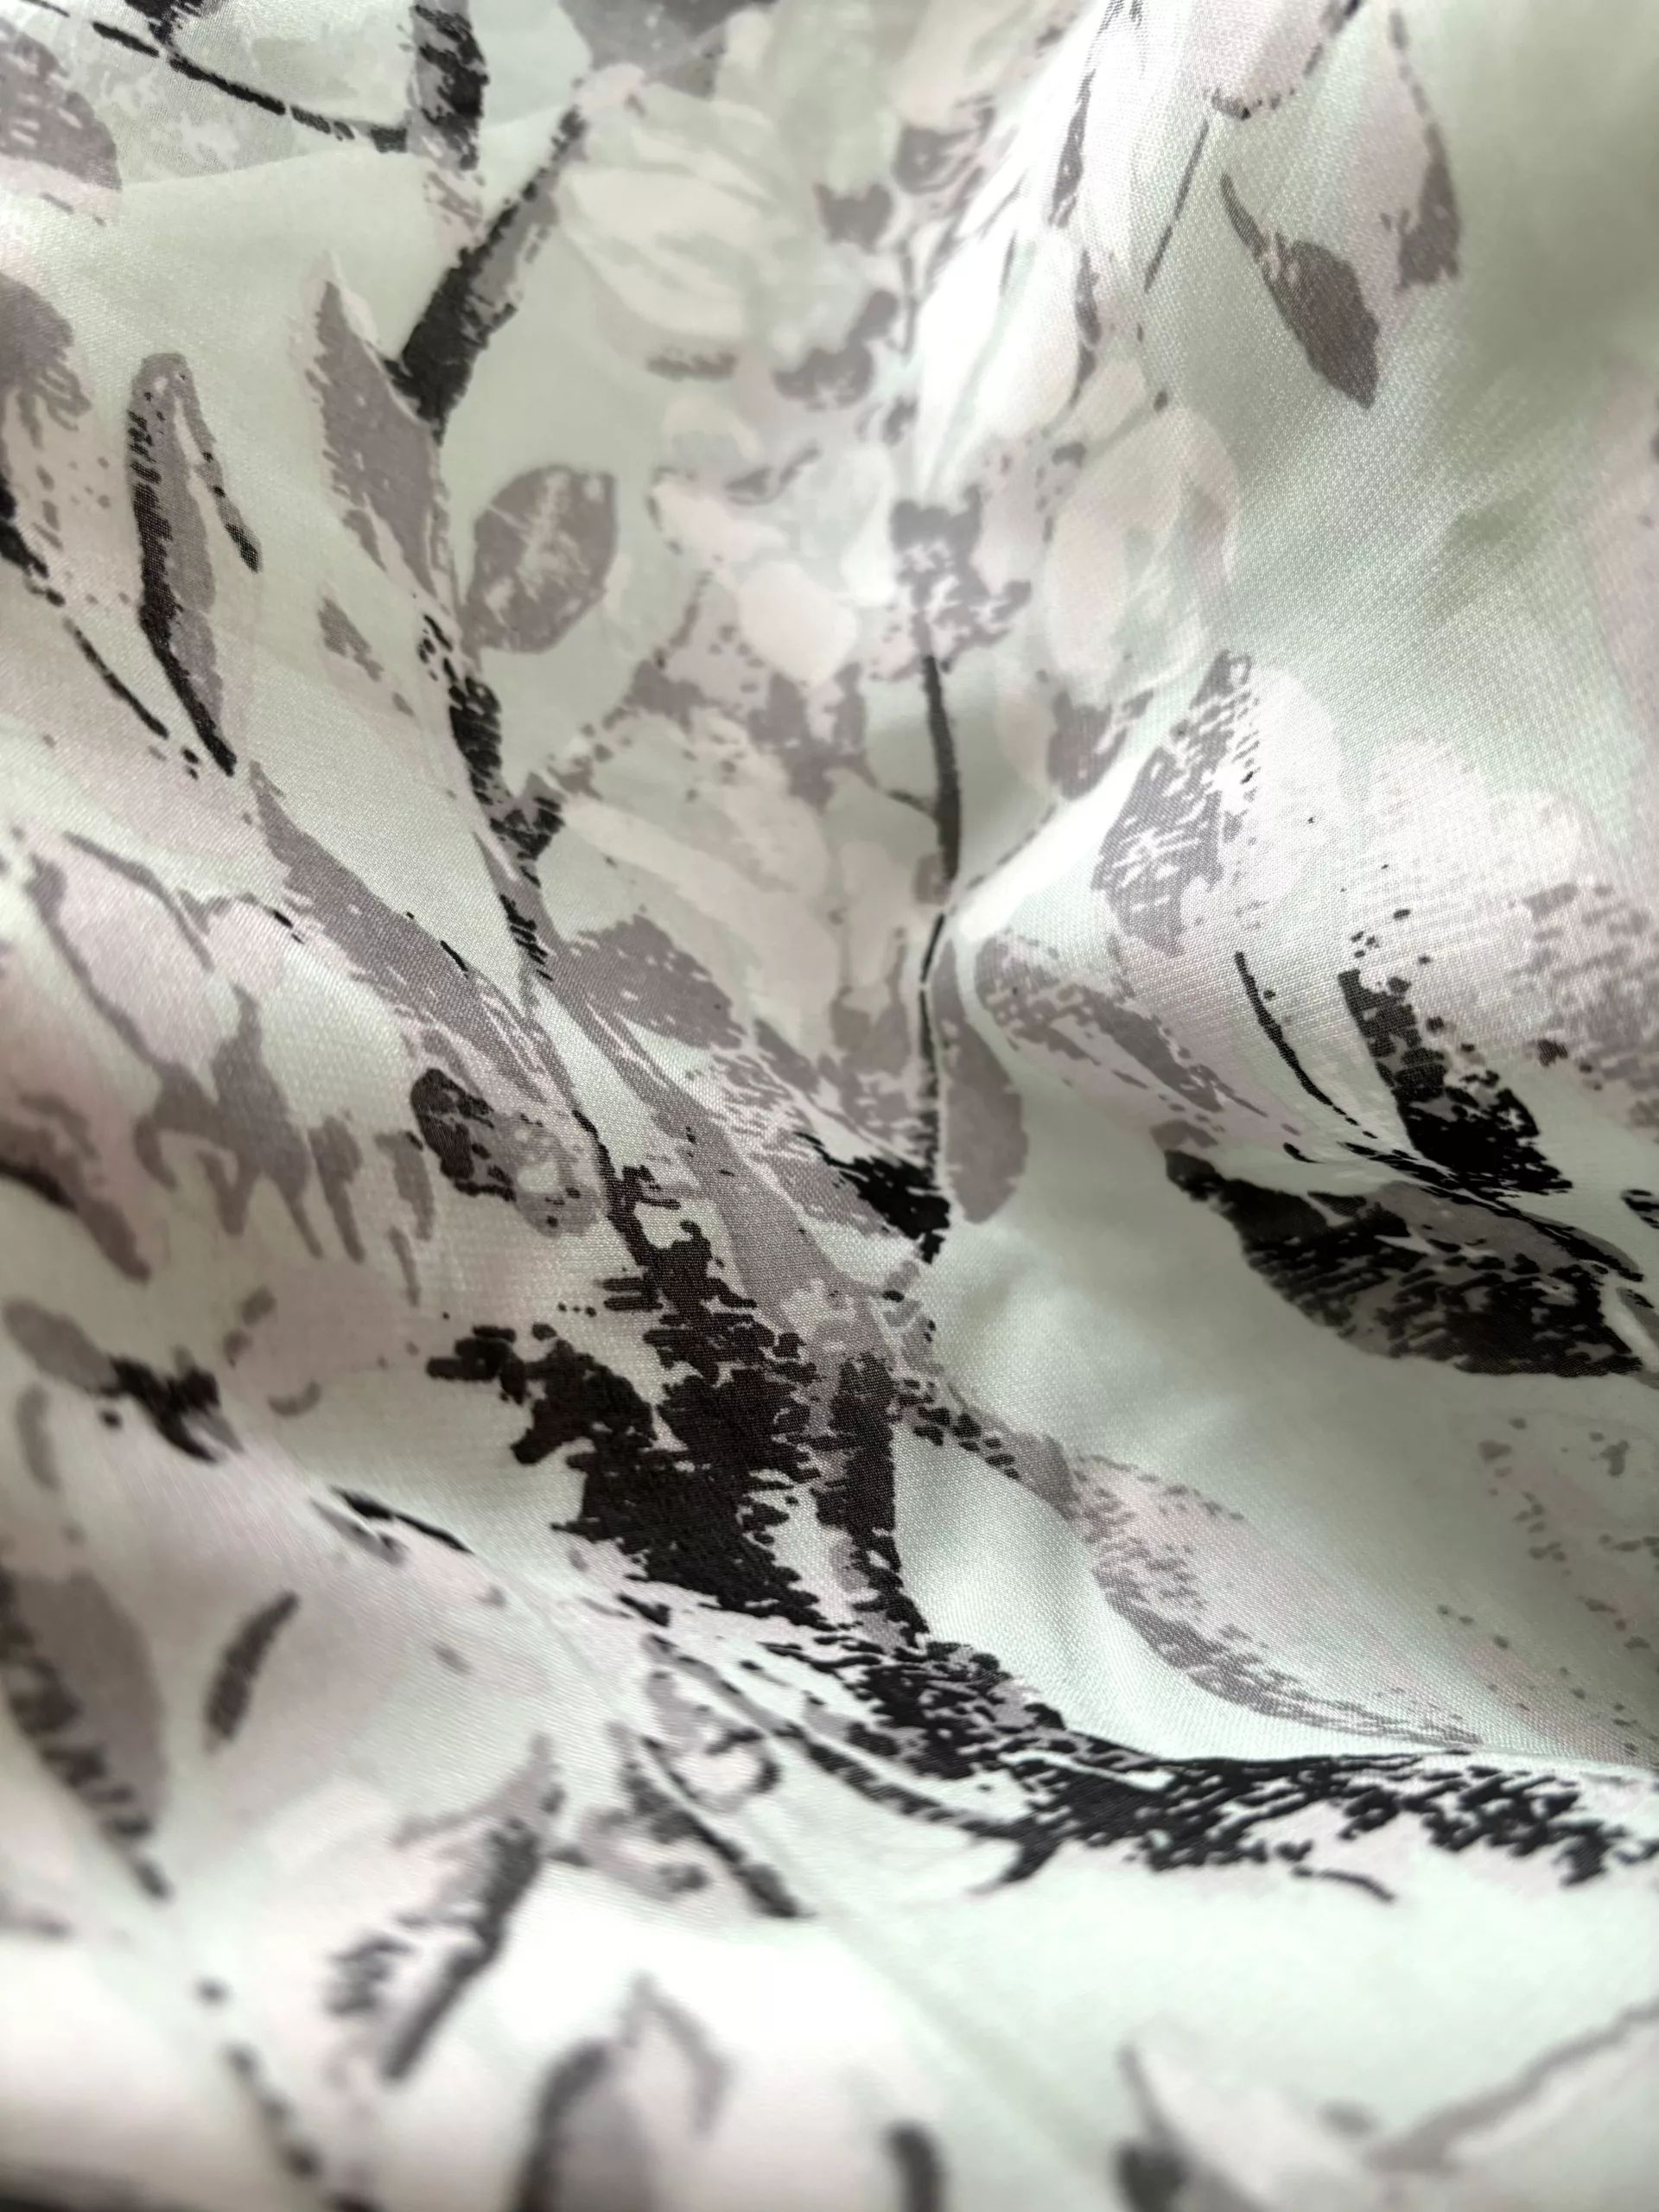
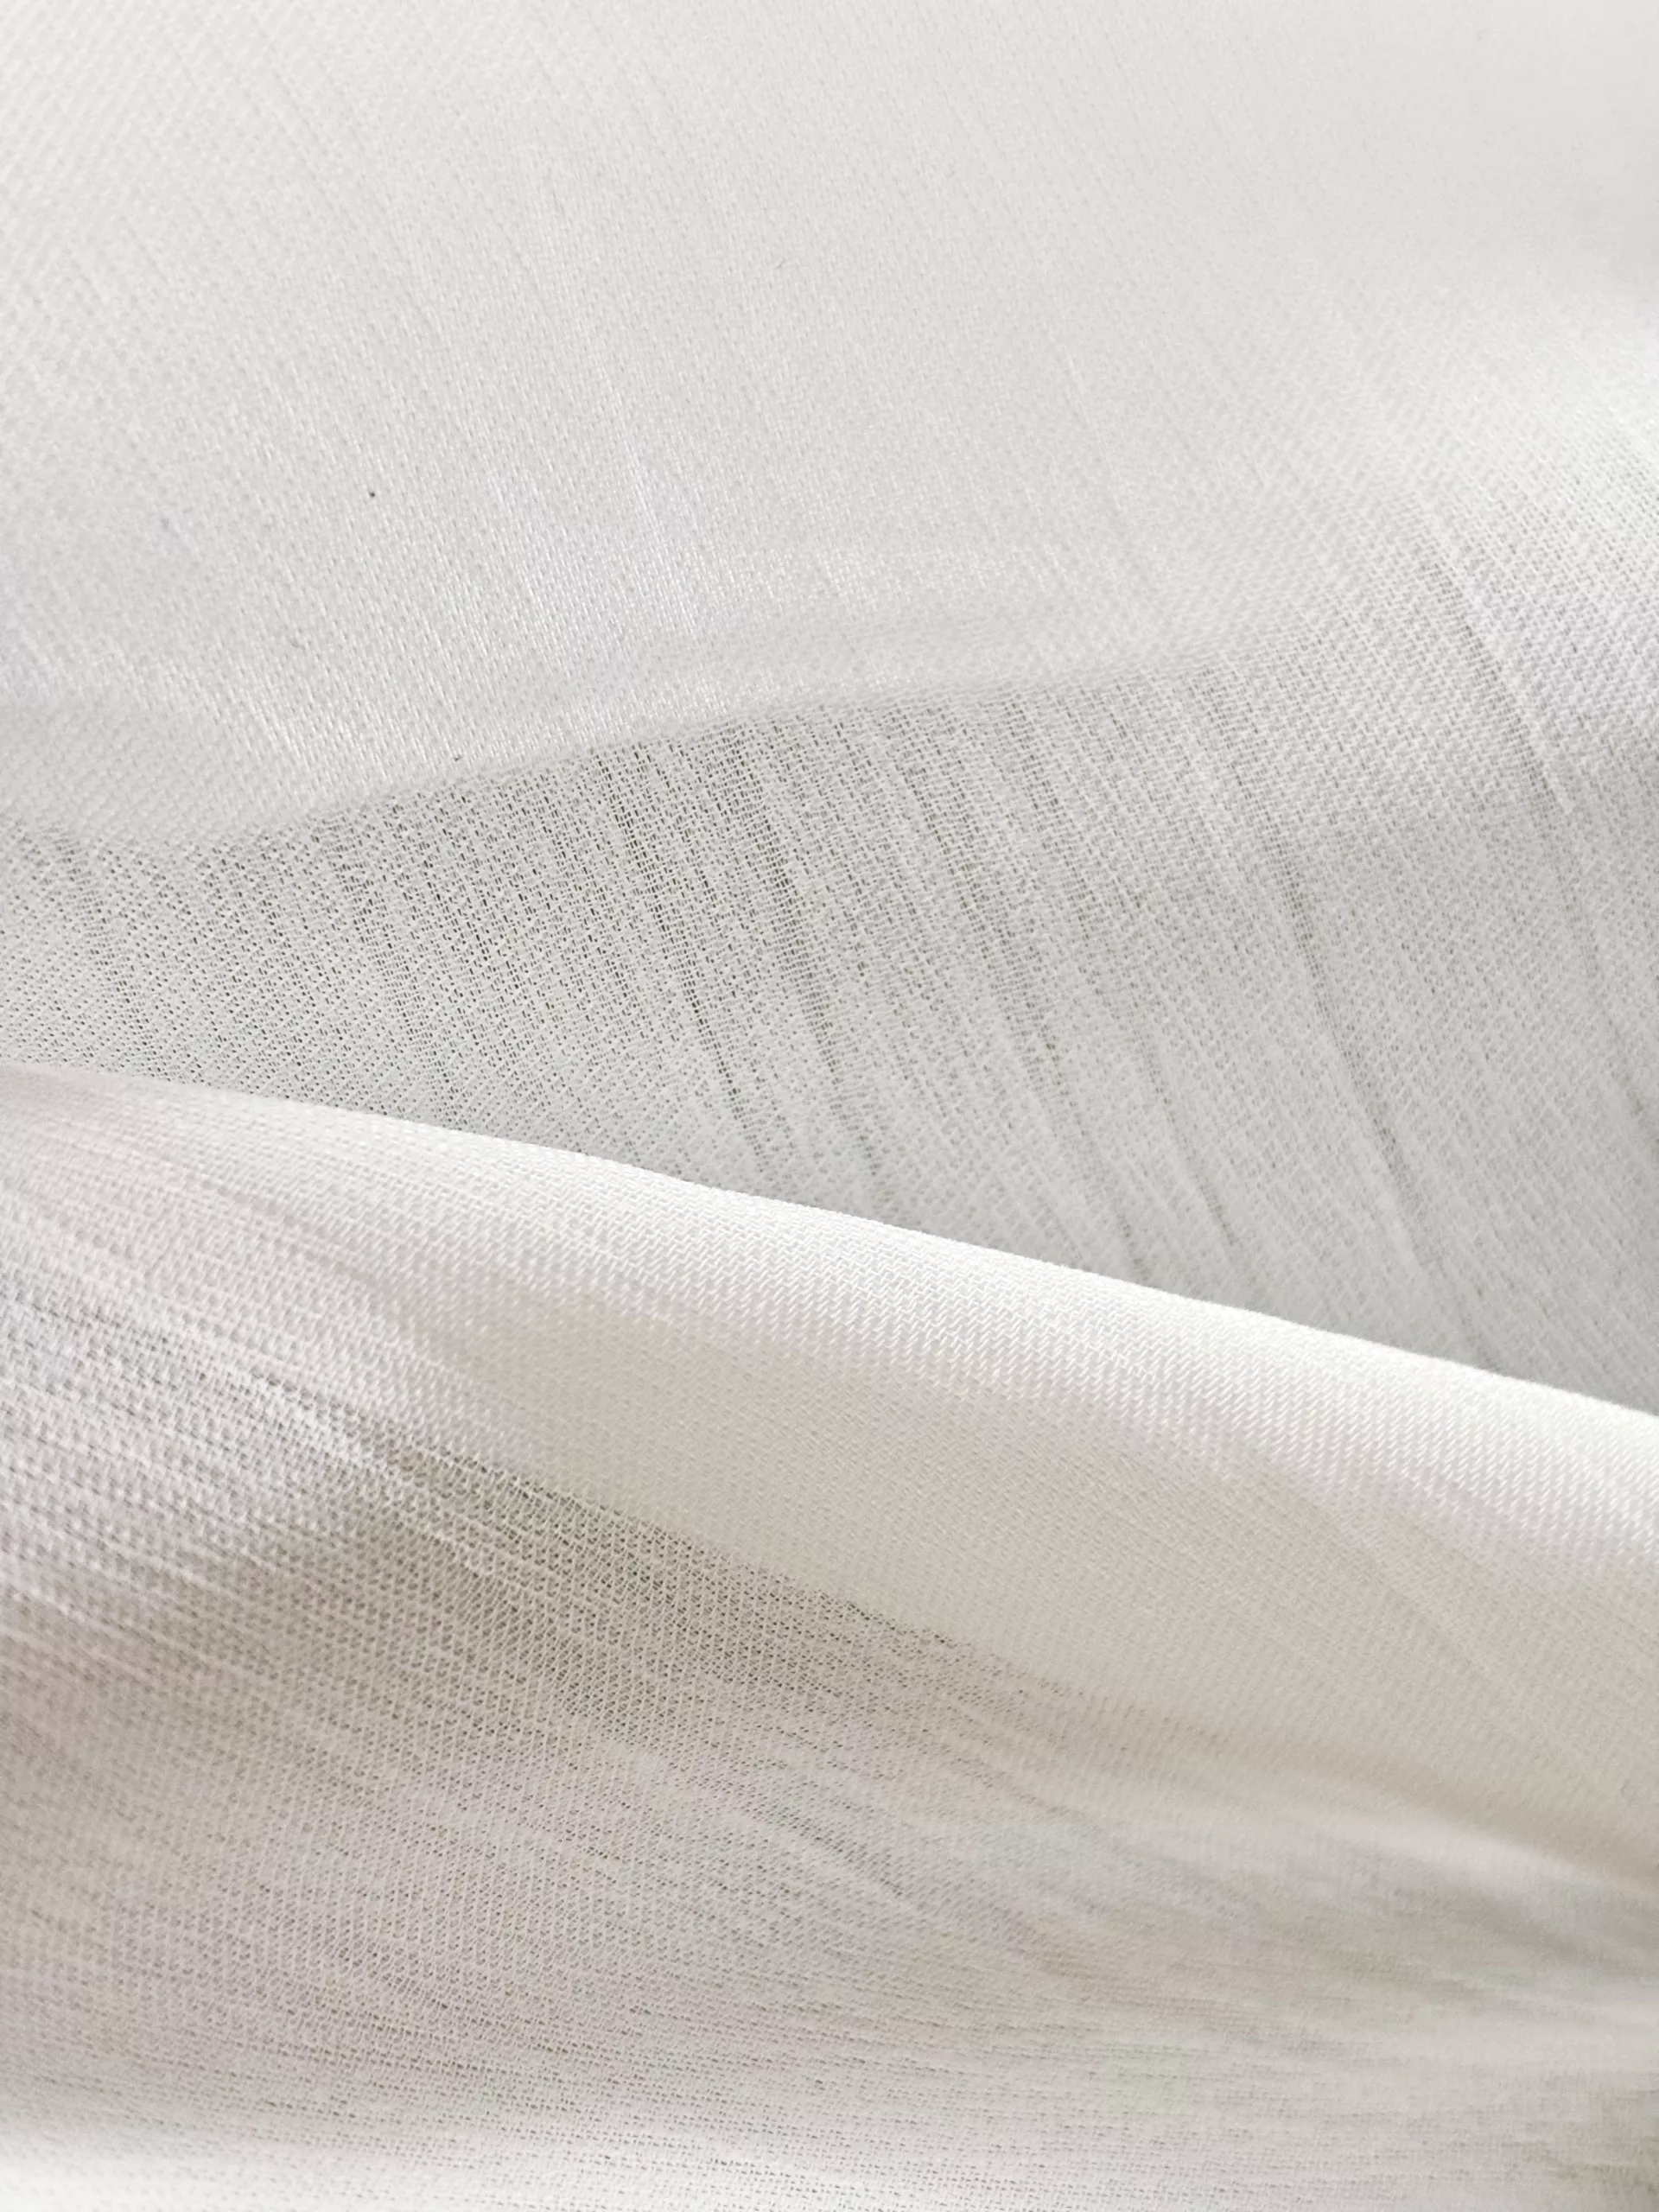
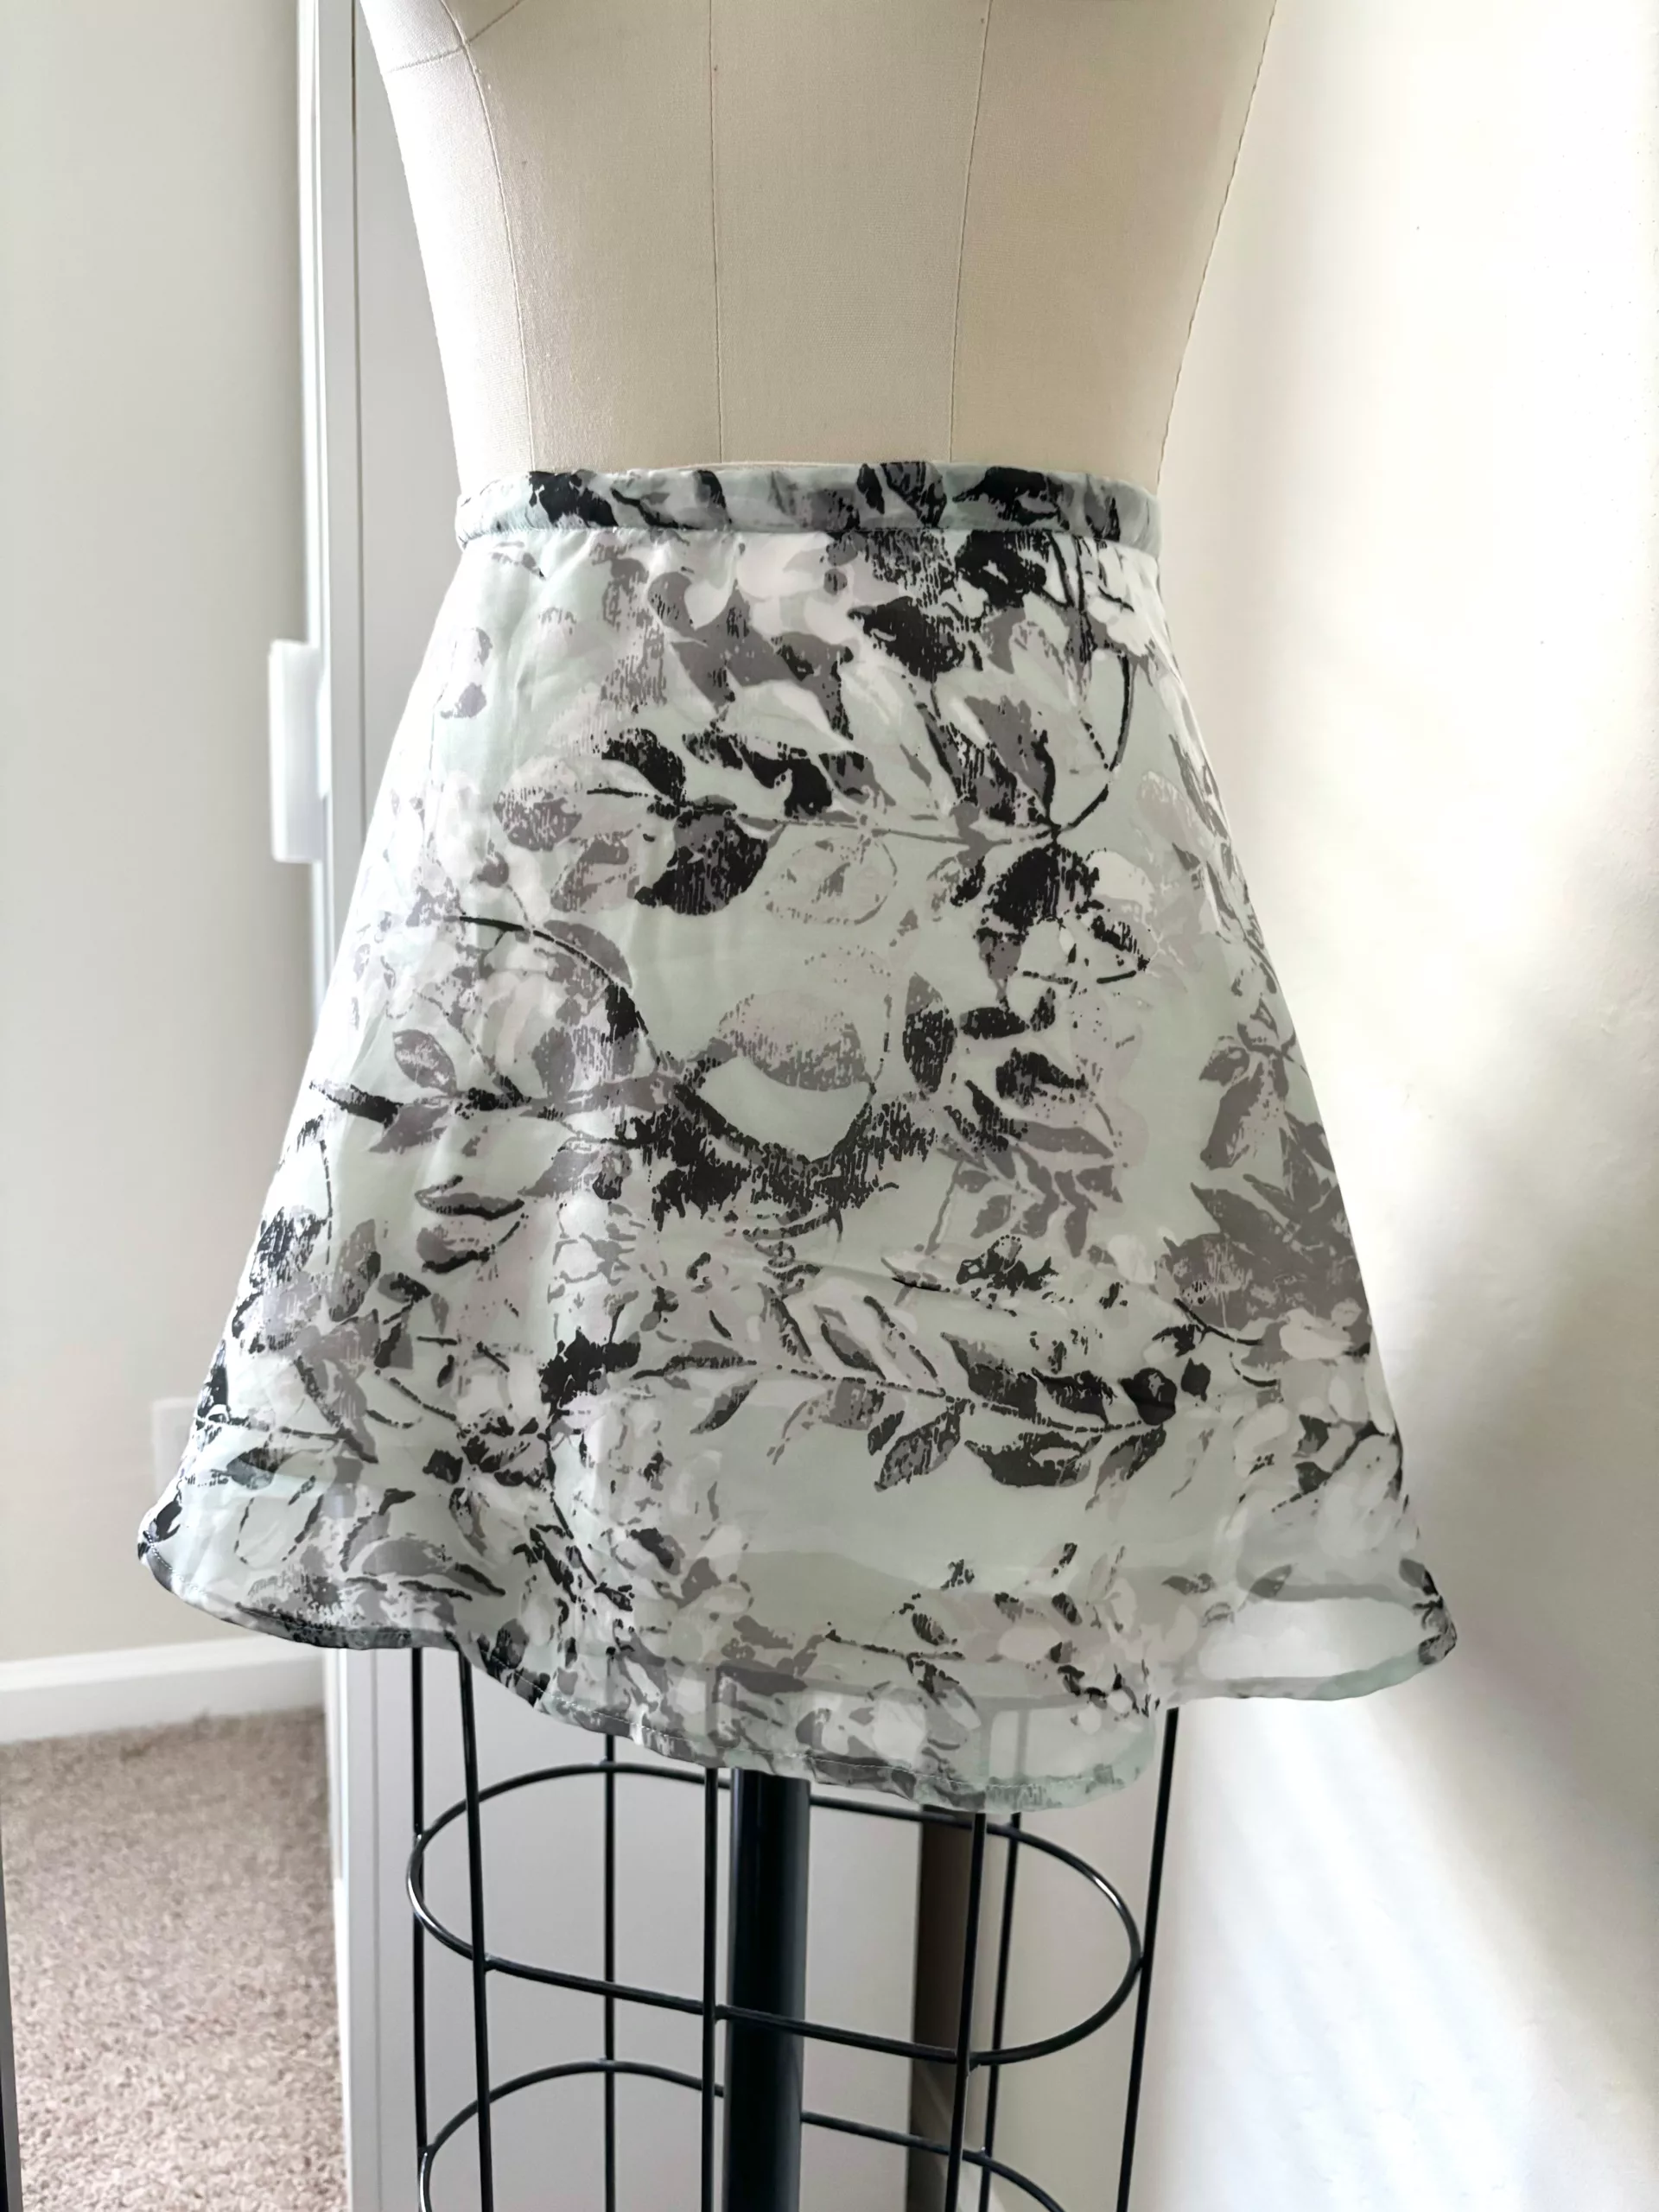
The fabric I used is a mint-colored chiffon with charming black and white floral prints. Since it’s on the sheer side, I paired it with a gorgeous shimmery georgette-like fabric. I bought this fabric ages ago, so I can’t recall the exact composition! If you’re just starting out, I’d suggest using cotton instead. Dealing with this slippery fabric nearly drove me bonkers!
The Sewing Process
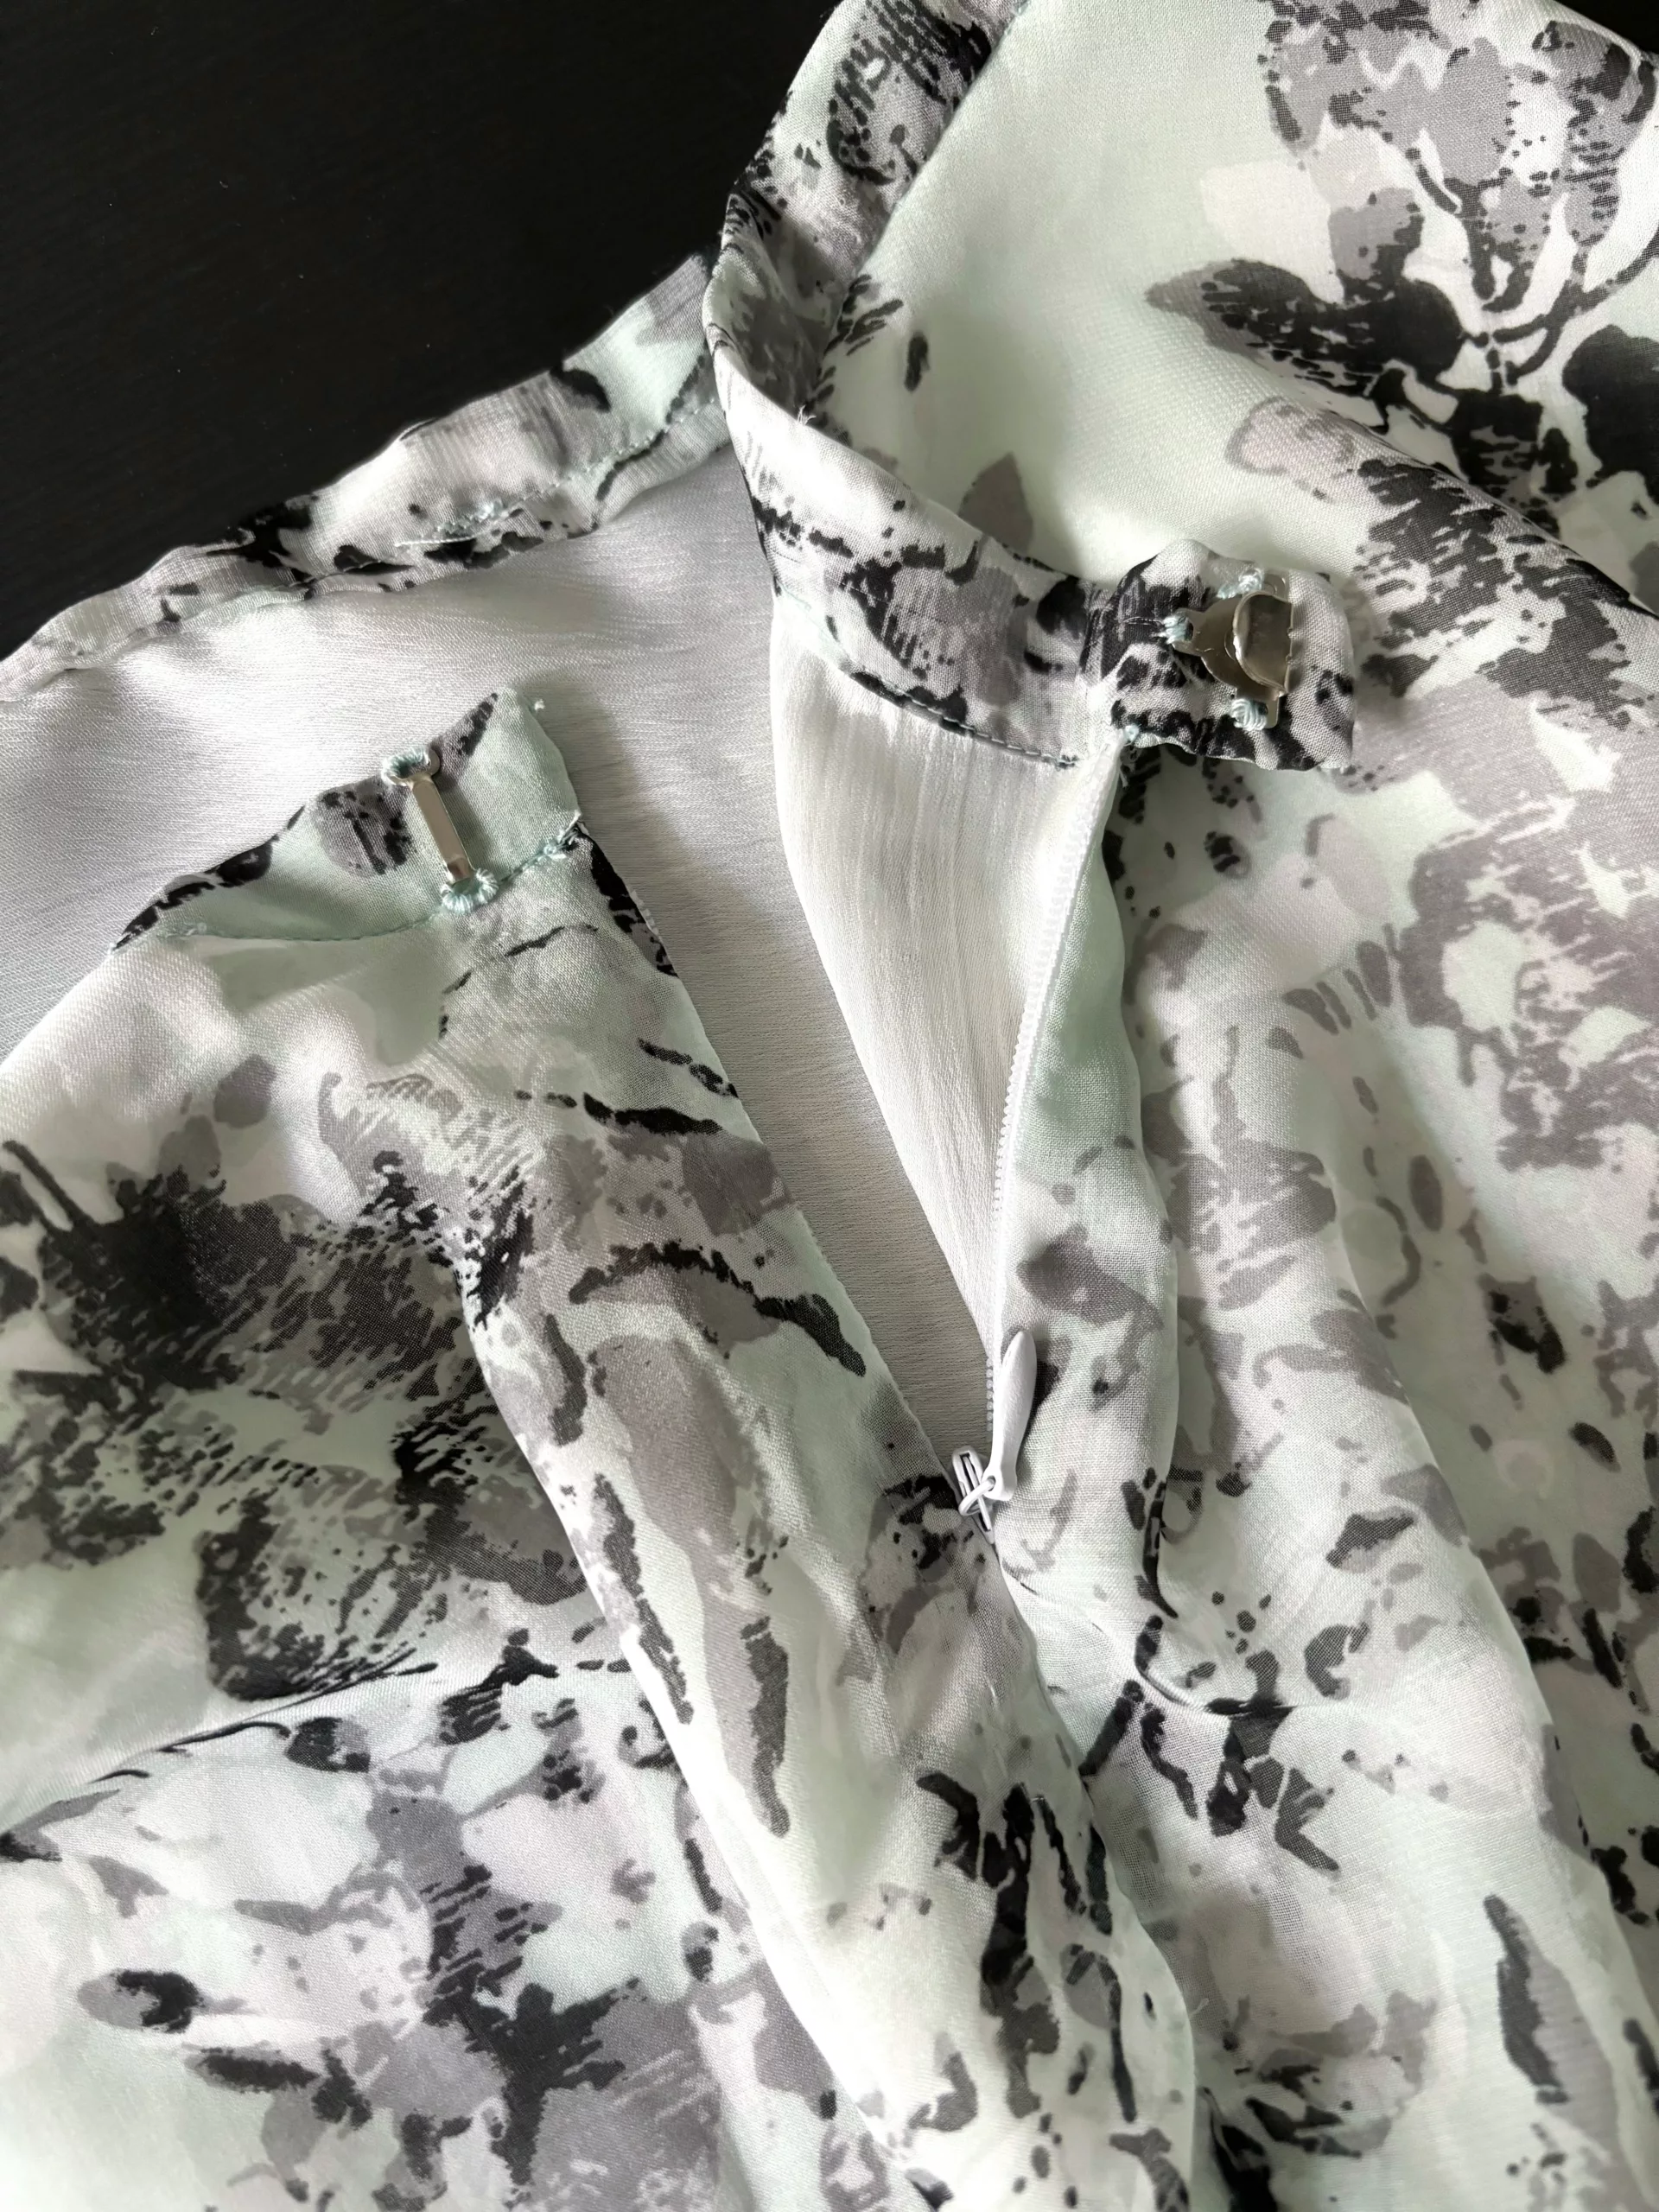
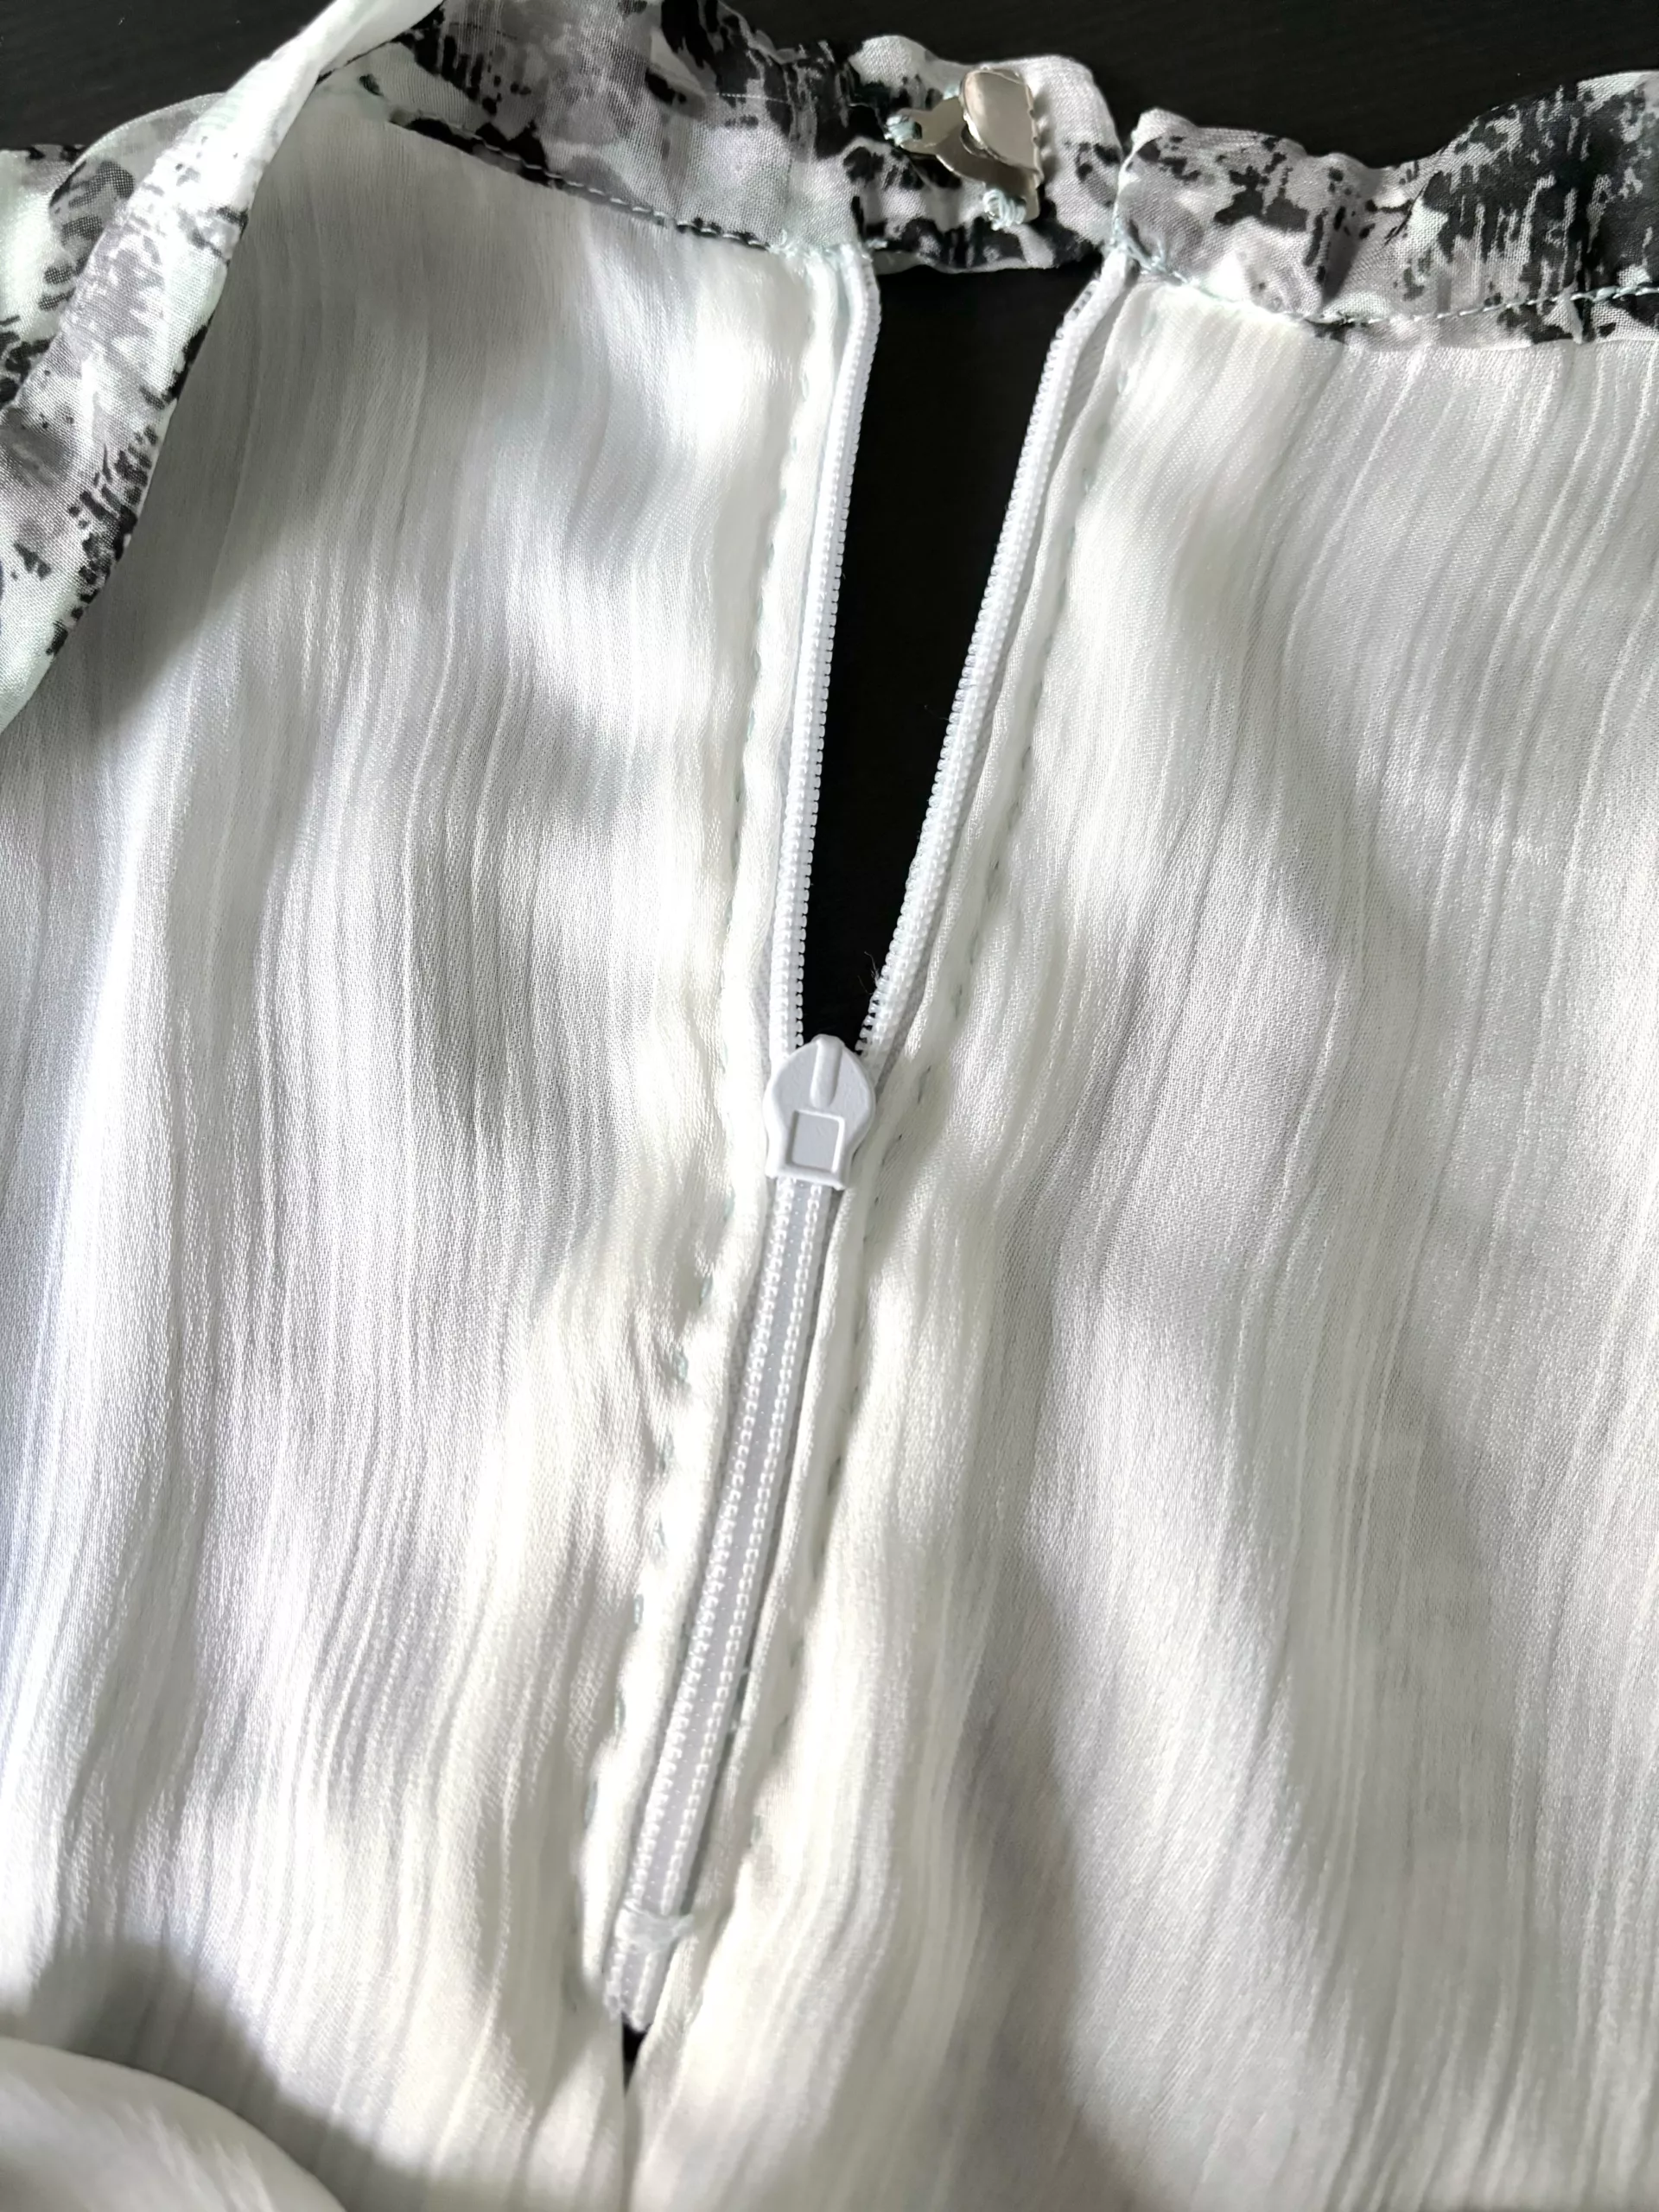
I used a half-circle skirt pattern, with the lining shorter than the main fabric to keep it neatly tucked inside. The circle skirt tutorial by Paige Handmade gives excellent guidance on how to install a lining with an invisible zipper.
I basted the back seam until it reached the bottom of the zipper, and then sewed it down with a regular stitch to the hem of the skirt. Then, I hand-basted the zipper to the main fabric’s seam allowance, ensuring there was sufficient room for the waistband. I removed the basting stitches on the back seam and sewed the zipper in place.
Next, I sewed the back seam of the lining just like the main fabric, pressed it, and removed the basting stitches. Then, with the wrong sides together, I hand-stitched the lining’s seam allowance to the seam allowance of the main skirt with the zipper.
After installing the zipper, I sewed a narrow waistband that included a small flap where I added a closure.
Hang before Hemming
I let the skirt hang overnight to make sure the fabric could settle and stretch along the bias. The bias is the diagonal direction of woven fabric. Ideally, you’d want it to hang for at least 24 hours, but I was impatient. But if you don’t let it hang, your hem will be very uneven. I was surprised by how much certain sections stretched out the next day! Once the skirt settled into place, I trimmed off any uneven sections.
Finally, time to tackle the skirt hem! Honestly, I’m not a big fan of hemming rounded edges. Hemming curved areas can be tricky because as you move outward, the circumference grows, needing more fabric to fit into a smaller area. Dealing with the slippery fabric made it even more challenging! But the secret is plenty of ironing and loads of patience. I’m sure there are better tips and tricks out there.
In the end, it was totally worth it! The skirt turned out so dainty and flowy. I’ve worn it countless times to gatherings and dinner dates. Check out my other beginner-friendly project ideas here, here, and here!
Leave a Reply